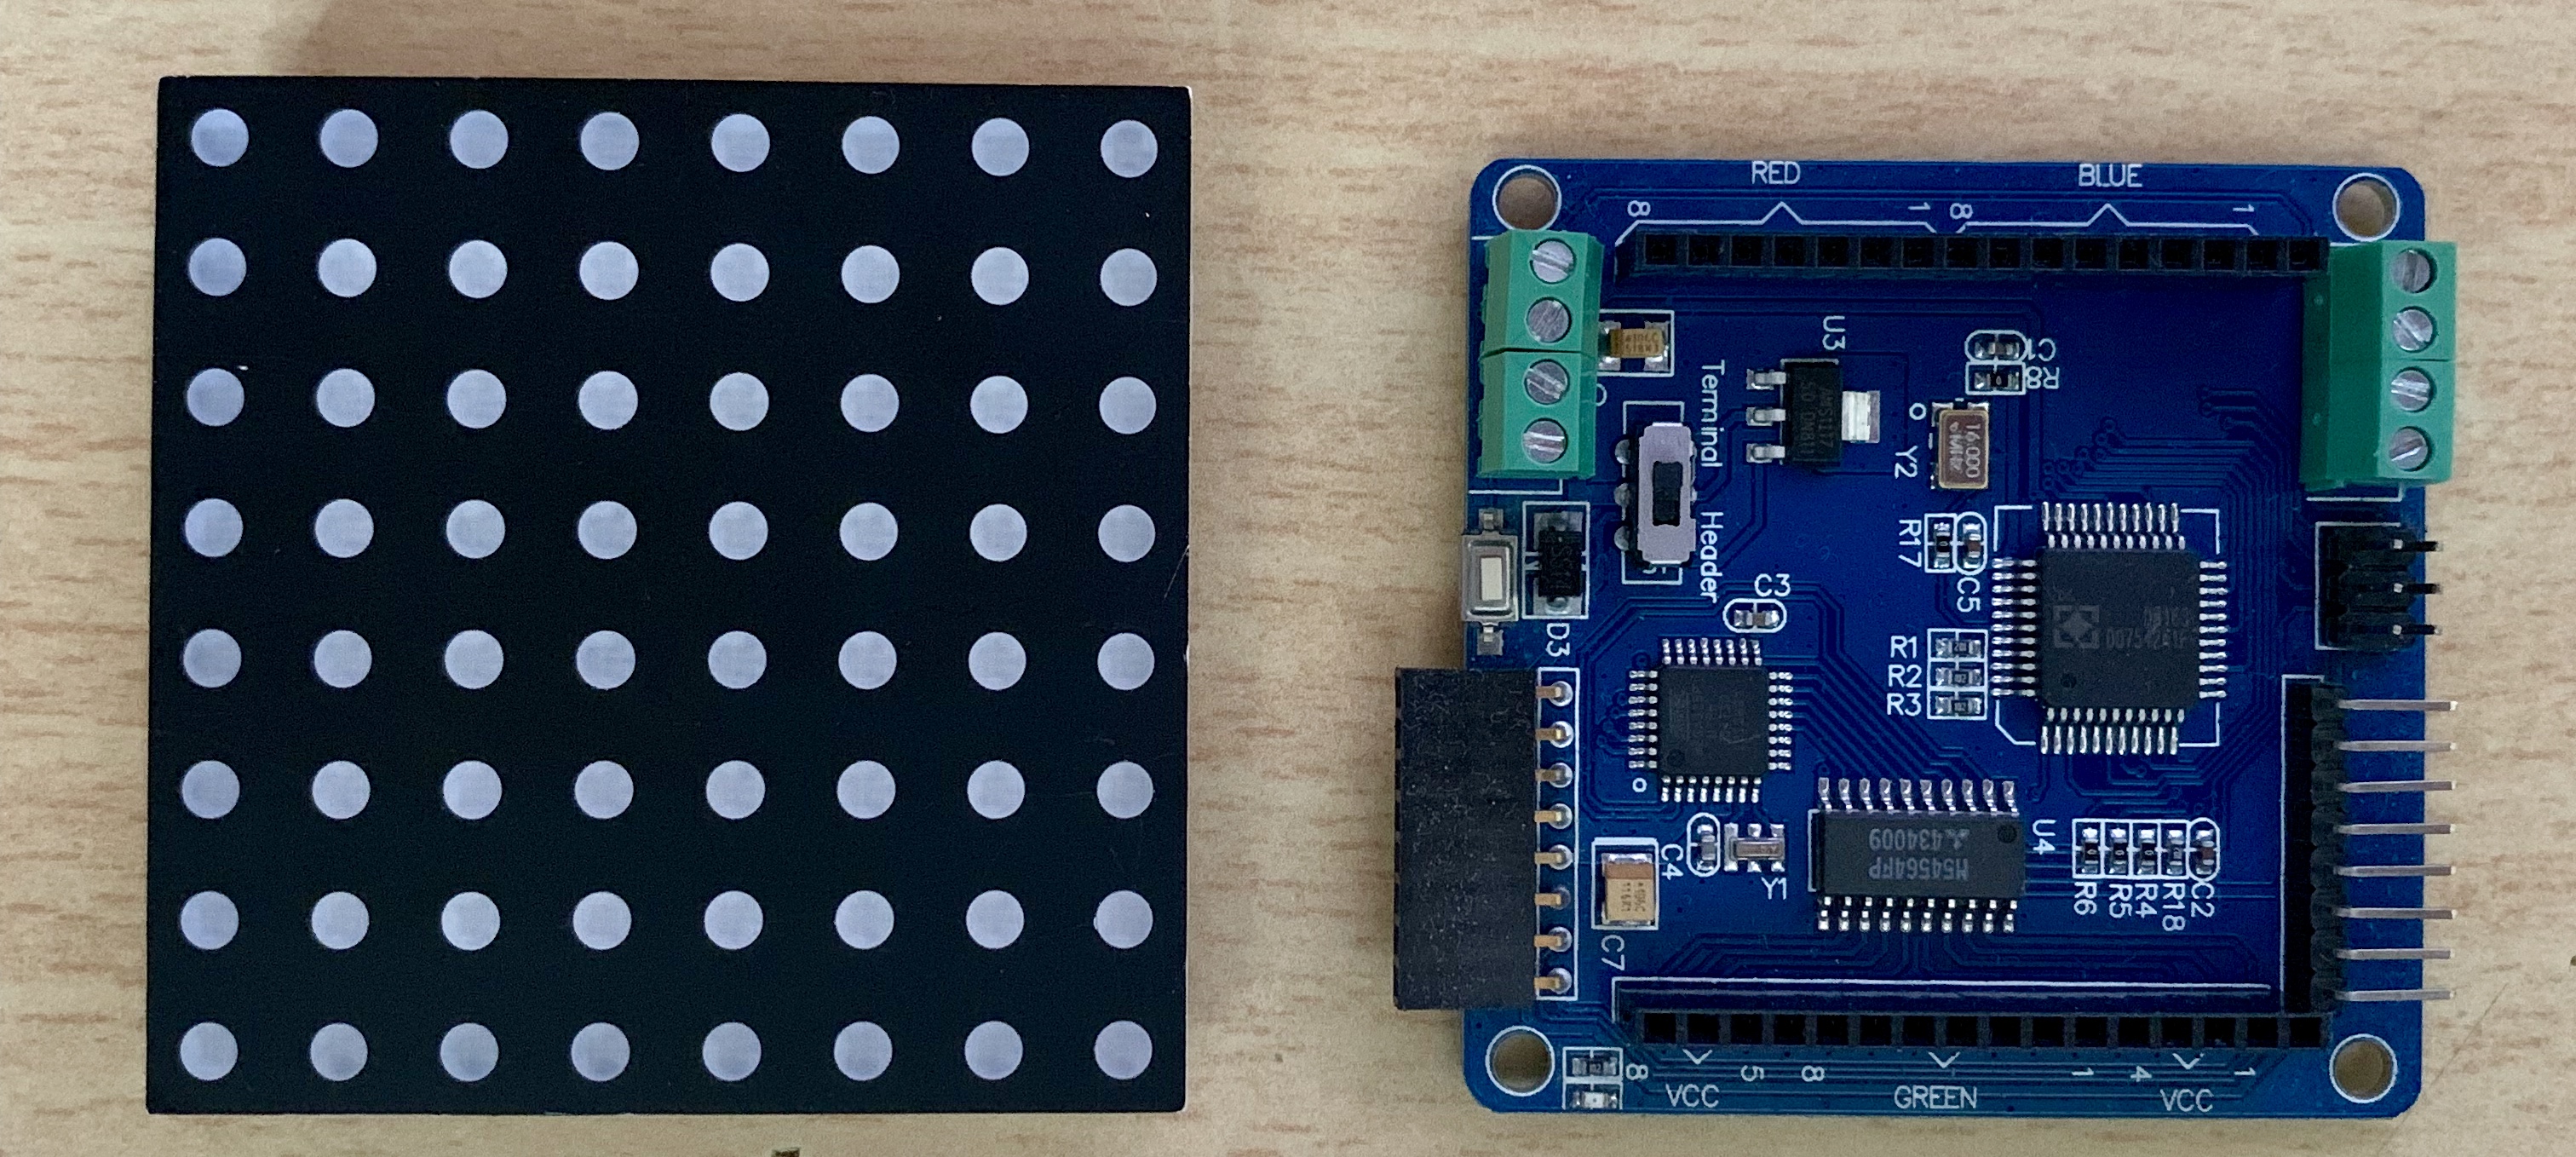
-
-
Notifications
You must be signed in to change notification settings - Fork 6
Colorduino

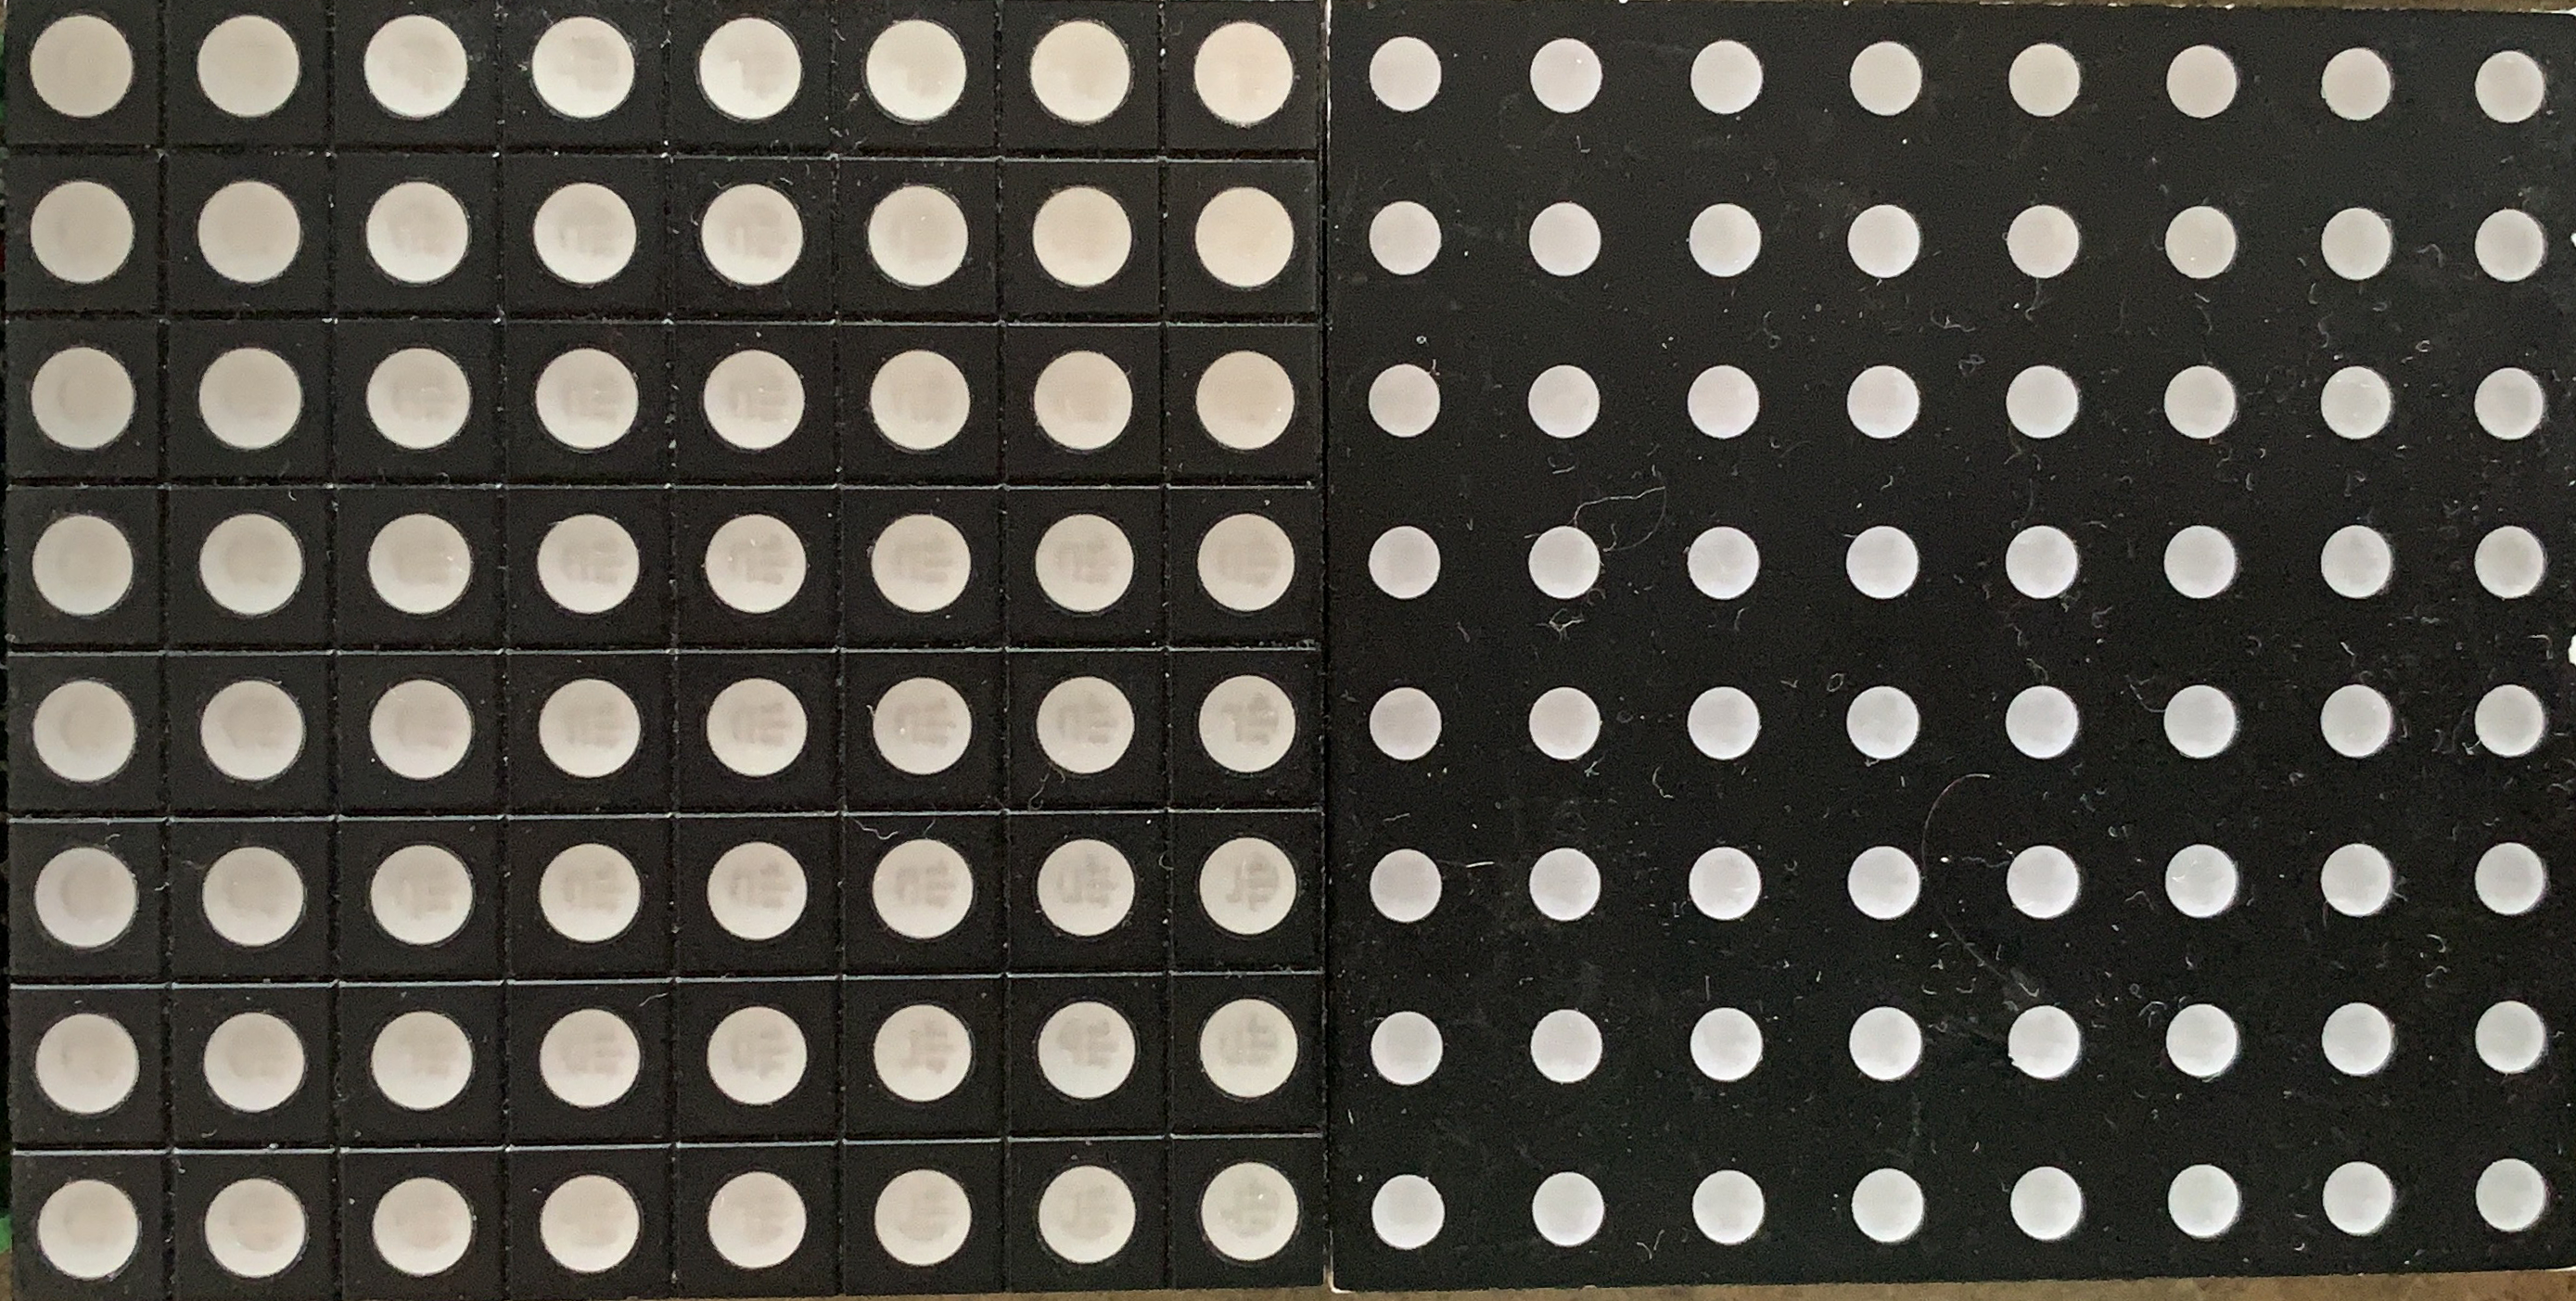
 As you can see here, there are 2 different kind of led's. Well, I'm lying. There IS even with square led's but it's hard to get at least 5 of them. Trust me, if you have the opportunity, buy all matrix at once (or 1 + 4), because there is a huge gap between quality of those led's. In my case, buy this with a bigger circle-dot (left), because those led's are more balanced to each other unlike the other once (right).
Lemme say, you set whiteBalVal = 63; (no calibration/offset is same to all colors) and Colorduino.SetPixel(x, y, 255, 255, 255); (WHITE at 100%), you will see two problems.
- Main color isn't white. It's a little bit green, blue or red.
- You need to set
whiteBalValproperly for all R(ed), G(reen) and B(lue) base-color.
- You need to set
- Some led looks different to each other.
- Bad quality and hard to solve this problem for each led independently. So keep care where you buy this thing. For me, it took hours to calibrate all of them and only one is perfect.
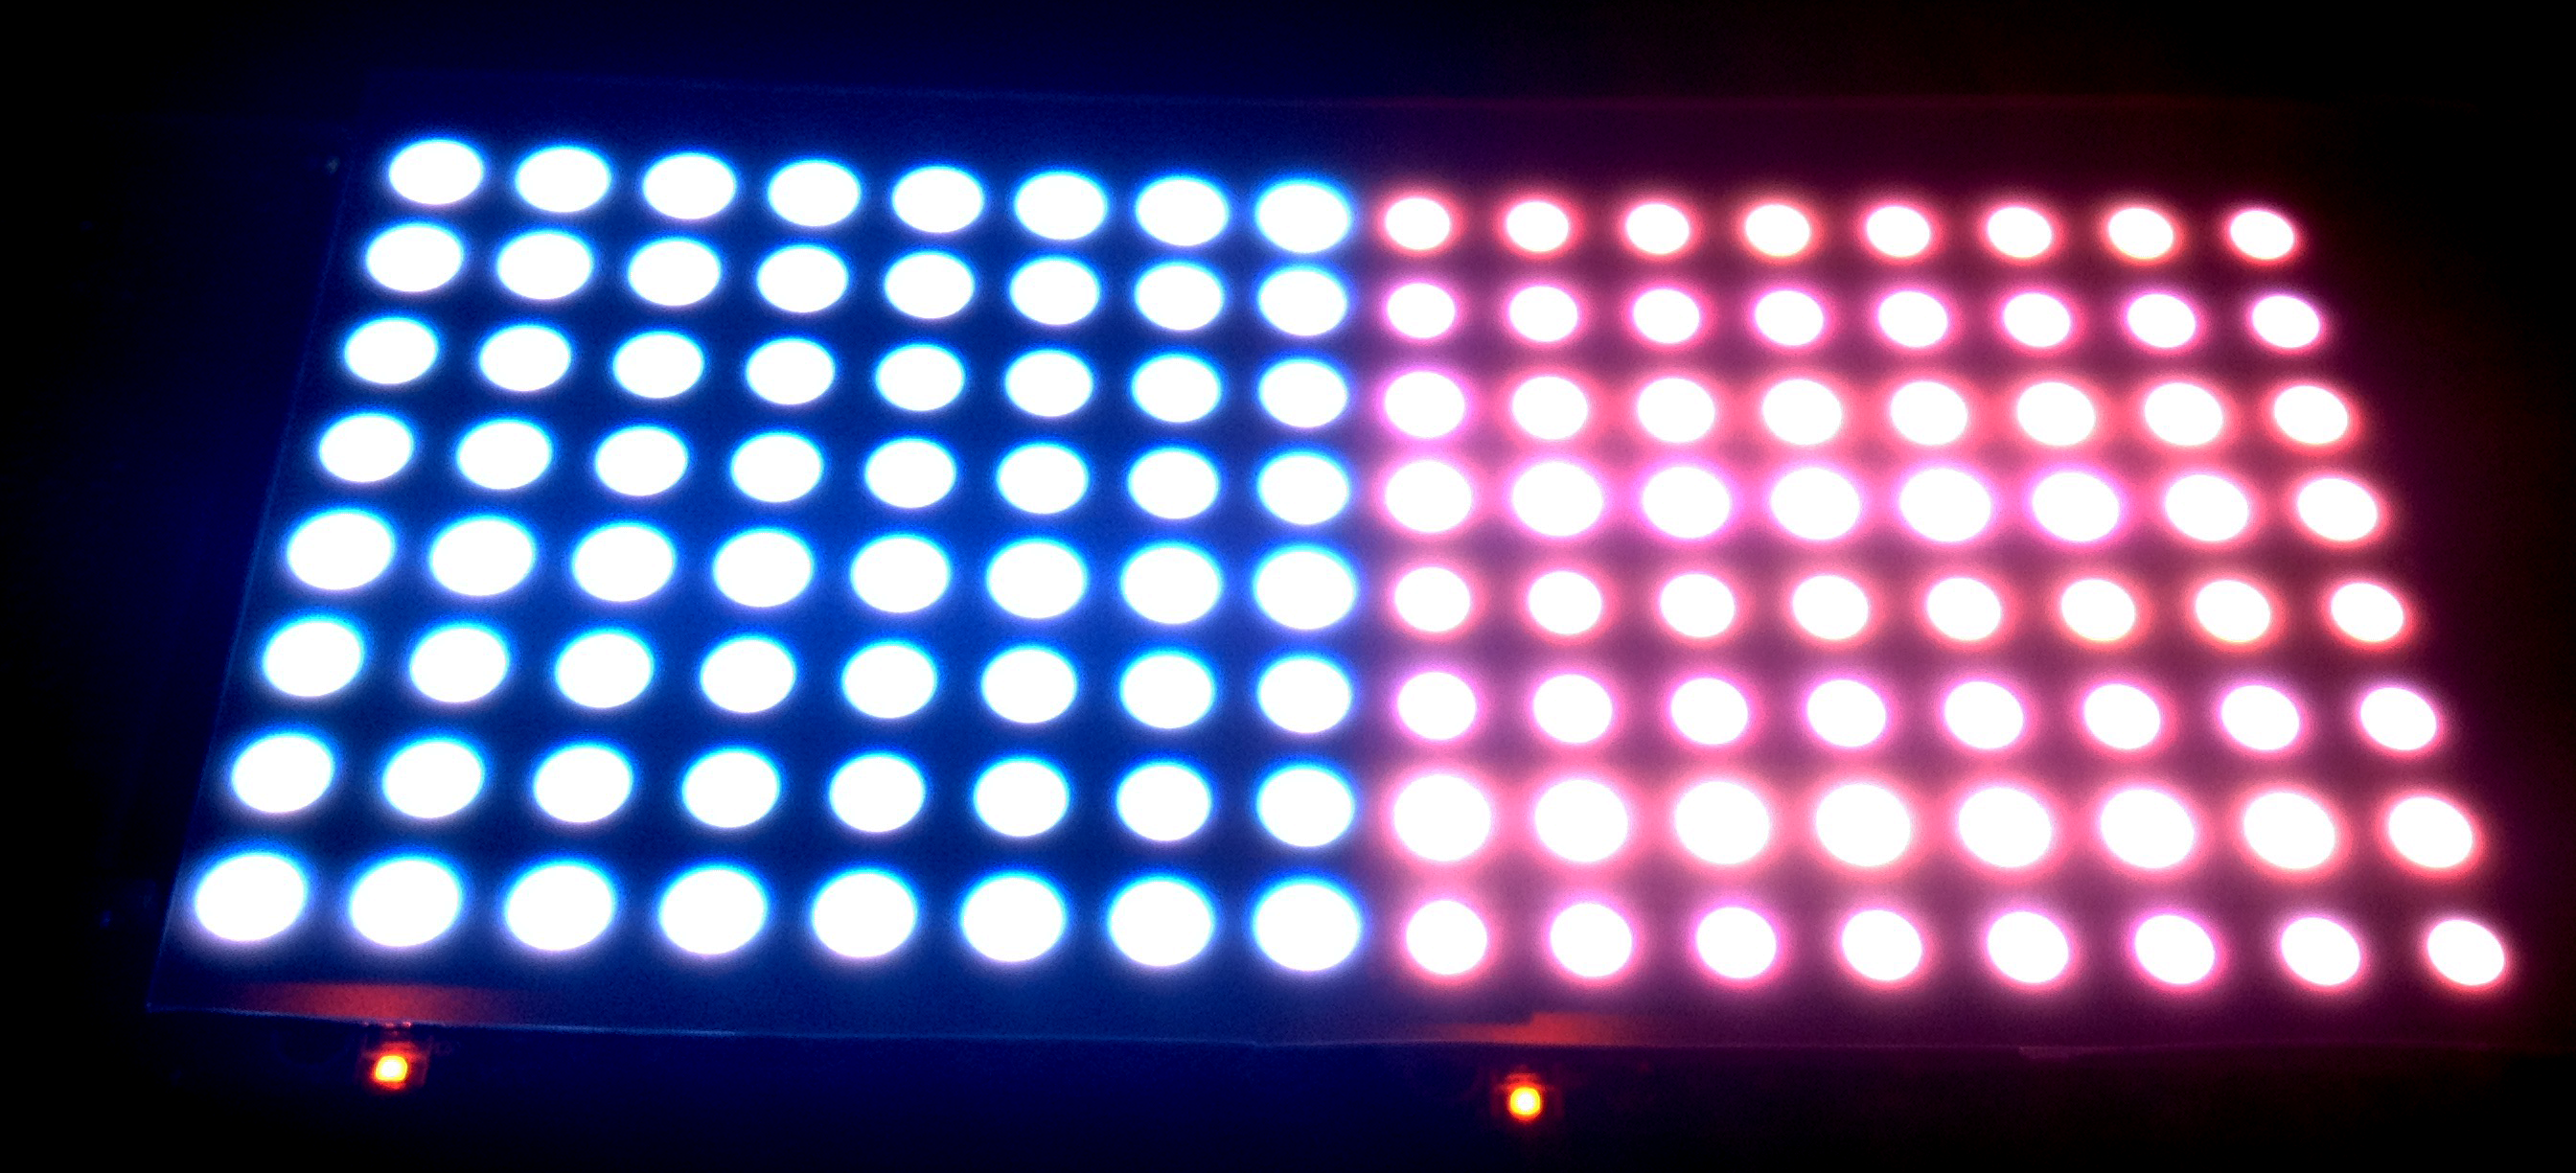
On the next photo you can see the difference between, calibrated and not calibrated at 100% WHITE. This one can solved with whiteBalVal.
 Left: Calibrated | Right: Not Calibrated
However, how does it look, if you got a bad one? On the next picture the clock-symbol seems okay,... and it is okay. But if you take a closer look to the "0" on the right side, you will see different color for some led. At least, two of them looks fine but the other ones are more red-ish. Even the "2" looks more red and not even bright than the other one. Note: On one Matrix, it show you up to 2 numbers at once, so we are talking about one Matrix at the moment.
But there is more. Each Matrix works with PWM Pulse-width modulation for color and switching between lines (Interlace). Our brain won't notice interlace but each led can change there brightness per line. Lemme see the "18" on this picture. Let's count all led per line, starts from the top.
| Line | LED's on |
|---|---|
| 1 | 4 |
| 2 | 4 |
| 3 | 4 |
| 4 | 3 |
| 5 | 6 |
At line 4, there is one led more bright than the other ones, because the power supply divide the power to all active led's out per line. At this line there is 3 led's working, so every led will get up to 33% of the max power. As long they have the same color, we don't see any difference; those led's are too bright for our eye's, anyway.
 Clock-Watchface | 100% WHITE over 5 Matrix
TL;DR
- Buy Matrix with a bigger circle-dot.
- Buy all Matrix at once
- You can mix them up. E.g. Squar-dot Matrix for all the symbols, circle-dot for everything else and vice versa.
- As long they have all similar color, you won't notice it any difference.
- If you're not happy at all, just send them back und find new once.

(empty)
-
Installation (Windows)
- Arduino IDE
- Setting
- Board Manager
- Prepare ESP8266
- Library Manager
- Configuration
- Upload
-
Hardware
- ESP8266
- Colorduino
- ADS1X15
- BME 280
- Button
- LDR
- Resistor
- CP2102
- Circuit Board
- Messing Spacer
- Power-Supply
-
Connection
- All
- ADS1X15
- CP2102
- Colorduino
-
API Key
- WiFi
- YouTube
- Openweather
- Twitch
- Troubleshooting
-
Installation (Windows)
- Arduino IDE
- Einstellung
- Boardverwalter
- Vorbereitung ESP8266
- Bibliothekverwaltung
-
Hardware
- ESP8266
- Colorduino
- ADS1X15
- BME 280
- Tasten
- Fotowiderstand
- Widerstand
- CP2102
- Platine
- Verschraubungen
- Netzteil
-
Schaltung
- Alles
- ADS1X15
- CP2102
- Colorduino
-
API Schlüssel
- WiFi
- YouTube
- Openweather
- Twitch
-
Hochladen
- Kalibrieren
- ESP8266
- Colorduino
- Fehlerbehebung