Home
-
Open your browser and navigate to
https://clockify.me/tracker -
Open profile settings

-
Scroll down and create an API key

- In VS Code press
Ctrl + Shift + Pto open command palette - Type
Clockify: Set API keyand pressEnter - Insert your API key and press
Enter
-
Click the Clockify icon in the sidebar panel
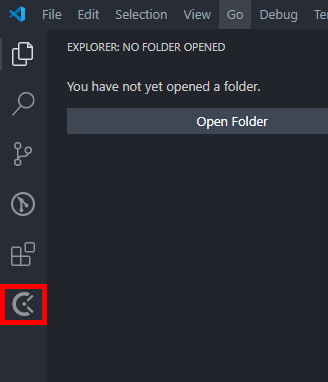
-
You should see something like this

-
Click the
Addicon on theClientssection
-
Enter a
namefor the client and pressEnter
-
Click the
Addicon on theProjectssection
-
Enter a
namefor the project and pressEnter -
Select a
clientfor the project and pressEnter -
Select a
colorfor the project and pressEnter -
Select whether the project is
publicor not and pressEnter-
Public: Visible to all workspace members -
Private: Only visible for the current user
-
-
Select whether the project is
billableor not and pressEnter
- Press
Ctrl + Shift + Pto open command palette - Type:
Clockify: Start Trackingand pressEnter - Select a
workspaceand pressEnter - Select a
projectand pressEnter - Enter a
descriptionand pressEnter - Check whether the current time entry is
billableor not and pressEnter - Select
tagsand pressEnter - Tracking should now have been started
- Press
Ctrl + Shift + Pto open command palette - Type
Clockify: Stop Trackingand pressEnter - Tracking should now have been stopped