This is Markdown Blogging Website created using Python3, Flask and mistune
This website is deployed on heroku here (It might not be online sometimes so check bellow screenshots instead)
.
├── app
│   ├── assets.py- helping class and functions for parsing markdown and converting to html
│   ├── content - stores markdown blogs
│   ├── highlightrenderer.py - custom renderer to parse code blocks in markdown
│   ├── __init__.py - contains code for creating and seeting flask app
│   │       View functions for pages like index and blogpost etc.
│   │       It also makes the app module importable
│   ├── __main__.py- contains code for starting the flask application
│   │       It also makes the module executable and executes this file when imported
│   ├── static - stores static files
│   │   ├── css - static css files for webpages
│   │   └── img - static images used in project
│   └── templates - html webpages (Flask app directly picks html file from this directory
├── LICENSE - Licence of the project (MIT LICENSE in this project)
├── Procfile - declares the worker type for deploying on Heroku
├── README.md - current file you are reading
├── .gitignore - list of files/folders to ignore in git
└── requirements.txt - list of python packages used for quick installation
-
Clone the repo and go to root directory of project
git clone https://github.com/prkprime/blog cd blog -
create the virtual environment using venv and activate it
python3 -m venv venv/ source venv/bin/activate -
Install all the requirements using pip
pip3 install -r requirements.txt
-
Run the website
-
Using gunicorn
gunicorn app:app
-
Directly as a module
python3 -m app
-
-
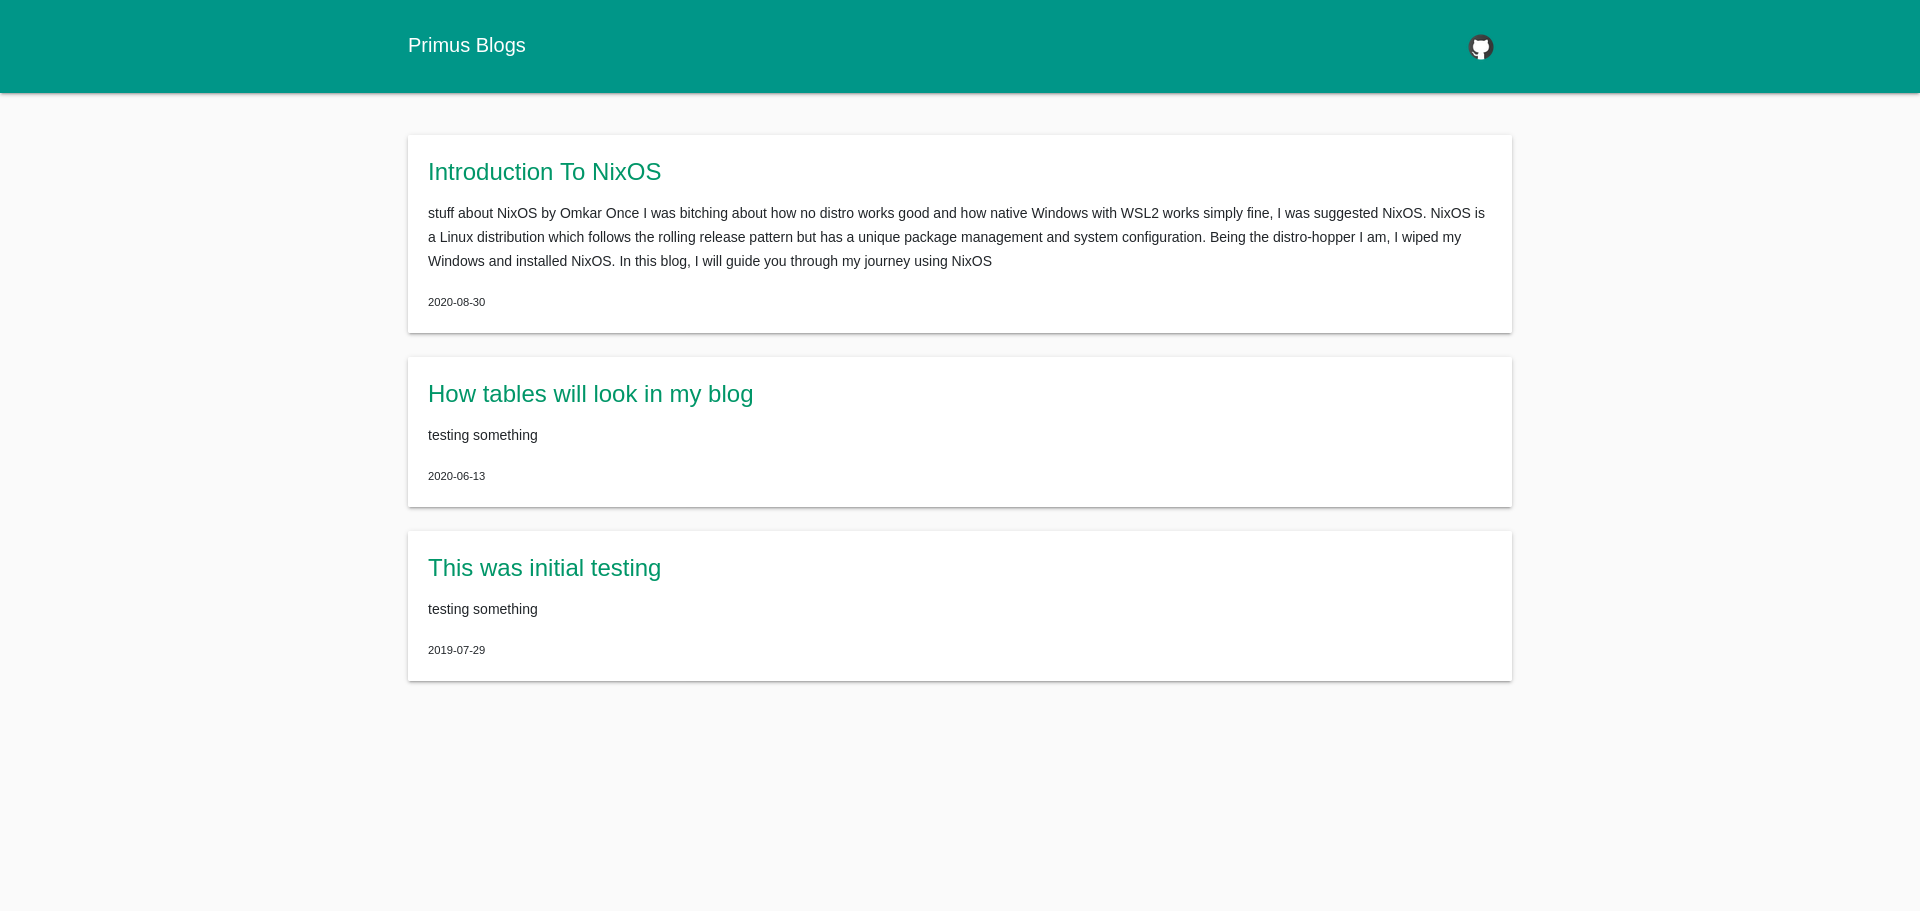
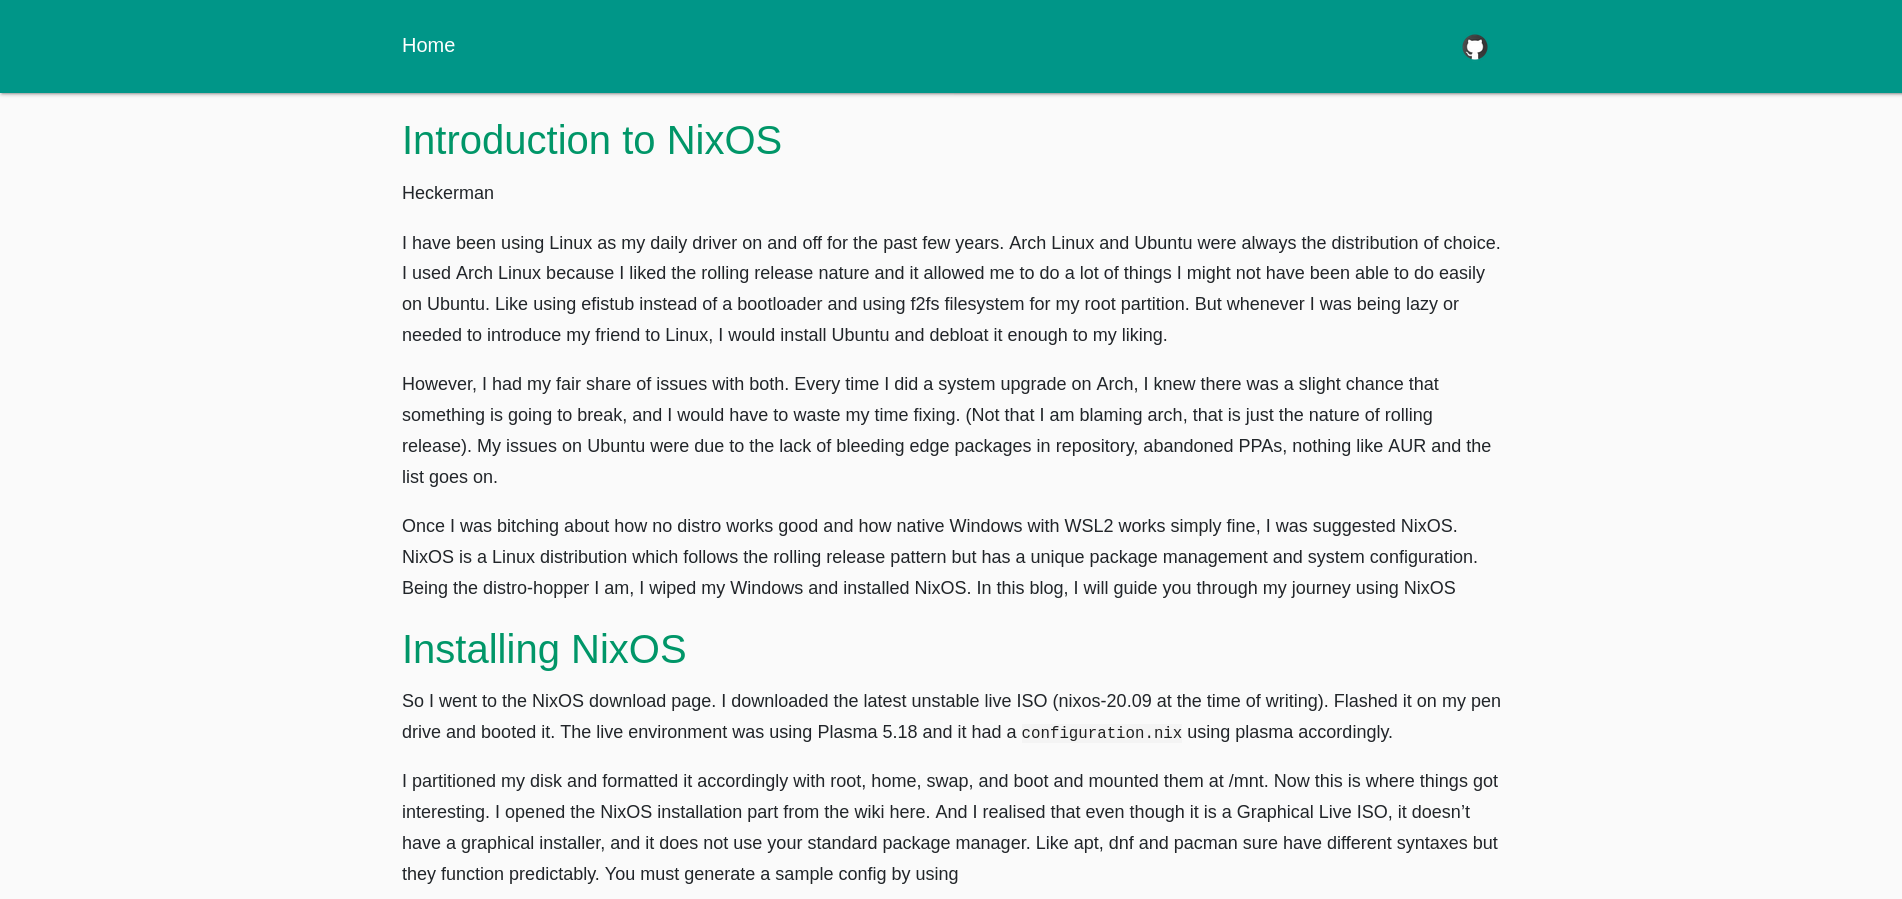
All the blogs are stored in app/content folder
-
New blog should contain the title, date and summary at the top of the file as shown in bellow sample. It becomes the metadata of sorts for that blog.
-
Sample .md file
title: Blog Title
date: 2020-07-29
summary: Short description about blog that will appear on index page

Start your blog here
-
Important things to follow (cause my regex and implementation is weak right now)
- Maintain the order as title, date and summary
- Don't add whitespace before ':' and don't forget the whitespace after ':'
- You can keep filename anything cause code will automatically rename it for you
- I created this project only with libraries that I can understand for improving my own skills (well i googled most of the stuff. especially for css stuff cause I ain't frontend guy)
- There are many different ways and many different libraries to create markdown blogging website and there are tons of different implementations available on github which are far more better than mine so if you want to learn, I'll suggest you to check them out
- I have added some samples in app/content for testing purpose so you don't have to write something to test this app