Easily create your own face recognition system in Python using Eigenfaces
![]()
A tool for face recognition in Python. it implements Turk and Pentland's paper. The notation follows my pdf notes here. Finally, it is based on the Olivetti faces dataset. Some of its features are:
- Load Olivetti faces to initialise dataset.
- Load new subjects from file.
- Read new subjects directly from webcam.
- Predict a novel face from file.
- Predict novel face from webcam.
- Export currently loaded dataset and load it later.
- Built-in benchmarking (classification report) method.
Note: When you add a new subject, it is recommended to take several (5 or more) pictures of its face profile from slighly different small angles.
You can install the package as follows:
cd <project_root>
pip install .
Next, you can import the package as import ezfaces or its main class as from ezfaces.face_classifier import FaceClassifier.
The project has been tested in CI (see workflows) in Python 3.7 and 3.8 with the following dependencies installed, but newer versions will also work:
opencv-python 4.1.2.30
numpy 1.17.4
matplotlib 3.1.2
scipy 1.4.1
scikit-image 0.16.2
scikit-learn 0.22
1. Load new subject from folder
from ezfaces.face_classifier import FaceClassifier

fc = FaceClassifier()
lbl_new = fc.add_img_data('tests/images_yale')
print(fc)
print("New subject\'s label is %d" % lbl_new)
Output:
Loaded 410 samples in total.
348 for training and 61 for testing.
New subject's label is 40
2. Load new subject and predict from webcam
from ezfaces.face_classifier import FaceClassifier
import cv2


fc = FaceClassifier()
lbl_new = fc.add_img_data(from_webcam=True)
fc.train()
# take a snapshot from webcam
x_novel = fc.webcam2vec()
x_pred, lbl_pred = fc.classify(x_novel)
print("The ID of the newly added subject is %d. The prediction from "
        "the webcam is %d" %(lbl_new, lbl_pred))
cv2.imshow("Prediction", fc.vec2img(x_pred))
cv2.waitKey(3000)
cv2.destroyAllWindows()
3. Export and import dataset
from ezfaces.face_classifier import FaceClassifier


fc = FaceClassifier()
data_file, lbl_file = fc.export('/tmp')

# add some data
lbl_new = fc.add_img_data('tests/images_yale')
print(fc)

# now let's say we made a mistake and don't like the new data
fc = FaceClassifier(data_pkl = data_file, target_pkl = lbl_file)
print(fc)
Output:
Wrote data and target as .pkl at:
/tmp
Loaded 410 samples in total.
348 for training and 61 for testing.
Loaded 400 samples in total.
340 for training and 60 for testing.
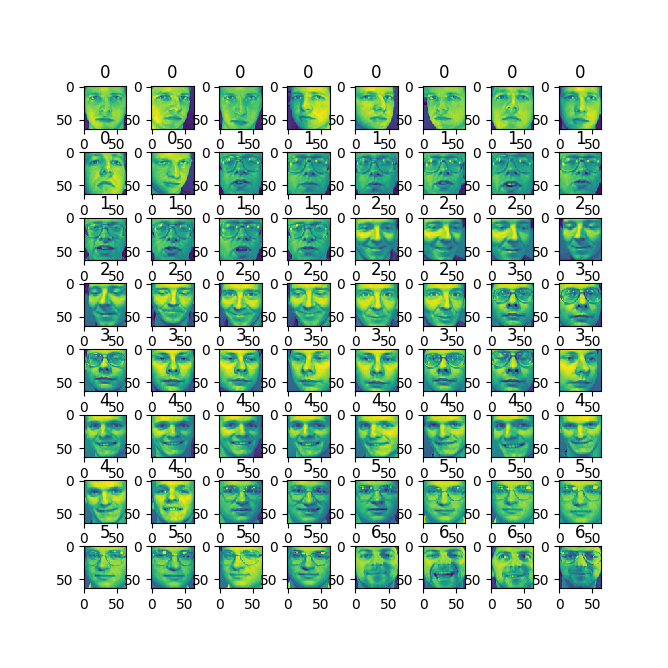
4. Show all loaded subjects
from ezfaces.face_classifier import FaceClassifier


fc = FaceClassifier()
# add some adata
lbl_new = fc.add_img_data('tests/images_yale')
fc.show_album()
It will show the subjects in 8*8 image grids as follows: