Linkfolio is an elegant, minimalist landing page that connects your audience to all of your online presences.

🚀 Built with Next.js for optimal performance
💅 Styled using TailwindCSS for a modern look
🛠️ Easy configuration to add or remove links
📱 Responsive design for all devices
🔧 Customizable components for maximum flexibility
There are two methods to get started with Linkfolio:
Edit the user.config.ts file in the app directory to personalize and tailor your profile to your preferences.
Using this method, you can quickly deploy a Linkfolio page with Vercel using the provided template.
Install the linkfolio package in your Next.js / Tailwind project:
npm install linkfolioOr using Yarn / Pnpm:
yarn add linkfoliopnpm add linkfolioHere's a simple example of how to use the <LinkFolio /> component with just the userConfig:
import { LinkFolio } from "linkfolio";
const userConfig = {
avatarSrc: "/assets/avatar.webp",
avatarAlt: "Avatar",
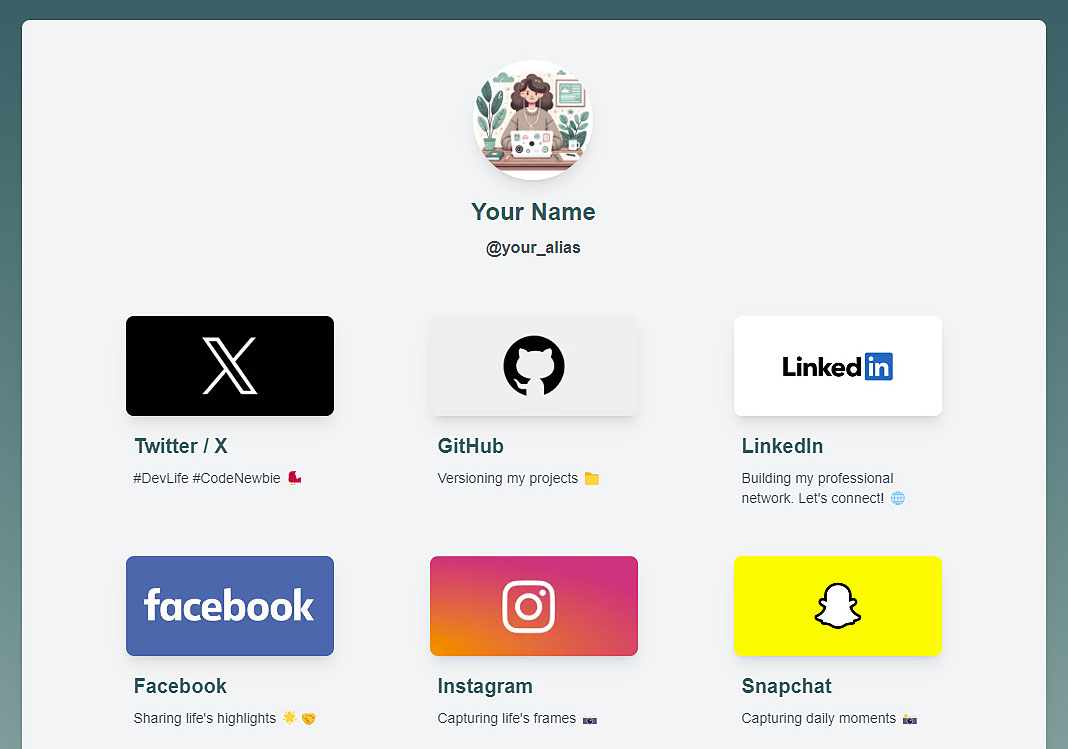
fullName: "Your Name",
alias: "@your_alias",
metaTitle: "LinkFolio",
metaDescription: "A Hub for all your online links 🔗",
socialNetworks: [
{
url: "https://github.com/{your_alias}",
iconSrc: githubIcon,
title: "GitHub",
description: "Open-source contributions",
},
// Add more social networks here
],
};
function MyPage() {
return <LinkFolio userConfig={userConfig} />;
}This basic setup will create a Linkfolio page using the default components and styles.
For more advanced customization, you can use the optional component props. Here's an example showing how to use custom components and add additional content:
import { LinkFolio } from "linkfolio";
import MyCustomFooter from "./MyCustomFooter";

function MyPage() {
  return (
    <LinkFolio
      userConfig={userConfig}
      BeforeSocialLinksComponent={() => (
        <div className="mb-8 text-center">
          <h2>Welcome to my page!</h2>
          <p>Check out my social links below:</p>
        </div>
      )}
      AfterSocialLinksComponent={() => (
        <div className="mt-8 text-center">
          <h2>Thanks for visiting!</h2>
          <p>Feel free to connect with me on any platform.</p>
        </div>
      )}
      FooterComponent={MyCustomFooter}
    />
  );
}The user.config.ts file allows you to customize your Linkfolio. Here are the main available options:
avatarSrc: Path to your profile imageavatarAlt: Alternative text for the profile imagefullName: Your full namealias: Your alias or usernamemetaTitle: Page title (for SEO)metaDescription: Page description (for SEO)socialNetworks: An array of objects representing your social networksenableTypingAlias: Enable typewriter effect on alias (boolean)
Example of adding the typewriter effect on the alias:
const userConfig = {
  // ... other configurations
  enableTypingAlias: true,
};Linkfolio uses TailwindCSS for styling. If you wish to customize styles, you can use the default Tailwind configuration tailwind.config.ts provided with the package.
Linkfolio uses the Raleway font by default. If you wish to change the font, you can update the font-family in layout.tsx:
import { Roboto } from "next/font/google";

const font = Roboto({
  weight: "400",
  subsets: ["latin"],
  display: "swap",
});To ensure the integrity and functionality of the project, we utilize Playwright for end-to-end testing.
To execute the Playwright tests, run the following command:
npx playwright testAs the project evolves, you might update the UI or functionality, causing the existing reference snapshots to be outdated. In such cases, you'll need to update the snapshots to match the latest changes.
To update the reference snapshots, run:
npx playwright test --update-snapshotsThis will run the tests and update any snapshots that don't match the current render of your page.
Linkfolio exposes a public API to access the user configuration. You can access it via the /api/config route. This API returns the configuration data in JSON format, which can be useful for:
- Dynamically integrating your Linkfolio information into other parts of your application
- Allowing third-party applications to fetch your Linkfolio data
- Debugging purposes
- Creating custom widgets or extensions that use your Linkfolio data
Example usage:
fetch("https://your-linkfolio-site.com/api/config")
  .then((response) => response.json())
  .then((data) => console.log(data))
  .catch((error) => console.error("Error:", error));
Tip
Since this API is public, ensure that you don't include any sensitive information in your Linkfolio configuration that you wouldn't want to be publicly accessible.
For a practical implementation of Linkfolio, check out my example repository: My Linkfolio Page.
This repository demonstrates how to integrate and customize Linkfolio in a Next.js project.
If you have ideas to improve or found a bug, do not hesitate to create an issue or submit a pull request.
Linkfolio is open-sourced under the MIT License.