This quick start tutorial will show you to how to setup an Android mobile application embedding its own database together with SyncProxy client. Used with online SyncProxy server (https://www.syncproxy.com), this is the quickest way to create applications that will synchronize bidirectionally, reactively in realtime with your backend database (MySQL, SQL Server, MongoDB...), and also work perfectly when offline. Only with one line of code.
The SyncProxy client targets Android applications with an embedded database (SQLite..) that provides offline capabilities. By adding the SyncProxy client to your main activity .java file with one single line of code, you will turn your offline app into a powerfull online application with bidirectionnal reactive (realtime) sync that will work perfectly with or without connection. You will not need develop any specialized webservices, since the SyncProxy server enables to define sync profiles directly online on https://www.syncproxy.com which acts as a gateway between your app and your backend database.
Go to https://www.syncproxy.com, register and log-in as a proxy administrator (it's free !), then create and configure your proxy to synchronize with your backend database.
To get your existing Android application ready with the SyncProxy client:
- Download the SyncClient.AAR library for Android from https://github.com/SyncProxy/sync-client-android (release folder) and copy it into a subfolder of your AndroidStudio project.
- Import the library to your project (File/New Module/Import .JAR/.AAR package) and add it to your main activity's code:
import com.syncproxy.syncclient.SyncClient;- At the end of the onCreate() handler of the main activity, simply add the following line:
SyncClient.startObservation(this, "{'proxyId':'<your SyncProxy Id>', 'connectorType':'SQLite', 'dbName':'<local db name>'}" ).showSyncButton(this);Replace connectorType and dbName attributes with the targetted embedded database. You get your proxyId on https://my.syncproxy.com after creating the sync proxy. Currently only a SQLite connector is provided for Android, but other local stores are expected to be added soon.
- Compile and launch your app
The Sync button should now appear on top of the main activity of your application:
![]()
and when sync is launched, the login prompt should popup:
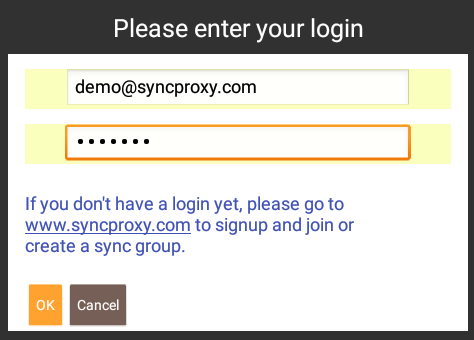
You are now ready to sync ! Any changes made to your embedded database are sent in realtime to your backend database and vice-versa. When offline, all changes made are marked temporarily, and synched when going back online, bidirectionnally.
If you want to display the sync button on other activities of your application, simply add the following line at the end of the onStart() handler of each other activity:
SyncClient.showSyncButton(this);Using AndroidStudio's tools, you can verify that the local SQLite database has been created or updated:
Open AndroidStudio's Device File Explorer to browse app's folder within Emulator or connected device: navigate to /data/data/[your.package.name]/databases folder, right-click on your database file and Save As… to save it to your computer.
(see excellent detailed explanations of Matouš Skála on Medium: https://medium.com/@mattyskala/browse-sqlite-database-in-android-studio-4fbba6cca105).
The saved SQLite database can be opened using SQLite tools like DB Browser for SQLite (https://sqlitebrowser.org/) or ExtendsClass (https://extendsclass.com/sqlite-browser.html)
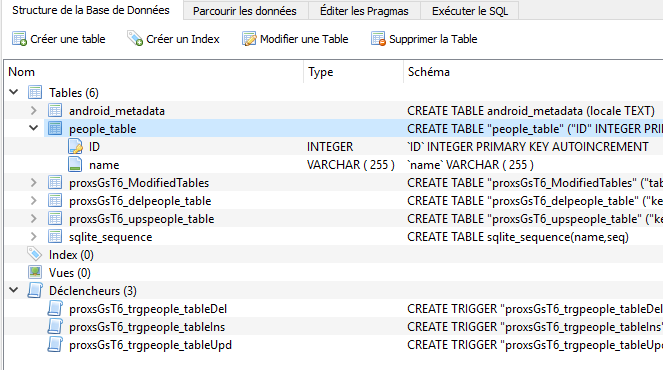
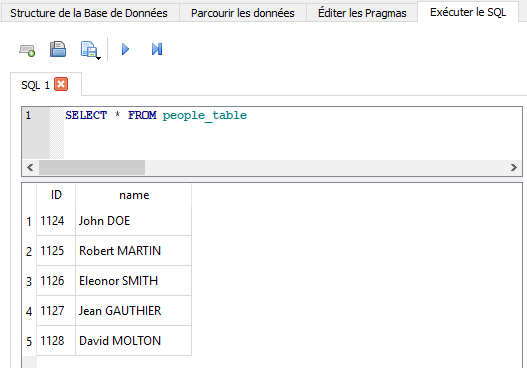
The SyncProxy sync client will create the embedded database for you ! You won't need to worry about the tedious schema management (create tables, created columns, etc.). Every upgrade made to your backend database will apply to the embedded database during the synchronization.
To access SyncProxy administration to setup your sync proxy and connect to your backend database, go to https://www.syncproxy.com