A music generation tool combined with Posenet and MusicRNN in the browser.
You can learn more about the project through the following links:
GitHub📎: CCI_AP_PoseLoops
Youtube🎬: CCI_Advanced Project_PoseLoops
CodeSandbox📦: Demo Demo2( use Vanta.js background)
If loops are not generated when you try, you may need to spend a while waiting for the model to be loaded. (´・_・`)
With the rapid development of computer technology, AI has been applied in more artistic and creative fields. In my initial plan, I hope to combine machine learning technology and music to create a music generator, which is related to the AI theme. It can create different music content through information from different physical worlds, and bring a brand new Audio production method. It can also allow anyone who is interested in AI and ML, to stimulate interest in the application of AI technology, through this project and gain more inspiration.
Before starting my project, I collected some cases related to AI and music through Google, social media and other technical blogs, to understand how their creative effects were achieved, and I tried to find clues from them, hopefully I can find some inspiration through them:
Blocky - run block code
(https://blockly-demo.appspot.com/static/demos/code/index.html)
Natya*ML - generate music using the interactive input from the user
(https://dance-project.glitch.me/)
Tonejs - instruments
(https://github.com/nbrosowsky/tonejs-instruments)
Hyoerscire - music software that lets anyone compose music
(https://www.media.mit.edu/projects/hyperscore/overview/)
Pianoroll RNN-NADE
(https://github.com/magenta/magenta/blob/master/magenta/models/pianoroll_rnn_nade/README.md)
Synth - sound maker
(https://experiments.withgoogle.com/ai/sound-maker/view/)
Assisted Melody -
(https://artsexperiments.withgoogle.com/assisted-melody-bach?p=edit#-120-piano)
MOD Synth - modular synthesizer
Tacotron: Towards End-to-End Speech Synthesis
(https://arxiv.org/abs/1703.10135)
(https://google.github.io/tacotron/publications/wave-tacotron/index.html)
(https://google.github.io/tacotron/publications/wave-tacotron/wavetaco-poster.pdf)
We can start from a question: What methods can we use to obtain data in the physical world? It can be sound/image/manual input...So in my project plan, I chose three ways to create music loops:
- Randomly generate seedpattern by adjusting the parameters, and then generate longer loops through the trained DrumRNN model. I liken this process to throwing dice, full of random fun.
- Edit the seedpattern by hand, and check the different percussion instruments. If you are a person who knows something about music, this method can help you find more musical inspiration.
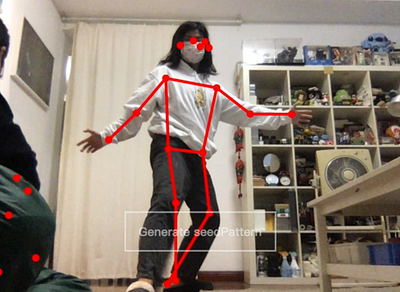
- Collect human pose information through webcam, and then generate different loops according to different poses, an interactive method that can be explored and fun.
After determining the basic interaction method, I need to think more about how to choose a technical solution, so that my ideas can be implemented more efficiently and quickly, tested and further improved.
In this part, I will mainly introduce which technical methods I have selected, and how these technologies help me better achieve my project goals.
The first thing to be clear is, that because I want to quickly test and develop my project, although python or other computer languages may be more efficient in data processing and machine learning, I finally chose JavaScript as my development language. One reason is that browser-based projects can be easily experienced by most people through the Internet, and the other is that I am more familiar with JavaScript, and the development process will be smoother and smoother.
What is Tone.js?
Tone.js is a Web Audio framework, developers can use it to create interactive music that can be run in the browser. It has a wealth of synthesizer and parameter control effects. In my project, I mainly use it to control the playback source, and play music according to the array.
The following is a code snippet of my project, showing how Tone.js initializes the convolver, creates drumKit to play the sound sample, and sets the related parameters:
  // initializing the convolver with an impulse response 初始化convolver
  let reverb = new Tone.Convolver(`assets/small-drum-room.wav`).toMaster();
  reverb.wet.value = 0.3;

  // DRUM_CLASSES: 'Kick', 'Snare', 'Hi-hat closed', 'Hi-hat open', 'Tom low', 'Tom mid', 'Tom high', 'Clap', 'Rim'

  let drumKit = [
      new Tone.Player(`808-kick-vh.mp3`).toMaster(),
      new Tone.Player(`flares-snare-vh.mp3`).toMaster(),
      new Tone.Player(`808-hihat-vh.mp3`).connect(new Tone.Panner(-0.5).connect(reverb)),
      new Tone.Player(`808-hihat-open-vh.mp3`).connect(new Tone.Panner(-0.5).connect(reverb)),
      new Tone.Player(`slamdam-tom-low-vh.mp3`).connect(new Tone.Panner(-0.4).connect(reverb)),
      new Tone.Player(`slamdam-tom-mid-vh.mp3`).connect(reverb),
      new Tone.Player(`slamdam-tom-high-vh.mp3`).connect(new Tone.Panner(0.4).connect(reverb)),
      new Tone.Player(`909-clap-vh.mp3`).connect(new Tone.Panner(0.5).connect(reverb)),
      new Tone.Player(`909-rim-vh.wav`).connect(new Tone.Panner(0.5).connect(reverb))
  ];
Through this part of the code, I created drumKit, which can be called to play various sound combinations in my future work.
After creating a drumKit that can be played through Tone.js, we need to find a way, similar to creating "music scores", and then let drumKit play at a set rhythm; but considering that most people do not have enough music theory knowledge, so I want to add a method that can be automatically generated, so that people without music experience can create good loops. Finally, I found musicRNN. You give it a NoteSequence, and it continues it in the style of your original NoteSequence.
What is musicRNN?
https://magenta.github.io/magenta-js/music/classes/_music_rnn_model_.musicrnn.html
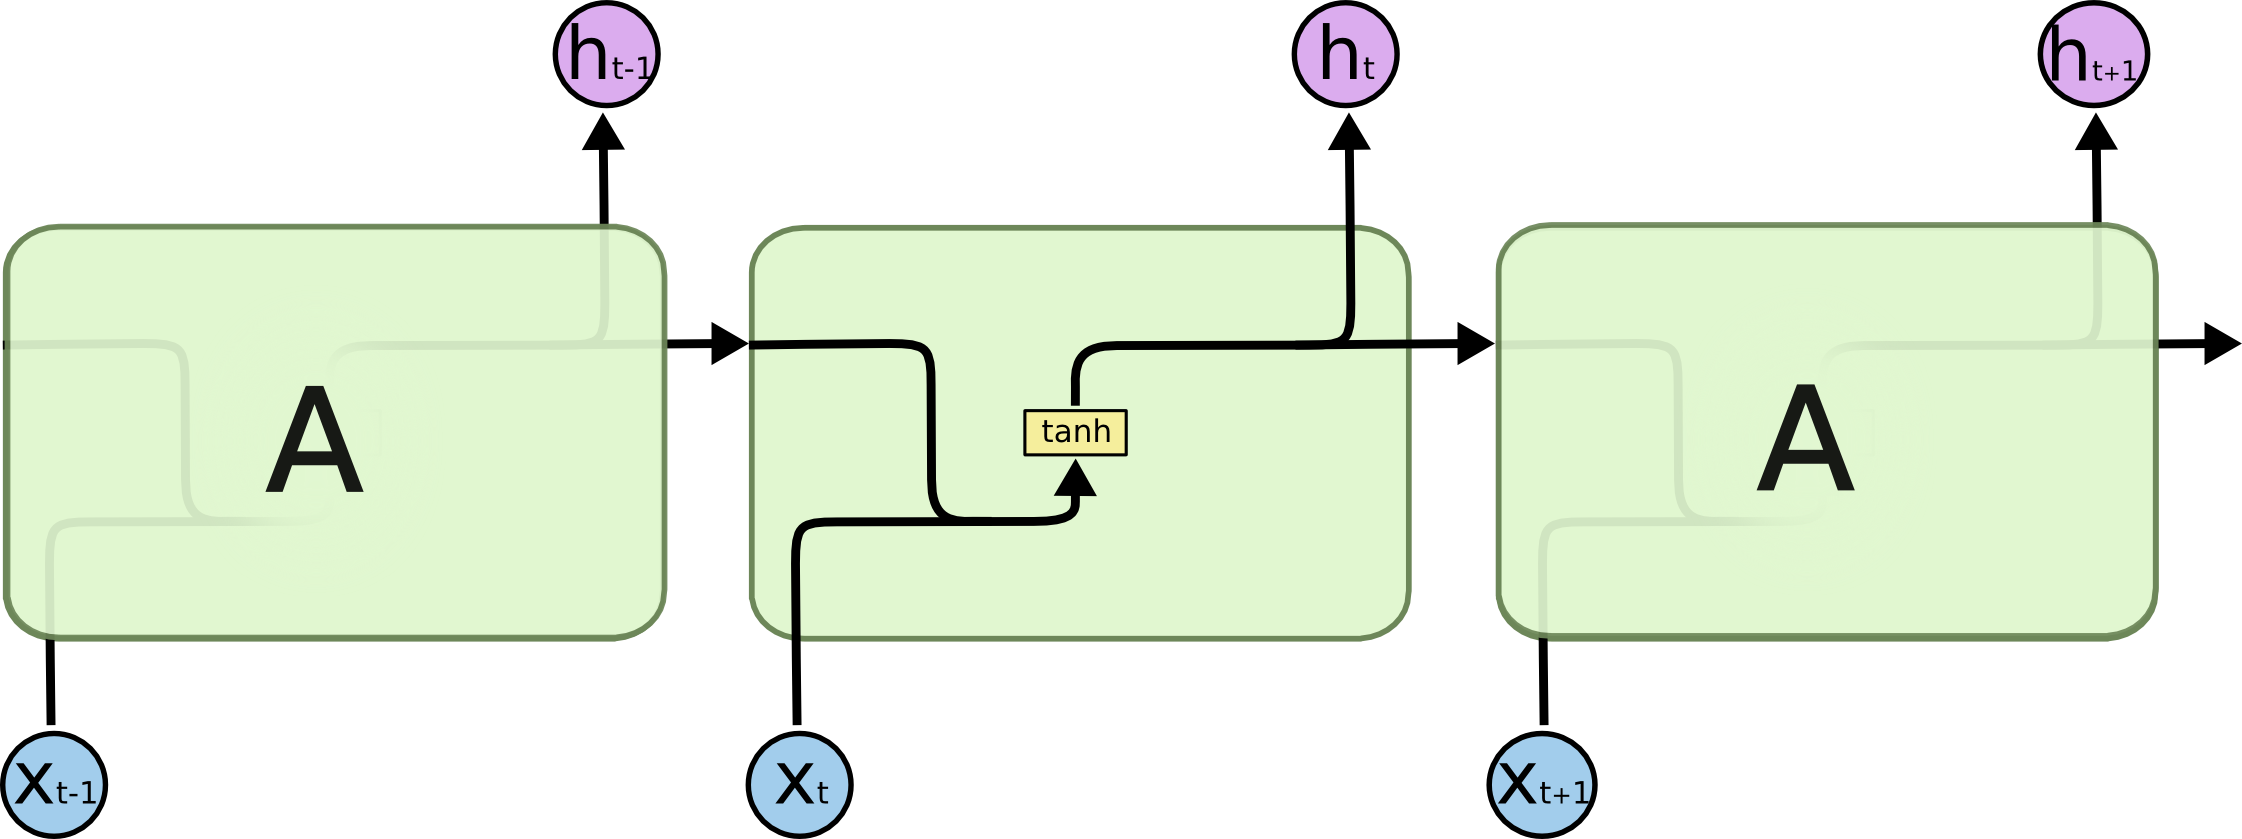
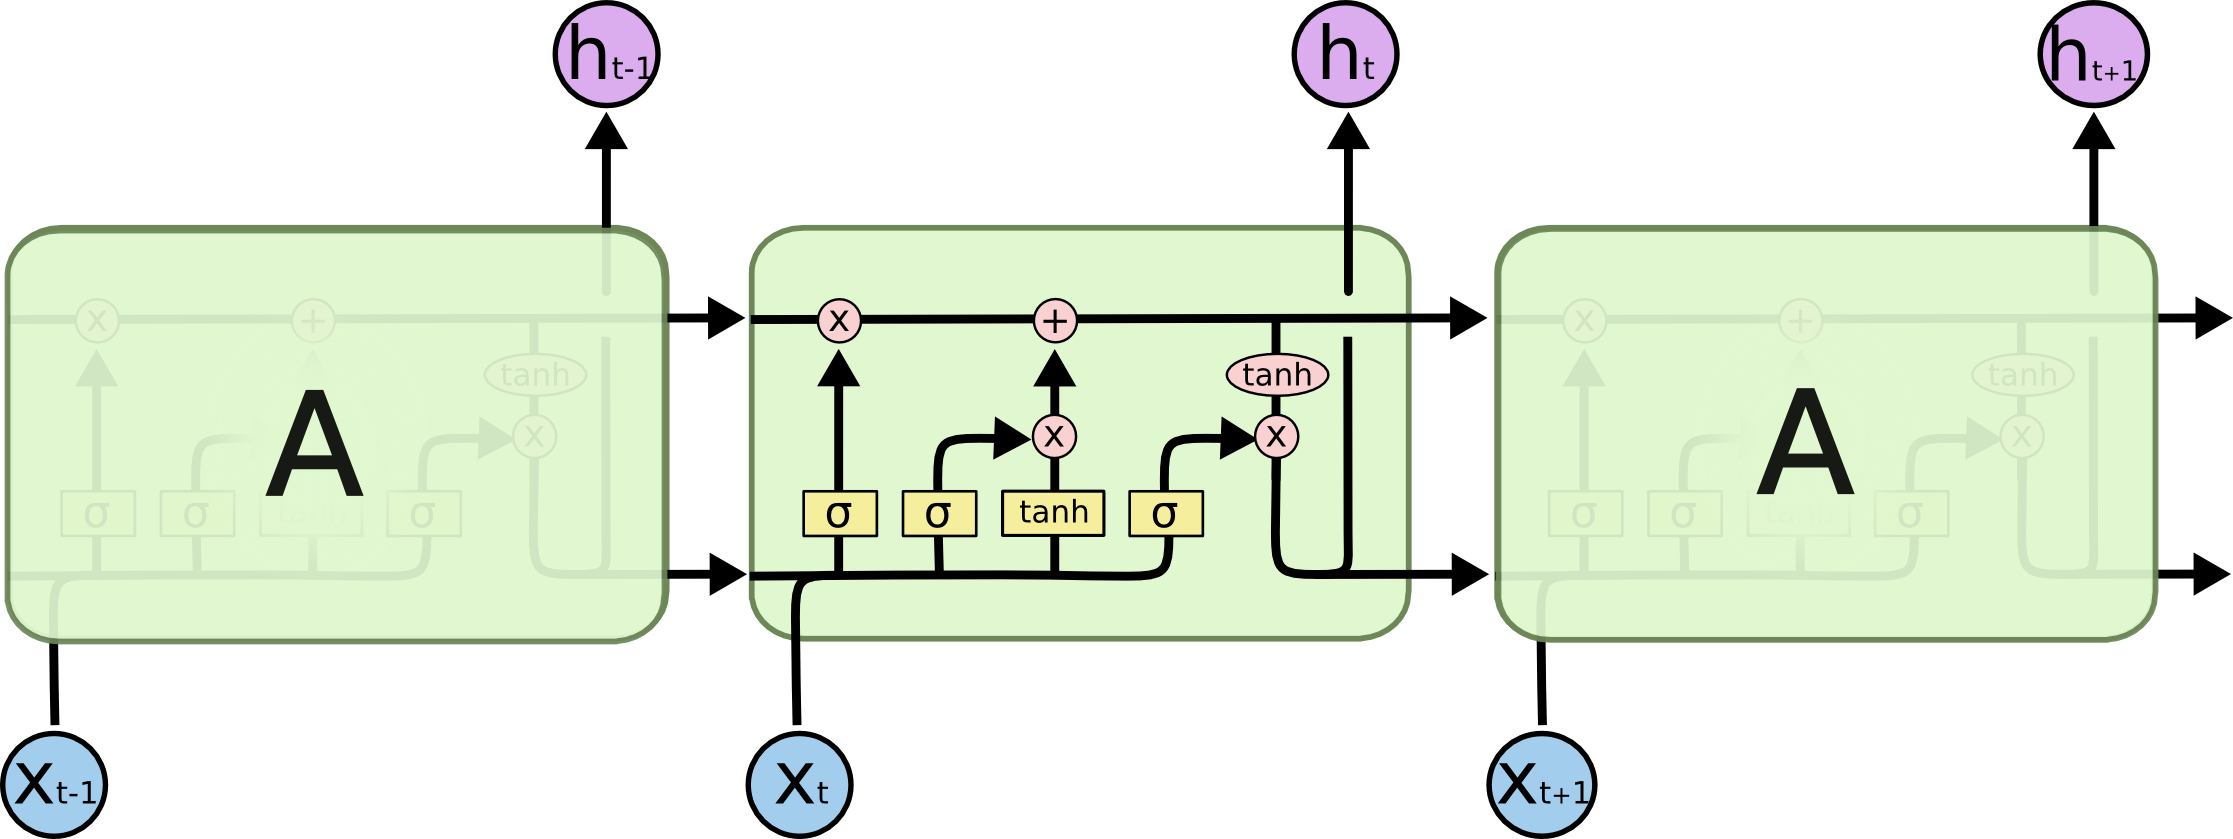
We can learn about Magenta's related description from the above link, "A MusicRNN is an LSTM-based language model for musical notes." If we provide a quantized NoteSequence, we can use MusicRNN to extend our playback sequence:
  let drumRnn = new mm.MusicRNN('https://storage.googleapis.com/download.magenta.tensorflow.org/tfjs_checkpoints/music_rnn/drum_kit_rnn');
  drumRnn.initialize();
The model expects a quantized sequence, and ours was unquantized, so we need to create a conversion function:
You can learn a detailed description of the quantizeNoteSequence function here: https://magenta.github.io/magenta-js/music/modules/_core_sequences_.html#quantizenotesequence
  function toNoteSequence(pattern) {

      return mm.sequences.quantizeNoteSequence({
              ticksPerQuarter: 220,
              totalTime: pattern.length / 2,
              timeSignatures: [{
                  time: 0,
                  numerator: 4,
                  denominator: 4
              }],
              tempos: [{
                  time: 0,
                  qpm: 120
              }],
              notes: _.flatMap(pattern, (step, index) =>
                  step.map(d => ({
                      pitch: midiDrums[d],
                      startTime: index * 0.5,
                      endTime: (index + 1) * 0.5
                  }))
              )
          },
          1
      );
  };
function fromNoteSequence(seq, patternLength) {
let res = _.times(patternLength, () => []);
for (let { pitch, quantizedStartStep } of seq.notes) {
res[quantizedStartStep].push(reverseMidiMapping.get(pitch));
}
return res;
}In this function, we will control the playback of Tone.js according to the sequence generated by MusicRNN:
  function playPattern(pattern) {

      sequence = new Tone.Sequence(
          (time, {drums, index}) => {
              drums.forEach(d => {
                  drumKit[d].start(time)
              });
          },
          pattern.map((drums, index) => ({ drums, index })),
          '16n'
      );

      Tone.context.resume();
      Tone.Transport.start();

      Tone.Transport.bpm.value = parseInt(document.getElementById("bpm").value);
      sequence.start();
  }
At this point, we have realized the serialization of the input array and increasing the length of the array through Magenta.js; and magenta can create a mapping relationship to control the audio playback of Tone.js. The next step is that we need to obtain a seed pattern in different ways, and pass it to Magenta to generate our playback sequence.
What is ml5.js?
ml5.js is a friendly deep learning framework based on tensorflow.js, which can be run in a browser, and what I need to use is one of the machine learning models: PoseNet. Collect data through Webcam, and then provide the node information we need.
You can find the official sketch.js in the repostories of GitHub for a quick trial.
Now I create a canvas to display the video information collected by the webcam, and introduce ml5.poseNet.
let video;
let poseNet;
let poses = [];


function setup() {
    let mycanvas = createCanvas(540, 398);
    mycanvas.parent('canvas');
    strokeWeight(4);
    stroke(51);
    video = createCapture(VIDEO);
    video.size(width, height);

    // 通过单人检测闯进啊一个新的posetNet方法
    poseNet = ml5.poseNet(video, modelReady);
    // 这里设置了一个时间,填充全局变量“pose”
    // 当新的pose被检测时会有一个数组
    poseNet.on("pose", function(results) {
        poses = results;
    });
    // 隐藏视频元素,只显示canvas
    video.hide();
}

function modelReady() {
    console.log("model Loaded!");
}
Then, in order to facilitate us to have expectations of the collected location information, we draw the keypoints on the canvas:
function draw() {
    image(video, 0, 0, width, height);

    // 我们可以调用该函数来绘制所有的关键点和骨骼
    drawKeypoints();
    drawSkeleton();
}

// 为检测的关键点绘制ellipses
function drawKeypoints() {
    // 通过所有的检测循环实现
    for (let i = 0; i < poses.length; i += 1) {
        const pose = poses[i].pose;
        for (let j = 0; j < pose.keypoints.length; j += 1) {
            const keypoint = pose.keypoints[j];
            // 只有当可信度大于0.2的时候才绘制
            if (keypoint.score > 0.01) {
                fill(255, 0, 0);
                noStroke();
                ellipse(keypoint.position.x, keypoint.position.y, 10, 10);
            }
        }
    }
}

// 绘制skeletons的函数
function drawSkeleton() {
    // 通过所有检测骨骼循环
    for (let i = 0; i < poses.length; i += 1) {
        const skeleton = poses[i].skeleton;
        // 为每一个骨骼循环所有的body连接
        for (let j = 0; j < skeleton.length; j += 1) {
            const partA = skeleton[j][0];
            const partB = skeleton[j][1];
            stroke(255, 0, 0);
            line(partA.position.x, partA.position.y, partB.position.x, partB.position.y);
        }
    }
}
Next, we store the collected keypoints coordinates into a 9x10 matrix as the seedpattern of the long and short-term memory model provided to MusicRNN.
// 在这里我们通过keypoints的坐标来生成一个新的数组
// console.log(poses[0]['pose']['keypoints'][0]['position']['x'])

let seedArrayX = [];
let seedArrayY = [];

function arrayMap() {
    // 获取到keypoints的x坐标信息
    for (var i=0; i < 16; i++) {
        seedArrayX[i] = Math.round(poses[0]['pose']['keypoints'][i]['position']['x']);
    }
    console.log(seedArrayX);
    var max_X = Math.max.apply(null, seedArrayX);
    var min_X = Math.min.apply(null, seedArrayX);
    console.log(max_X, min_X);

    // 获取到keypoints的y坐标信息
    for (var i=0; i < 16; i++) {
        seedArrayY[i] = Math.round(poses[0]['pose']['keypoints'][i]['position']['y']);
    }
    console.log(seedArrayY);
    var max_Y = Math.max.apply(null, seedArrayY);
    var min_Y = Math.min.apply(null, seedArrayY);
    console.log(max_Y, min_Y);

    // .............


    //  在这里我们预先生成一个空的数组[10x9],存储和映射webcam收集的坐标信息
    var bodyArray = new Array();

    for (var k = 0; k < 10; k++){
        bodyArray[k] = new Array();
        for (var j = 0; j < 9; j++) {
            bodyArray[k][j] = "";
        }
    }

    // 将生成的数组打印出来
    console.log("empty bodyArray:" + bodyArray);

    // 将坐标信息映射到生成的bodyArray数组中
    for (var i = 0; i < 16; i++) {
        bodyArray[seedArrayX[i]][seedArrayY[i]] = seedArrayY[i];
    }

    // 打印更新后的bodyArray检查是否输入
    console.log("updated bodyArray:" + bodyArray);

    // 将数组中的空元素滤出
    for (var i = 0; i < 10; i++) {
        bodyArray[i] = bodyArray[i].filter(number => number != "");

    }

    // 将过滤处理的数组打印
    console.log("filtered bodyArray:" + bodyArray);
    seedPattern = bodyArray;
}
Finally, the bodyArray we get is our seedPattern, which can be passed to MusicRNN, and then the loops can be generated through pose.
This part is relatively simple, we only need to create the relevant HTML tag elements, and then provide a function to generate a two-dimensional array to complete the function of random generation:
First, we create three <div> elements in index.html to help us obtain and provide controllable random parameters:
<div class="text1">ranArrayLen: <input type="range" min="1" max="9" id="ranArrayLength" oninput="lengthChange()" /><span id="lengthValue">5</span></div>

<div class="text1">ranArrayMin: <input type="range" min="0" max="8" id="ranArrayMin" oninput="minChange()" /><span id="minValue">4</span></div>

<div class="text1">ranArrayMax: <input type="range" min="0" max="9" id="ranArrayMax" oninput="maxChange()" /><span id="maxValue">5</span></div>
Then in main.js, write down the function that controls the random generation, mainly through the superposition of two one-bit arrays, but we need to consider the array to do some sorting and filtering of duplicates:
// 在这里我们提供随机生成二维数组,随机构建melody

var ddArray= [];

// 随机生成一维数组
function ranArray(len, min, max) {
return Array.from({length:len}, v=>Math.floor(Math.random()*(max-min))+min);
};

// 数组滤重
function unique (arr) {
return Array.from(new Set(arr))
}

// 数组排序
function resort(arr) {
return arr.sort(function(a, b){return a - b});
}

// 生成二维数组

function randomArray() {

    var ranArrayLen = parseInt(document.getElementById('ranArrayLength').value);

    var ranArrayMin =
      parseInt(document.getElementById('ranArrayMin').value);

    var ranArrayMax =
      parseInt(document.getElementById('ranArrayMax').value);

    for (var i = 0; i < 10; i++) {
    ddArray[i] = resort(unique(ranArray(ranArrayLen, ranArrayMin, ranArrayMax)));
    seedPattern = ddArray;
    console.log(seedPattern);
    }
}In this part, we will build an input group that allows users to create their own seedpattern by checking the form. The advantage of this method is that users can pass a seedpattern to MusicRNN more intuitively and clearly, and then get an AI Generated loops. Here, I used a clumsy method to achieve this, which is to create a large number of <input> tags in HTML. In fact, we can also use some frameworks, vue.js or react.js to create virtual DOM elements through JavaScript. , But I did not try:
<div id=“checkboxGroup”>
  <p id="row1" style="display: inline-block;">
     <input type="checkbox" id="cbox0-0" value="0" style="display: block;" class="audioBox"/>
     <input type="checkbox" id="cbox0-1" value="1" style="display: block;" class="audioBox"/>
     <input type="checkbox" id="cbox0-2" value="2" style="display: block;" class="audioBox"/>
     <input type="checkbox" id="cbox0-3" value="3" style="display: block;" class="audioBox"/>
     <input type="checkbox" id="cbox0-4" value="4" style="display: block;" class="audioBox"/>
     <input type="checkbox" id="cbox0-5" value="5" style="display: block;" class="audioBox"/>
     <input type="checkbox" id="cbox0-6" value="6" style="display: block;" class="audioBox"/>
     <input type="checkbox" id="cbox0-7" value="7" style="display: block;" class="audioBox"/>
     <input type="checkbox" id="cbox0-8" value="8" style="display: block;" class="audioBox"/>
  </p>

  // ....

</div>
Yes, I just created 90 <input> elements on the interface like this, which is not a good way.
I use the element of id="row1" to briefly explain my implementation process. First, declare some variables:
  var darray = new Array();
  var seedPattern = new Array();
  var btn = document.getElementById("btn");
  var checkboxGroup = document.getElementsByClassName("audioBox");
Then get the corresponding label element:
var obj1 = document.getElementById("row1").getElementsByTagName("input");Then add the click event of <input> and add it to the array:
  btn.addEventListener("click", function () {
  var rArray1 = [];
  // ...


  for (var i = 0; i < obj1.length; i++) {
    if (obj1[i].value.length > 0 && obj1[i].checked == true) {
      rArray1.push(parseInt(obj1[i].value));
    }
  }
  // ...

  darray[0] = rArray1;
  // ...

  seedPattern = darray;
}
In this process, we created a temporary array rArray1 to help us store information, because this is a process of converting a one-dimensional array into a two-dimensional array, so we need to retain the order information when it is generated.
Then in order to ensure the friendliness of the project, a clean function was added:
 document.getElementById("cleanBtn").addEventListener("click", function () {
    for (var i = 0; i < checkboxGroup.length; i++) {
      checkboxGroup[i].checked = false;
    }
  });
After clicking cleanBtn, all input states in the checkboxGroup will be set to false.
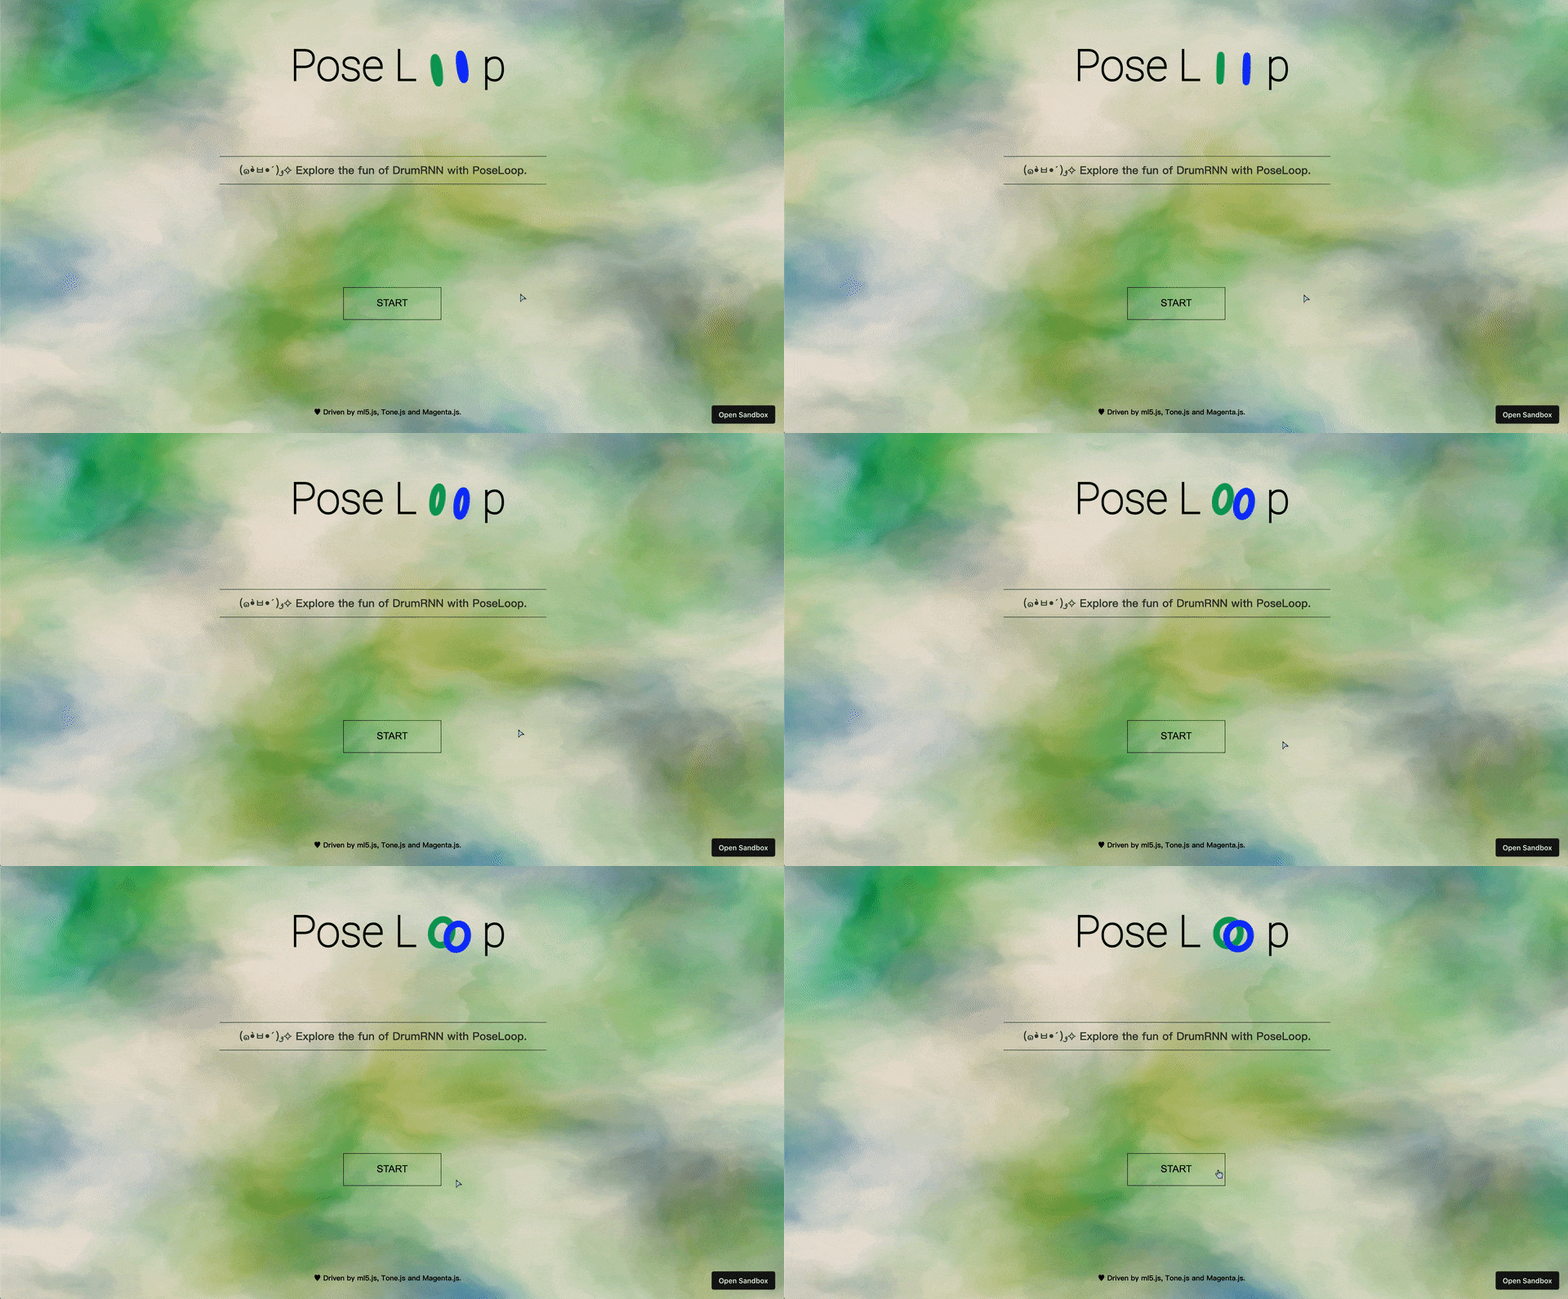
In the final interface visual design, I chose a relatively simple solid color style, which allows users to focus more on the interaction with interface elements. Similarly, I also added a js animation library (https ://zzz.dog), to help me create the loop animation on the loading interface, I also refer to the button styles of many other people, these elements enrich my project, so that users will not be so monotonous when they try; In CSS, the difficulty encountered is to adjust the native label elements. It takes a lot of time to understand how an input is defined. Of course, it also requires constant adjustment of parameters to achieve an ideal effect. This requires no little patience.
PoseLoops is a simple AI-driven music interactive project. Users can generate a unique melody through the posture information captured by webcam. Of course, users can also provide input to the neural network and generate unique output through random mode and editing mode. .
After finishing the project, I will think, in what areas can I make more attempts, for example, is it possible to add image recognition? Create a seedpattern by recognizing pictures, and then generate loops through AI. Because webcam's capture capability is limited, other art paintings or some landscapes taken can be converted into input, which makes it possible to create loops; another idea is , Can we consider providing microphone input, by re-interpreting the melody of the input sound through drumkit, this will also be a new idea that can be tried.
Want to Generate your own Music using Deep Learning? Here’s a Guide to do just that!
https://www.analyticsvidhya.com/blog/2020/01/how-to-perform-automatic-music-generation/
LSTMs for Music Generation
https://towardsdatascience.com/lstms-for-music-generation-8b65c9671d35
How to Generate Music using a LSTM Neural Network in Keras
Using tensorflow to compose music
https://www.datacamp.com/community/tutorials/using-tensorflow-to-compose-music
Melody Mixer: Using TensorFlow.js to Mix Melodies in the Browser
WaveNet: A Generative model for raw audio
https://arxiv.org/pdf/1609.03499.pdf
A guide to WaveNet
https://github.com/AhmadMoussa/A-Guide-to-Wavenet
A 2019 Guide to Speech Synthesis with Deep Learning
https://heartbeat.fritz.ai/a-2019-guide-to-speech-synthesis-with-deep-learning-630afcafb9dd
MusicVAE
https://notebook.community/magenta/magenta-demos/colab-notebooks/MusicVAE
Contemporary Machine Learning for Audio and Music Generation on the Web: Current Challenges and Potential Solutions
https://ualresearchonline.arts.ac.uk/id/eprint/15058/1/ICMC2018-MG-MYK-LM-MZ-CK-CAMERA-READY.pdf
Music control with ml5.js
https://fernandaromero85.medium.com/music-control-with-ml5-js-5b3f9de190e0
ml5.js Sound Classifier Bubble Popper
https://dmarcisovska.medium.com/ml5-js-sound-classifier-bubble-popper-fac1546a5bad
Build a Drum Machine with JavaScript, HTML and CSS
https://medium.com/@iminked/build-a-drum-machine-with-javascript-html-and-css-33a53eeb1f73
Creative Audio Programming for the Web with Tone.js
Real-time Human Pose Estimation in the Browser with TensorFlow.js
Generating Synthetic Music with JavaScript - Introduction to Neural Networks
MusicVAE: Creating a palette for musical scores with machine learning
https://magenta.tensorflow.org/music-vae
Instrument samples


