forked from ssysm/FTC-TFoD
-
Notifications
You must be signed in to change notification settings - Fork 0
Quickstart
SeanErn edited this page Apr 19, 2023
·
1 revision
Things to remember:
- Record the object from different angles and distances
- Record the object in different lighting conditions
- Record the object in different backgrounds
- Record around 900 frames per object MINIMUM (30s of video at 30fps)
- Record using the camera you will be using on the robot
An example of this for the 2023 season might be:
- Mount your camera to the robot in its final position
- Connect the USB cable to a laptop or other device
- Open up any video recording software (such as camera on windows)
- Select the camera you will be using on the robot
- Record the object from different angles, distances, and lighting conditions by moving the robot around for 30 seconds, while still keeping the object in frame
- Repeat step 5 for each object you want to detect
- Place your training videos in the
train_datafolder - Run the main script
./run.sh- Select
Manual Labelfrom the menu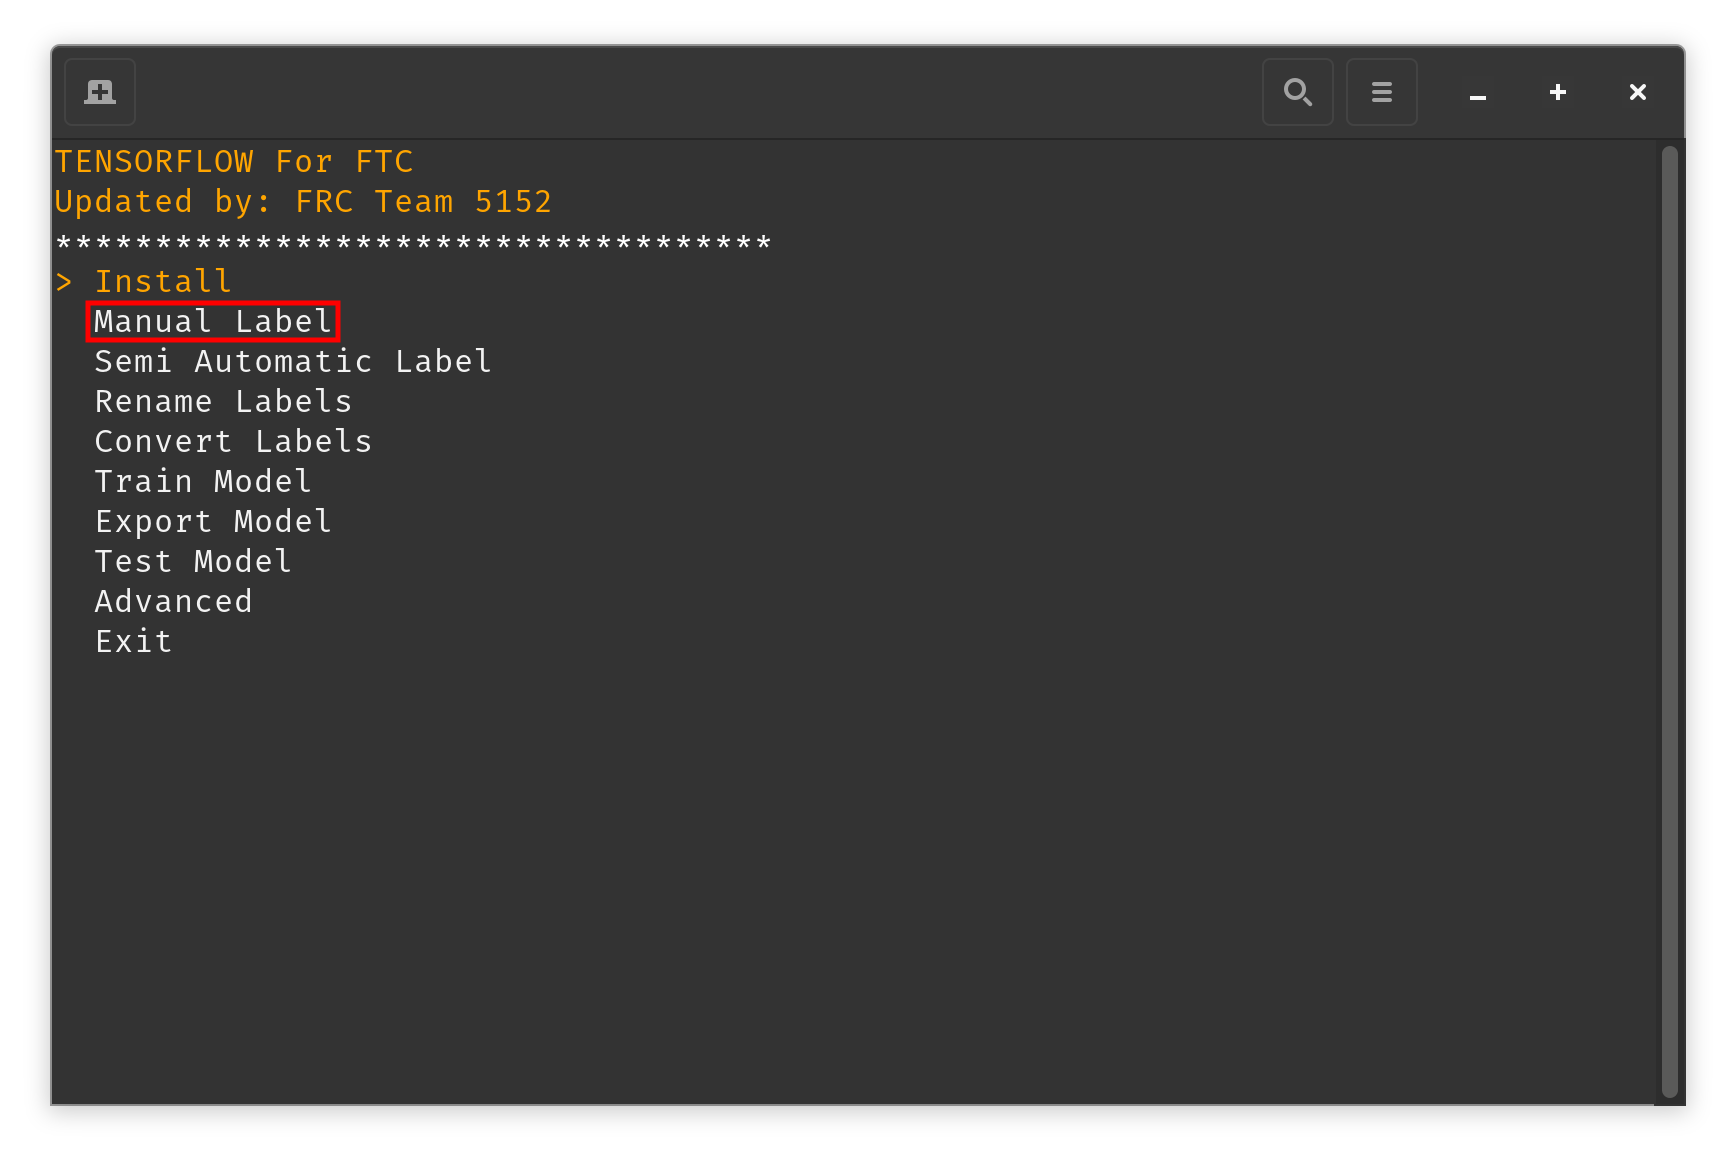
- Copy the path to the video you want to label and paste it into the prompt (Ex.
train_data/2023.mp4)
- Enter the amount of frames you want to skip between each frame you label (useful only if your video is very long) If you want to label every frame, enter 0
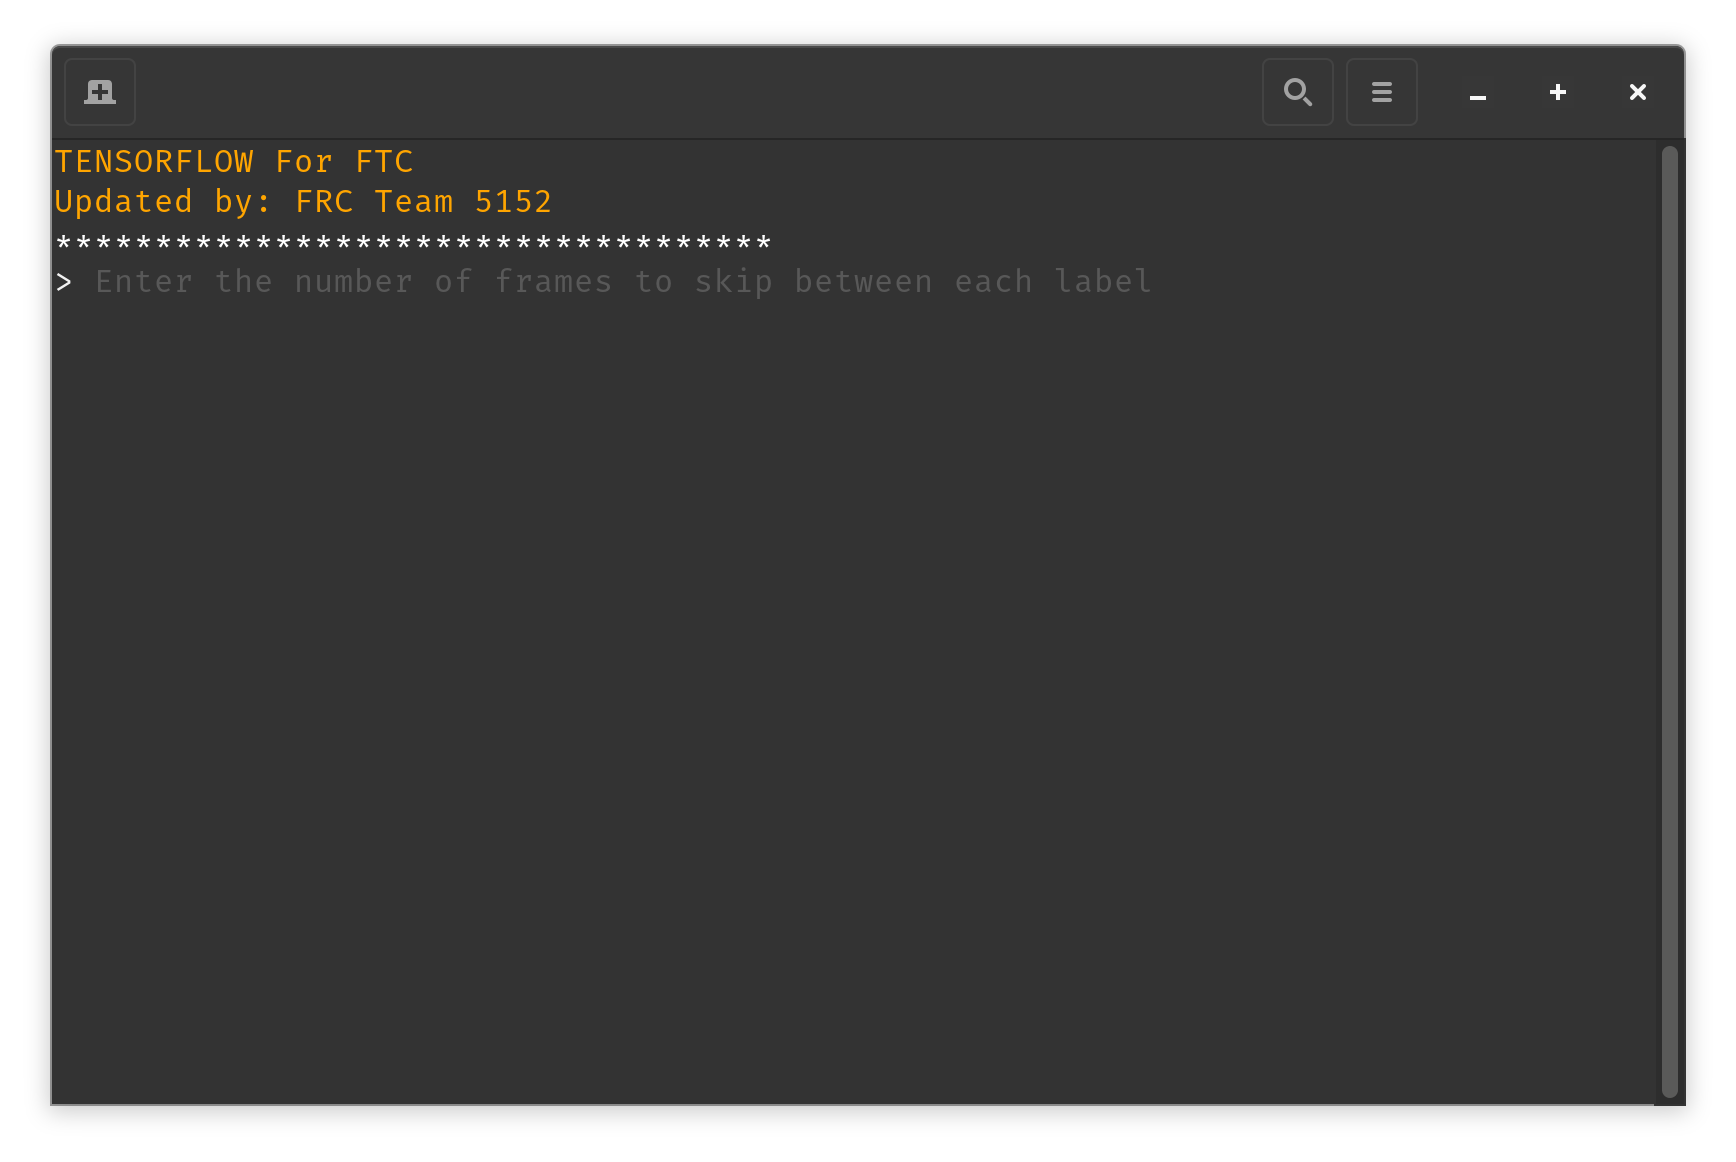
- Press the
Backtick keyand any letter on your keyboard to set a label for that frame - Click on the upper left corner of your object to set the top left corner of the bounding box and click on the lower right corner of your object to set the bottom right corner of the bounding box (the program should look something like this)
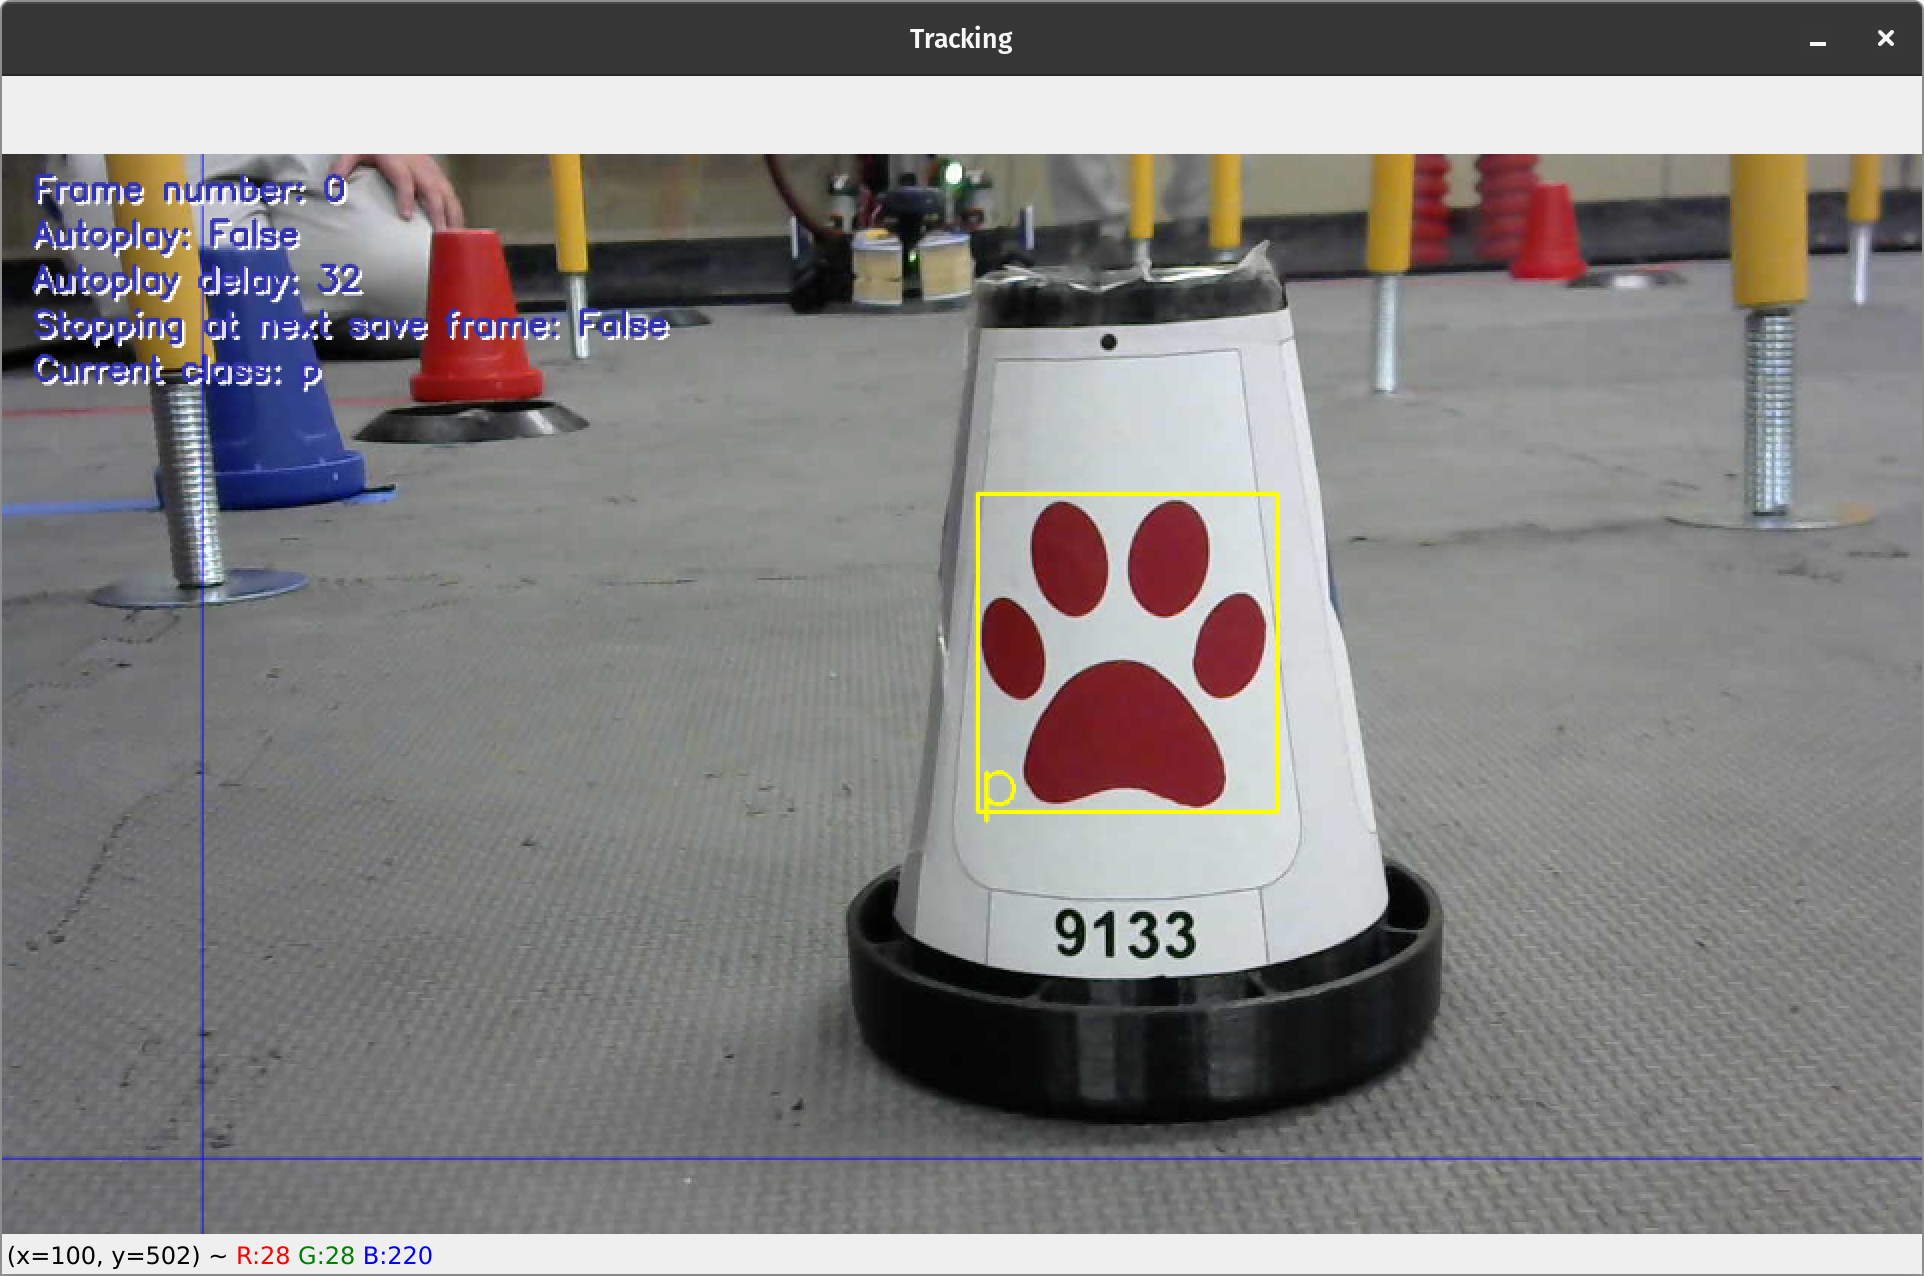
- Press
lto move to the next frame - Repeat steps 4-6 until you have labeled all frames
- Press
qto quit the program - Repeat steps 1-8 for each video you want to label
- Select
Semi Automatic Labelfrom the menu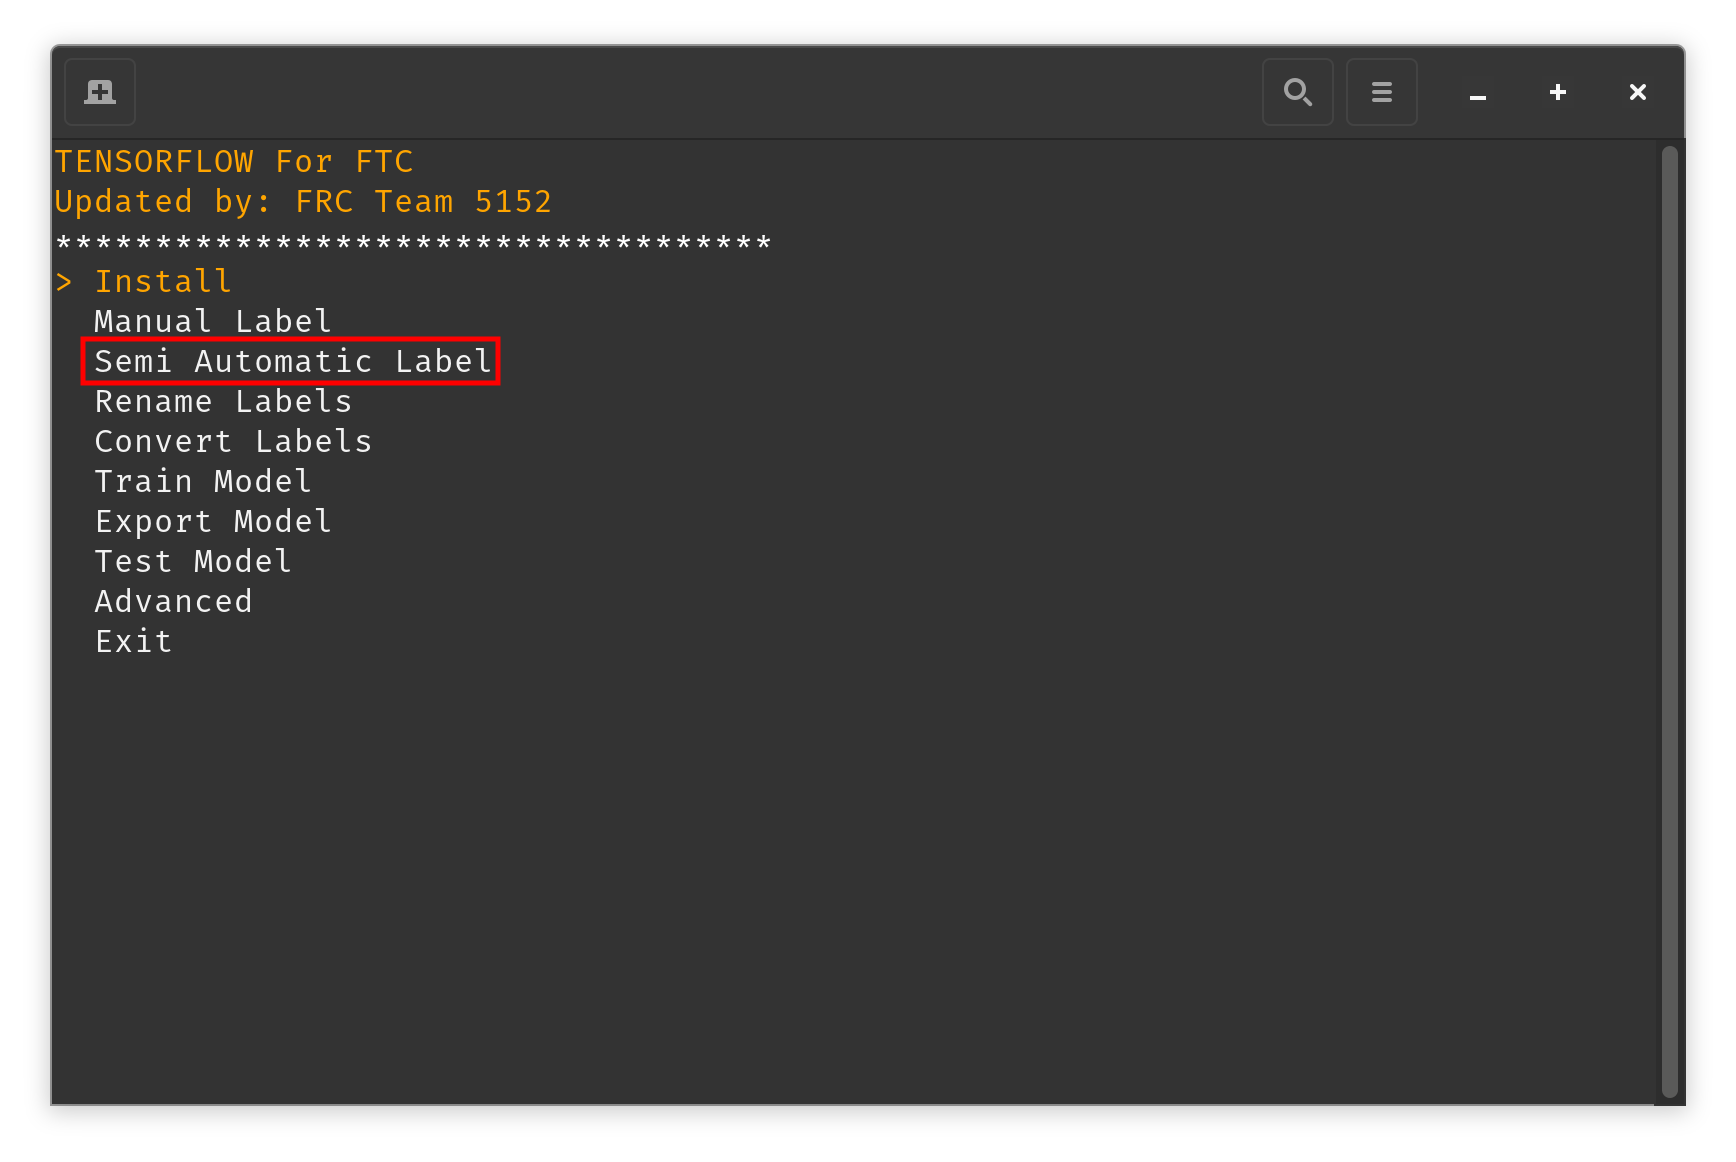
- Select
Find Bounding (FIRST)from the submenu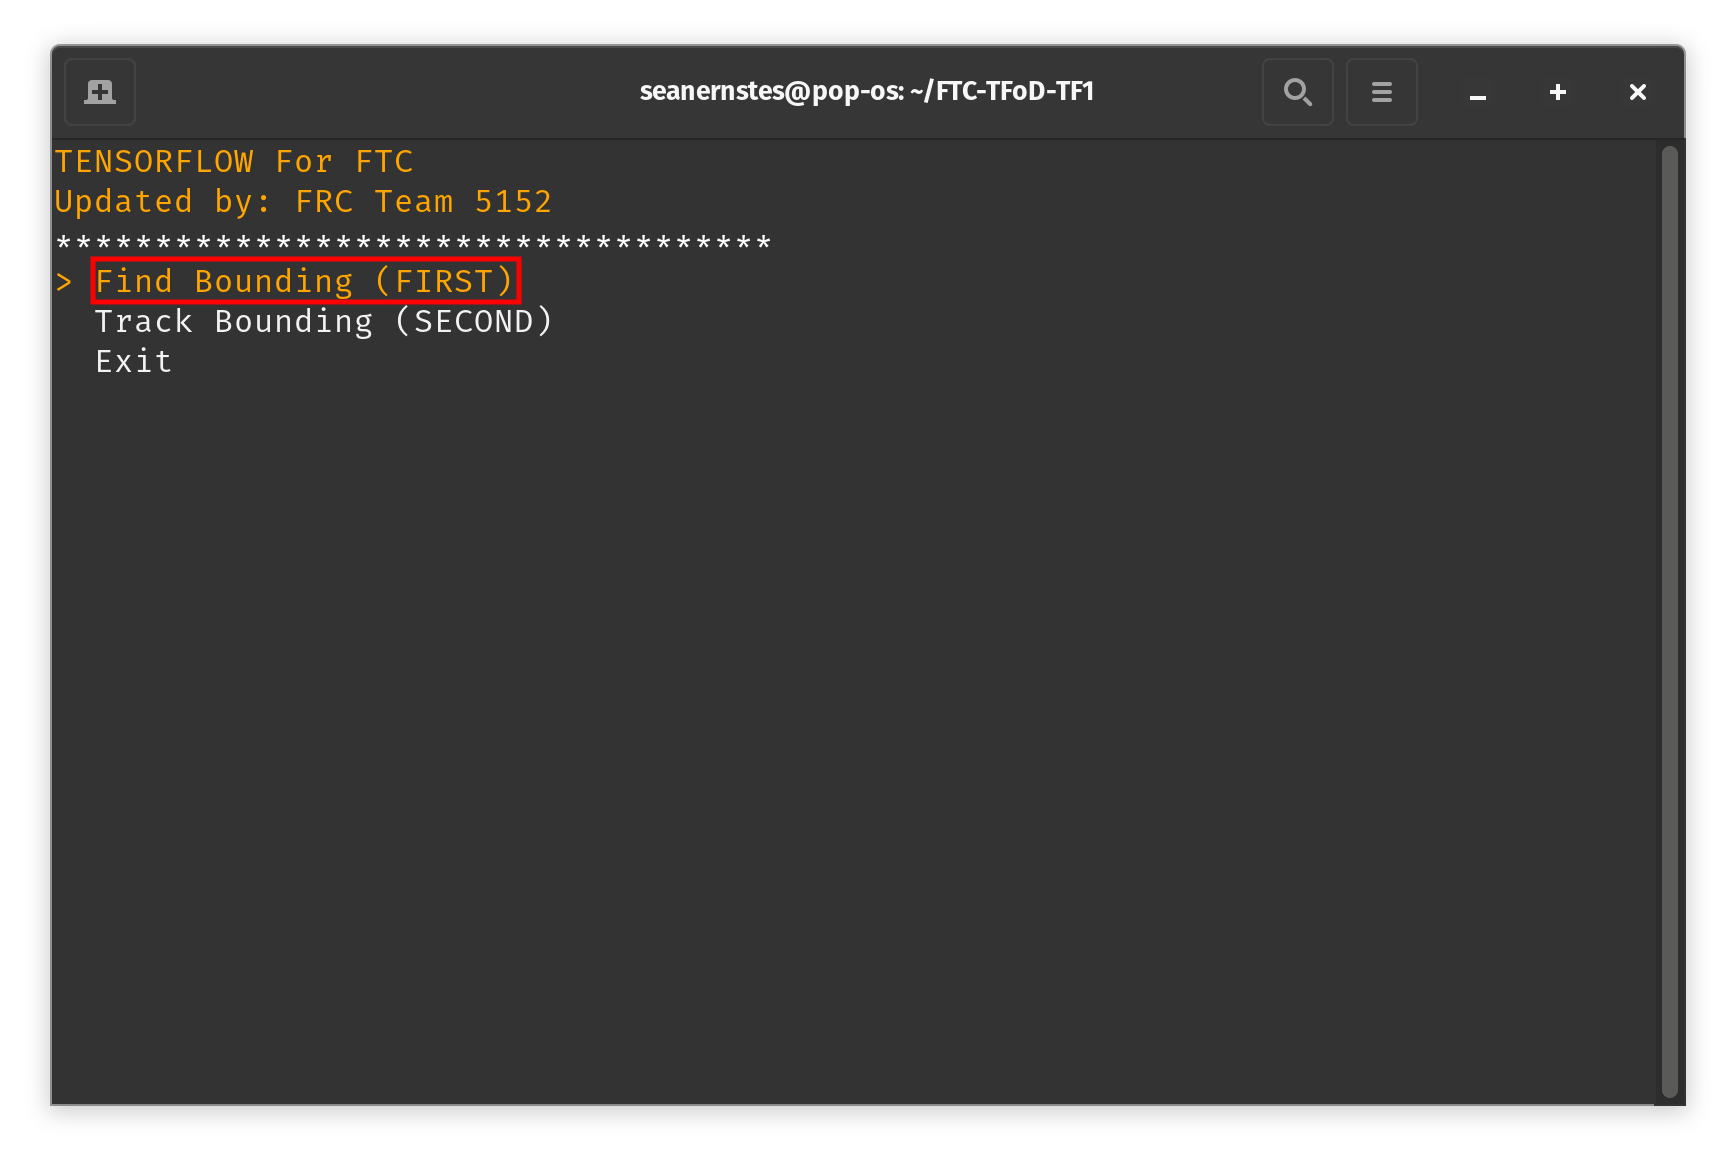
- Copy the path to the video you want to label and paste it into the prompt (Ex.
train_data/2023.mp4)
- Press any letter on your keyboard to set a label for that frame
- Click on the upper left corner of your object to set the top left corner of the bounding box and click on the lower right corner of your object to set the bottom right corner of the bounding box (the program should look something like this)
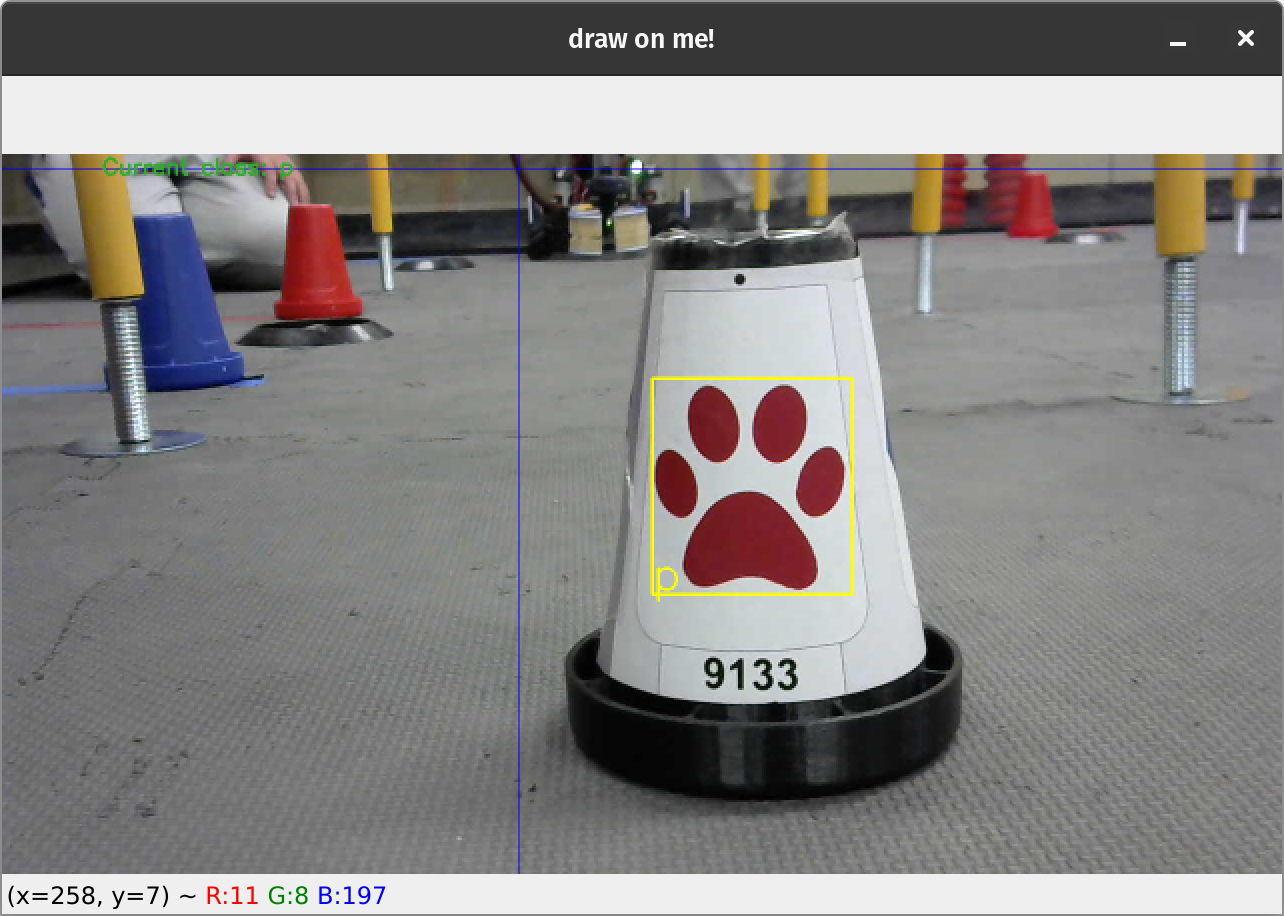
- Press
qto quit the program - Select
Semi Automatic Labelfrom the menu
- Select
Track Bounding (SECOND)from the submenu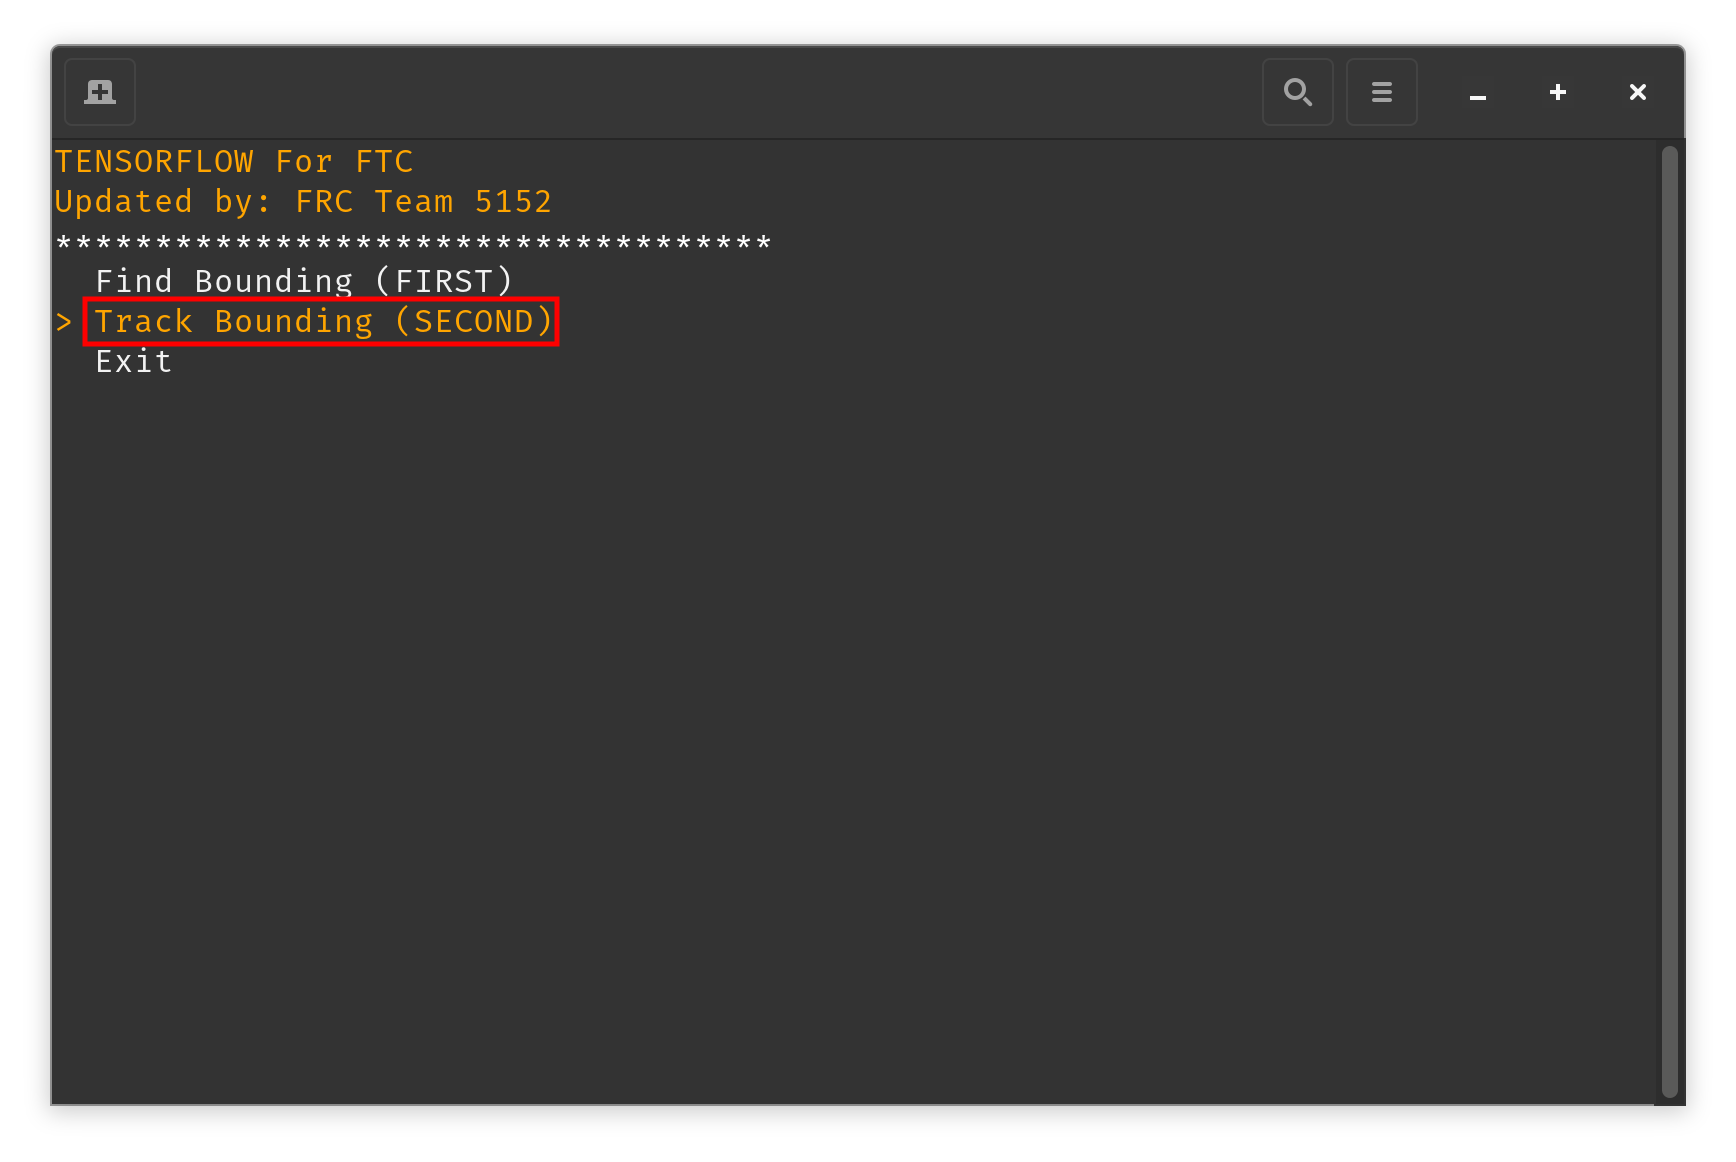
- Copy the path to the video you want to label and paste it into the prompt (Ex.
train_data/2023.mp4)
- Check to make sure the bounding box looks correct

- Press
yif the bounding box is correct, ornif it is not - The program will then track the object in the video and label each frame. If the bounding box ever looks incorrect, press the
spacebarto pause the video. Use the dots to adjust the bounding box. Then pressspacebaragain to continue the video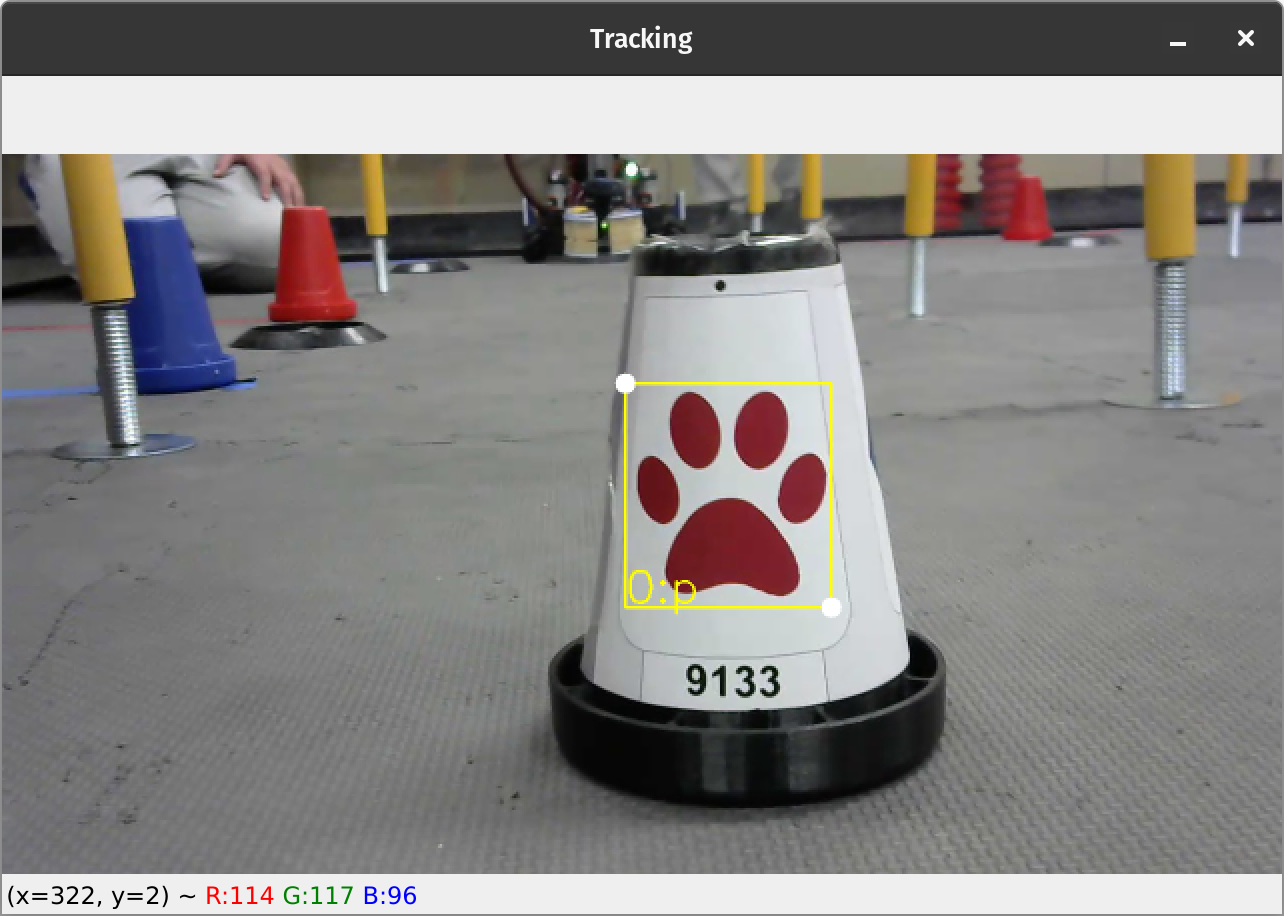
- Press
qto quit the program manually, or wait for the video to finish and it will quit automatically - Repeat steps 1-13 for each video you want to label
- Select
Rename Labelsfrom the menu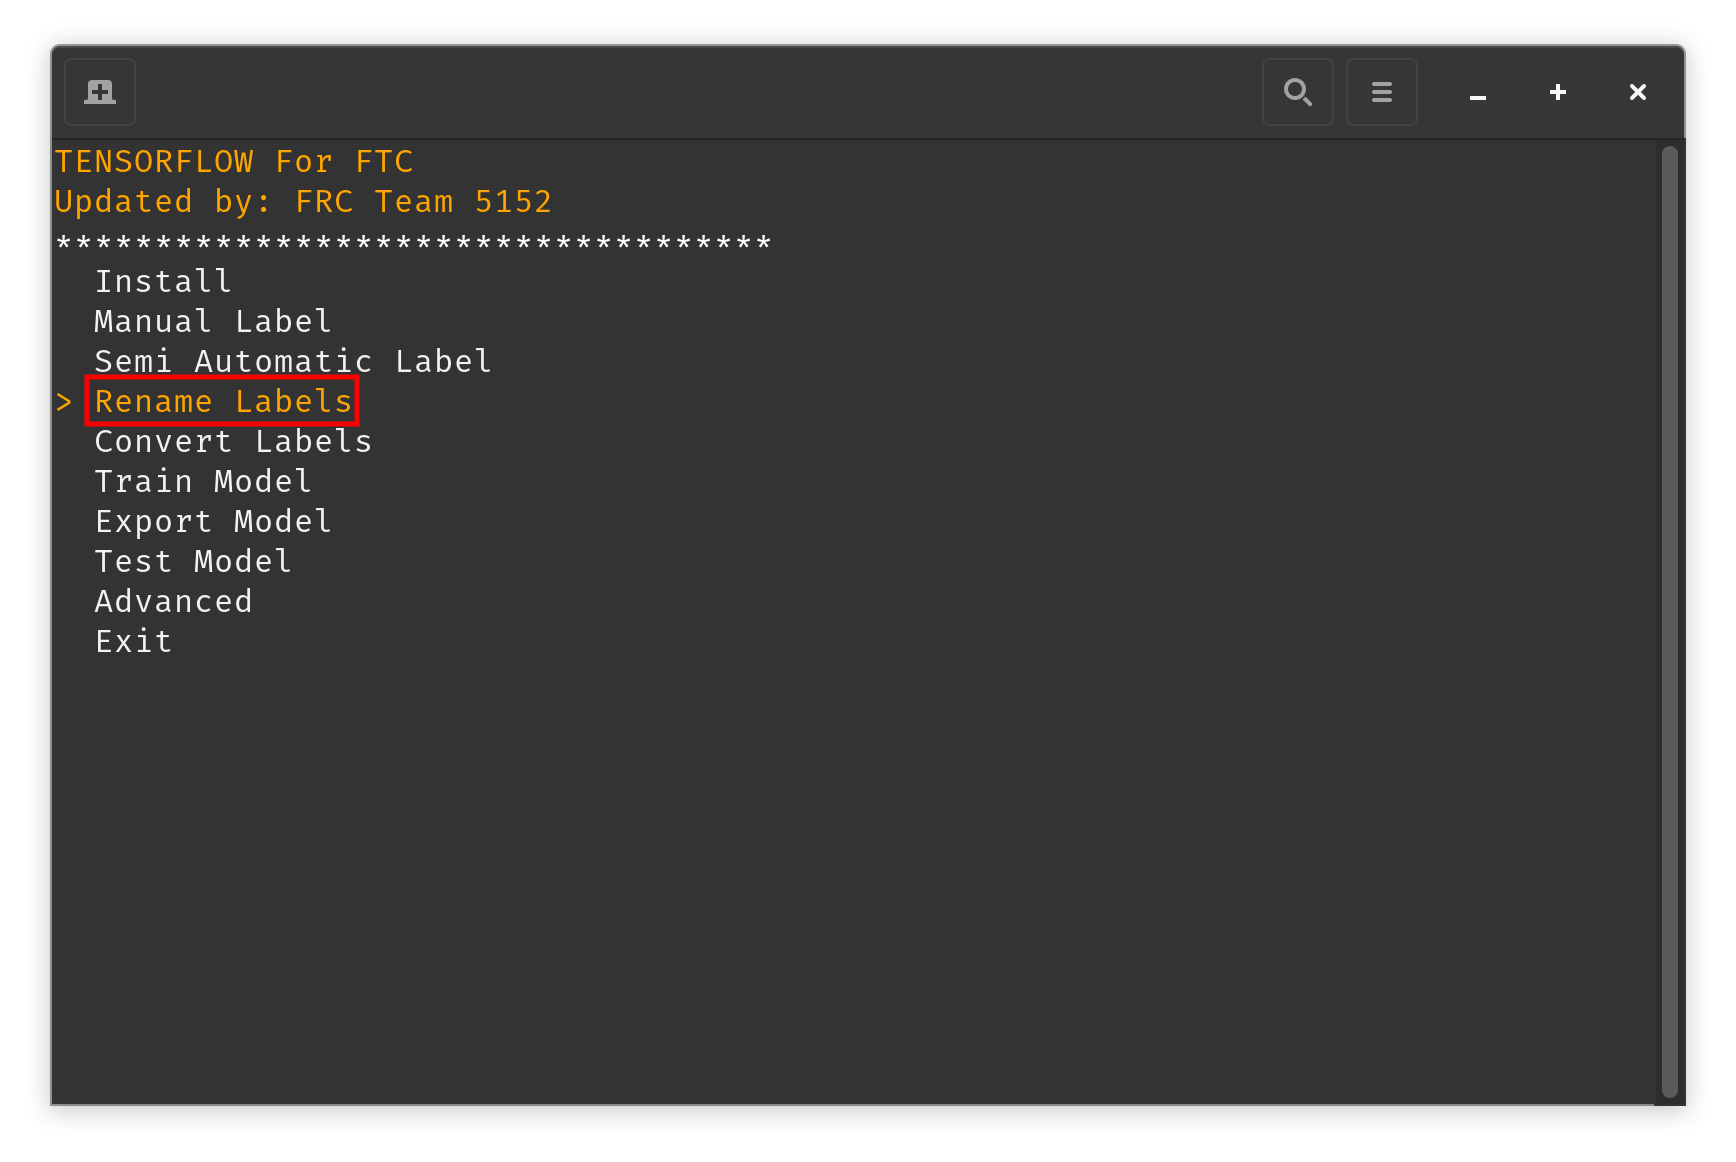
- Enter the path of the directory containing the raw label files and images (Ex.
train_data/2023_TrackerCSRT_1.000000)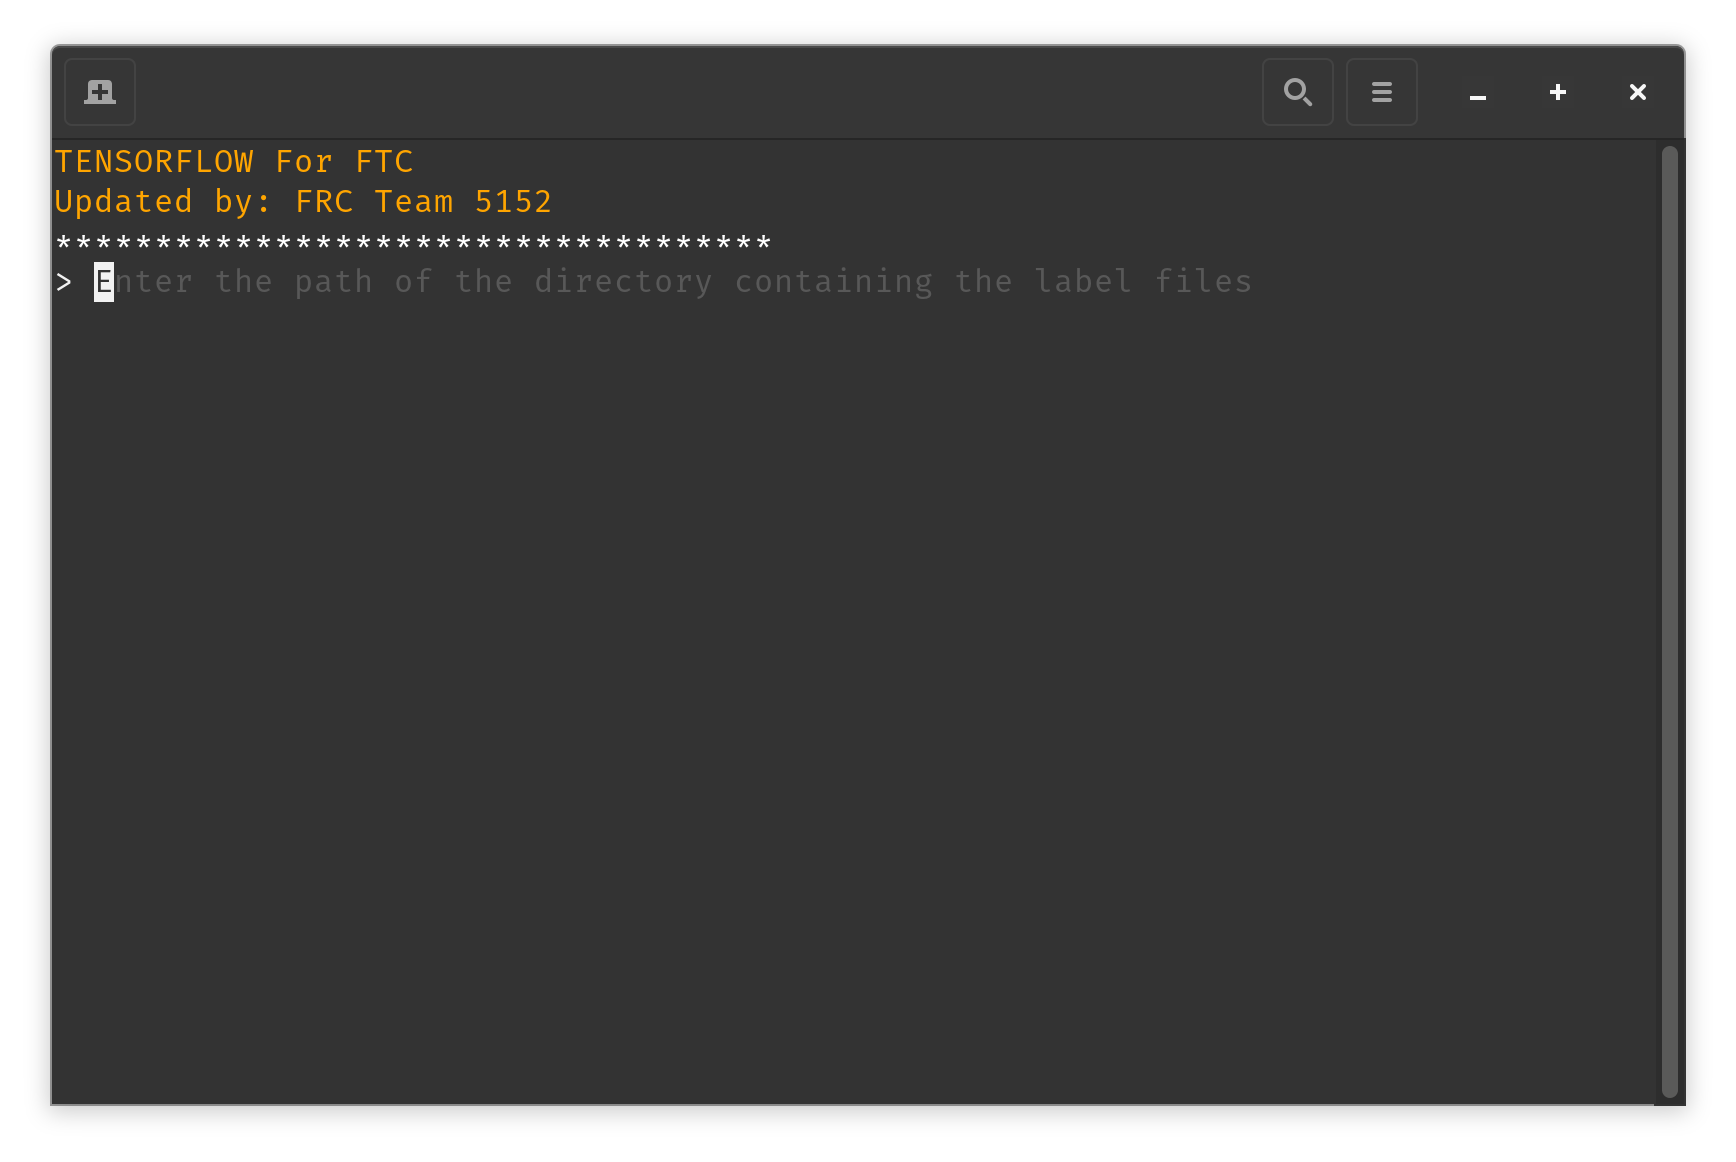
- Enter the old letter used to represent the label (Ex.
p)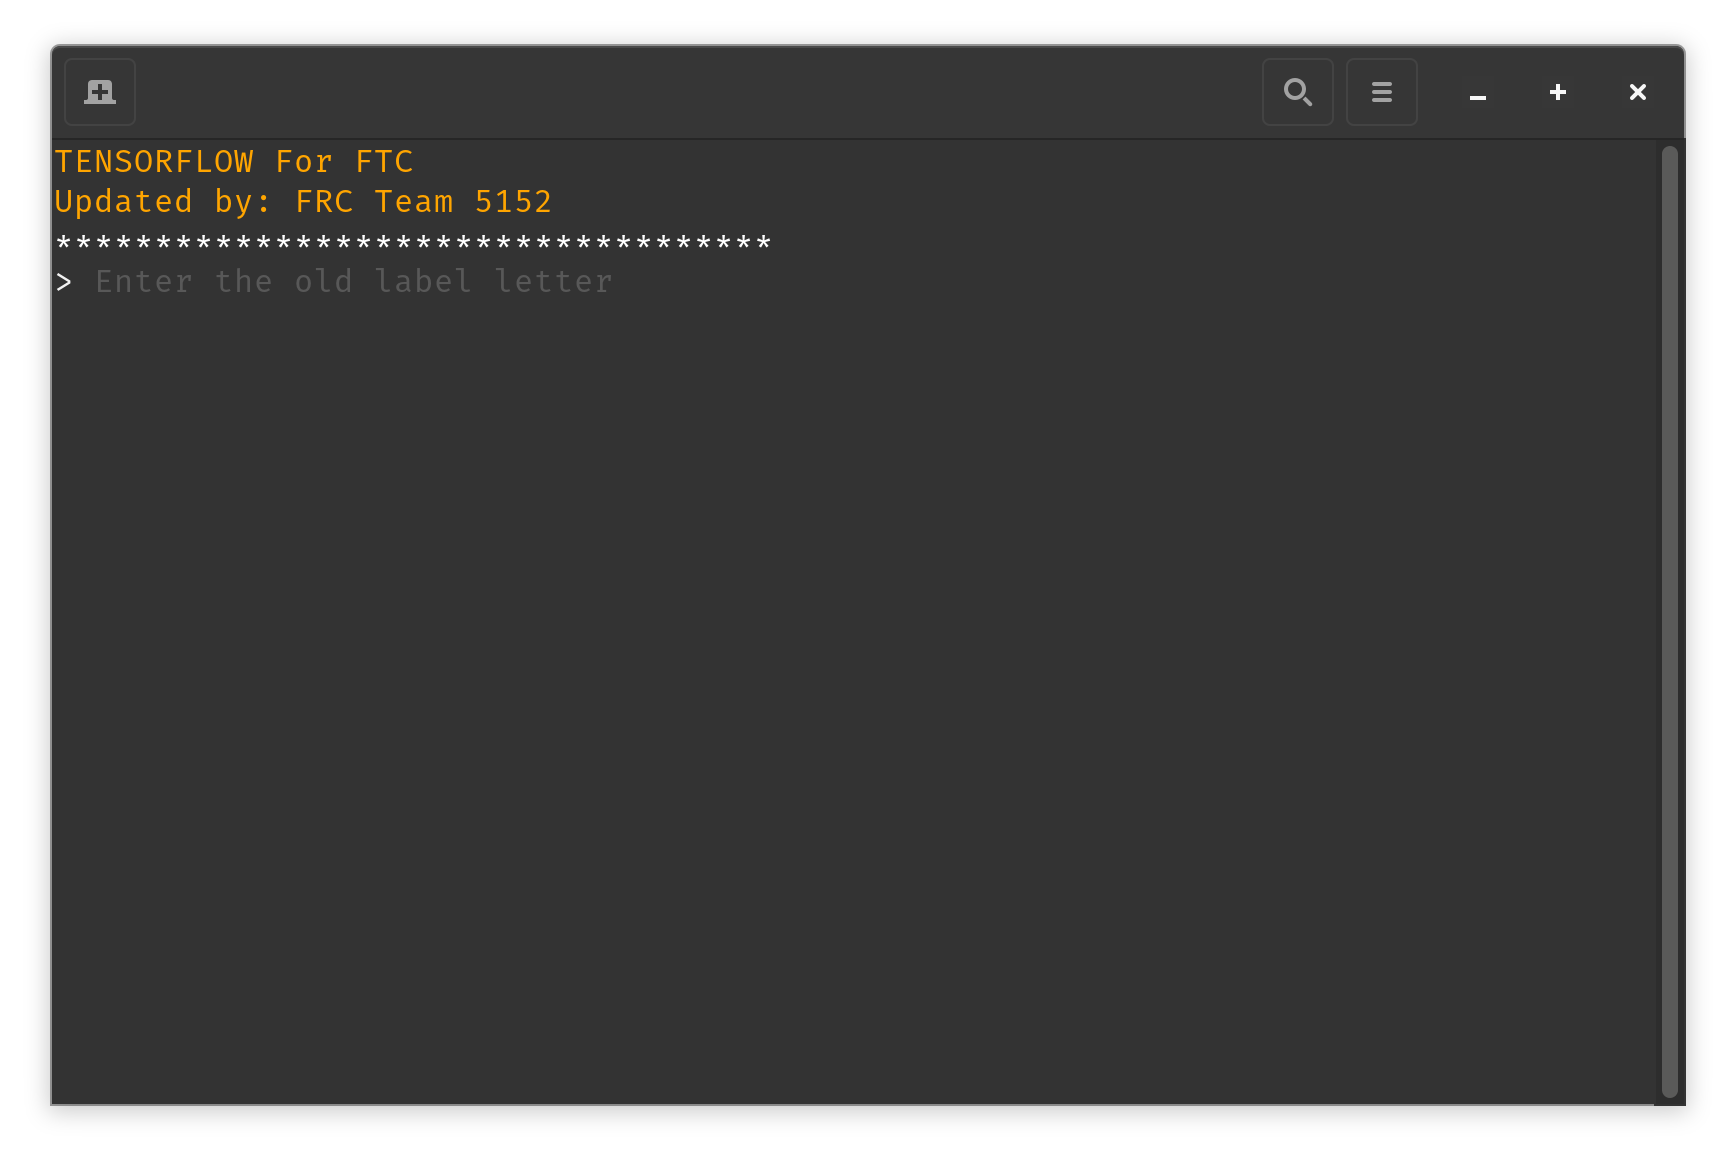
- Enter the new string you want to use to represent the label (Ex.
Paw)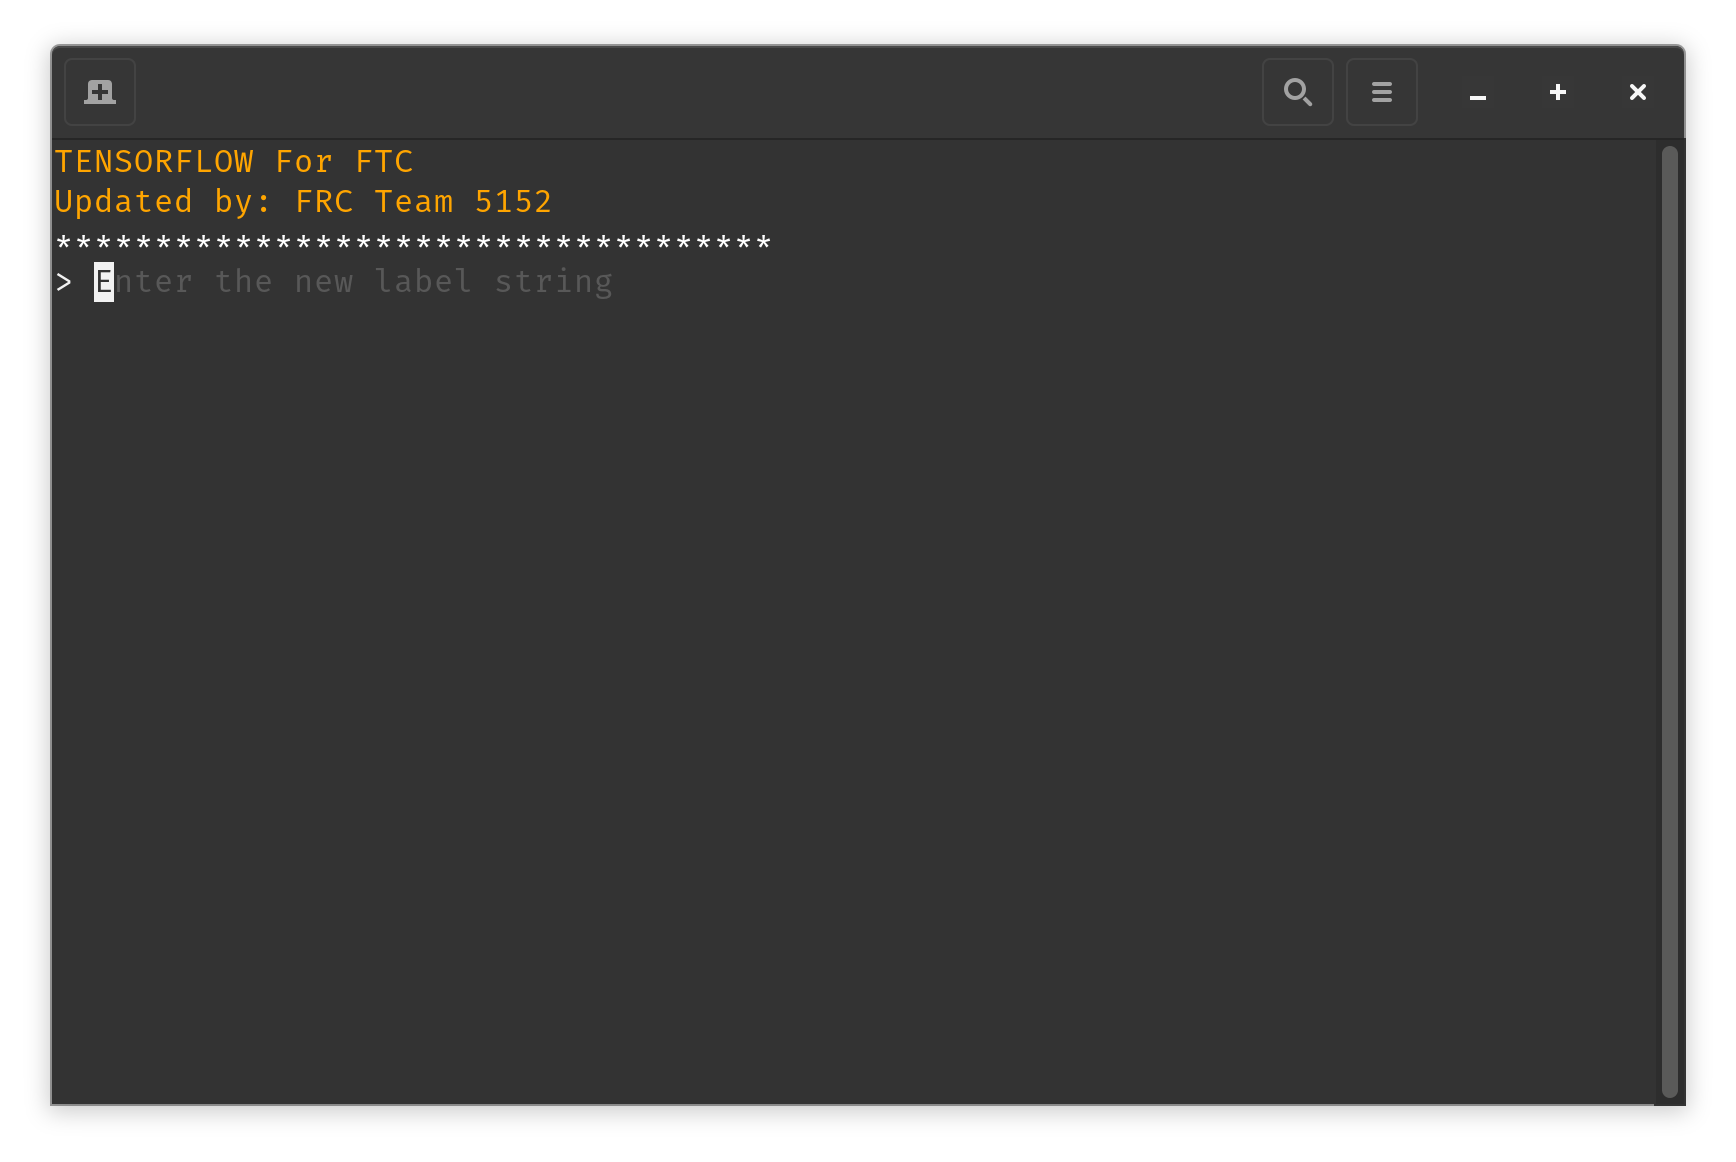
- Repeat steps 1-4 for each label you want to rename
- Select
Convert Labelsfrom the menu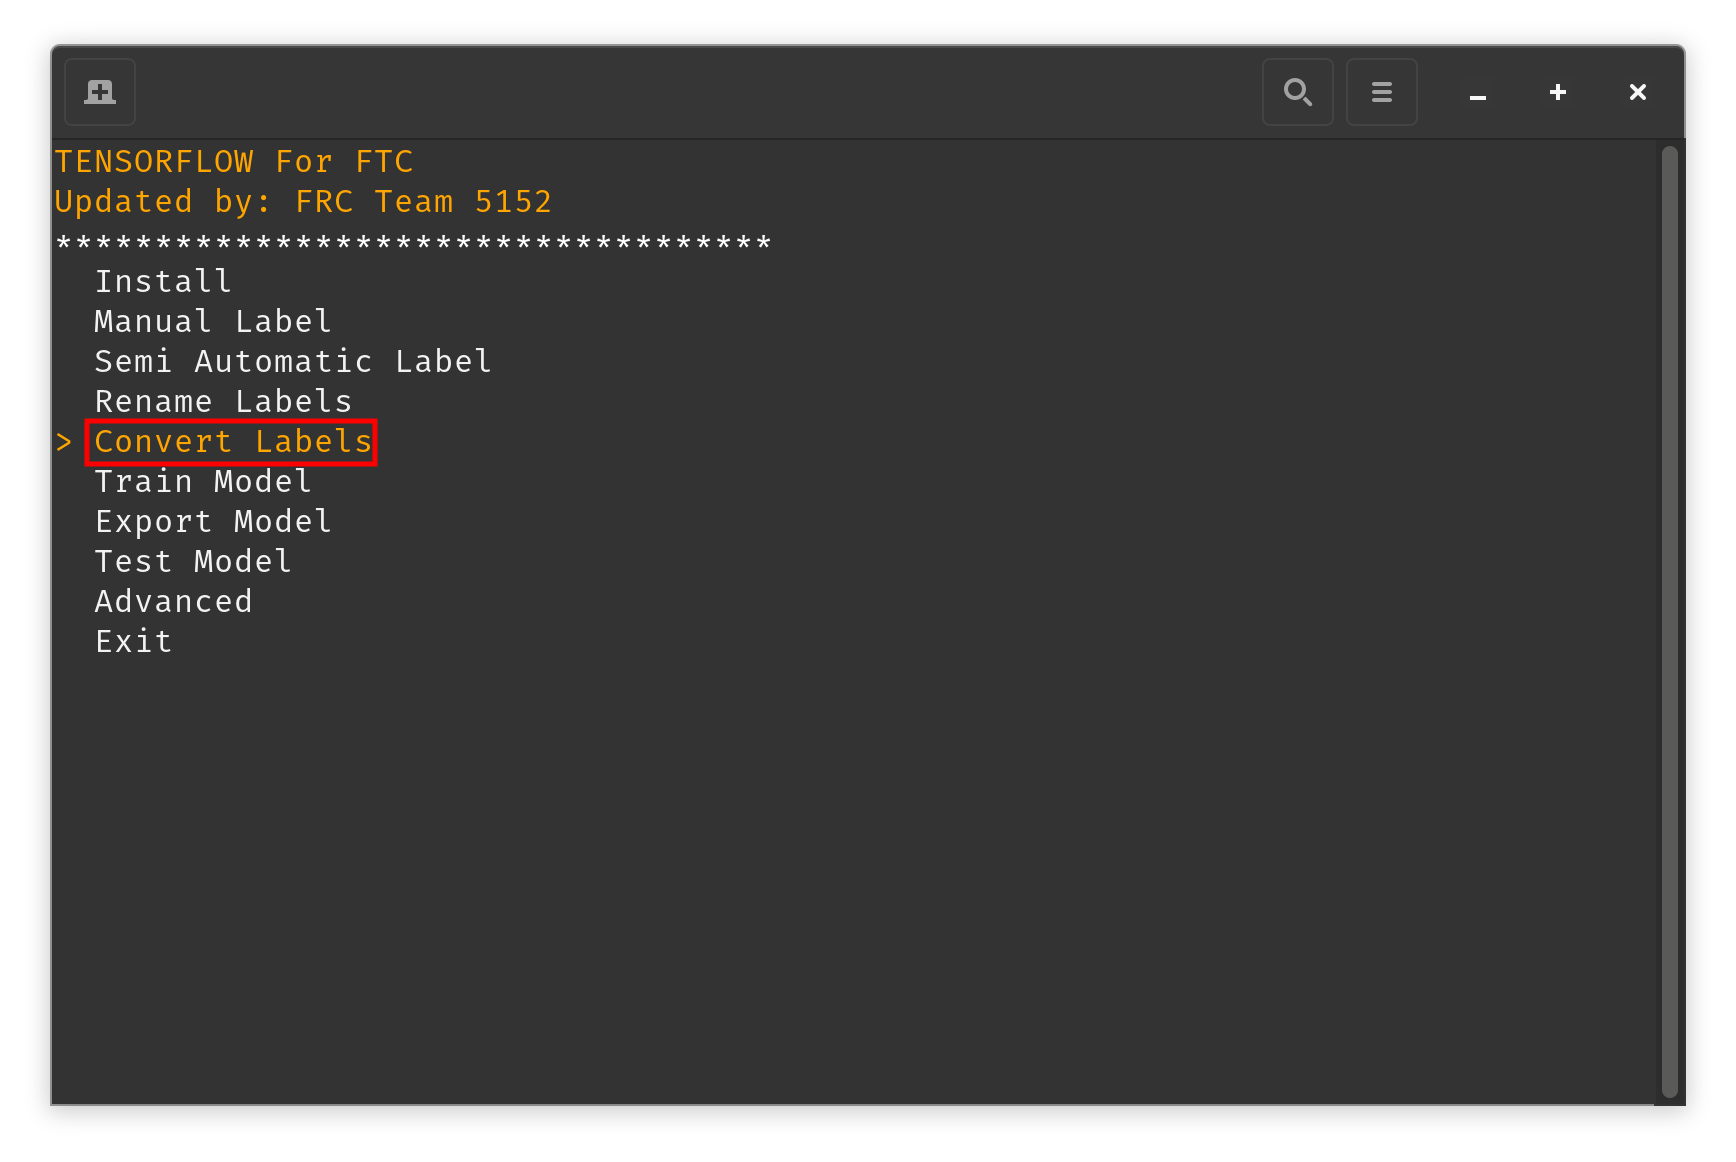
- Enter the path of the directory containing the training data (Ex.
train_data)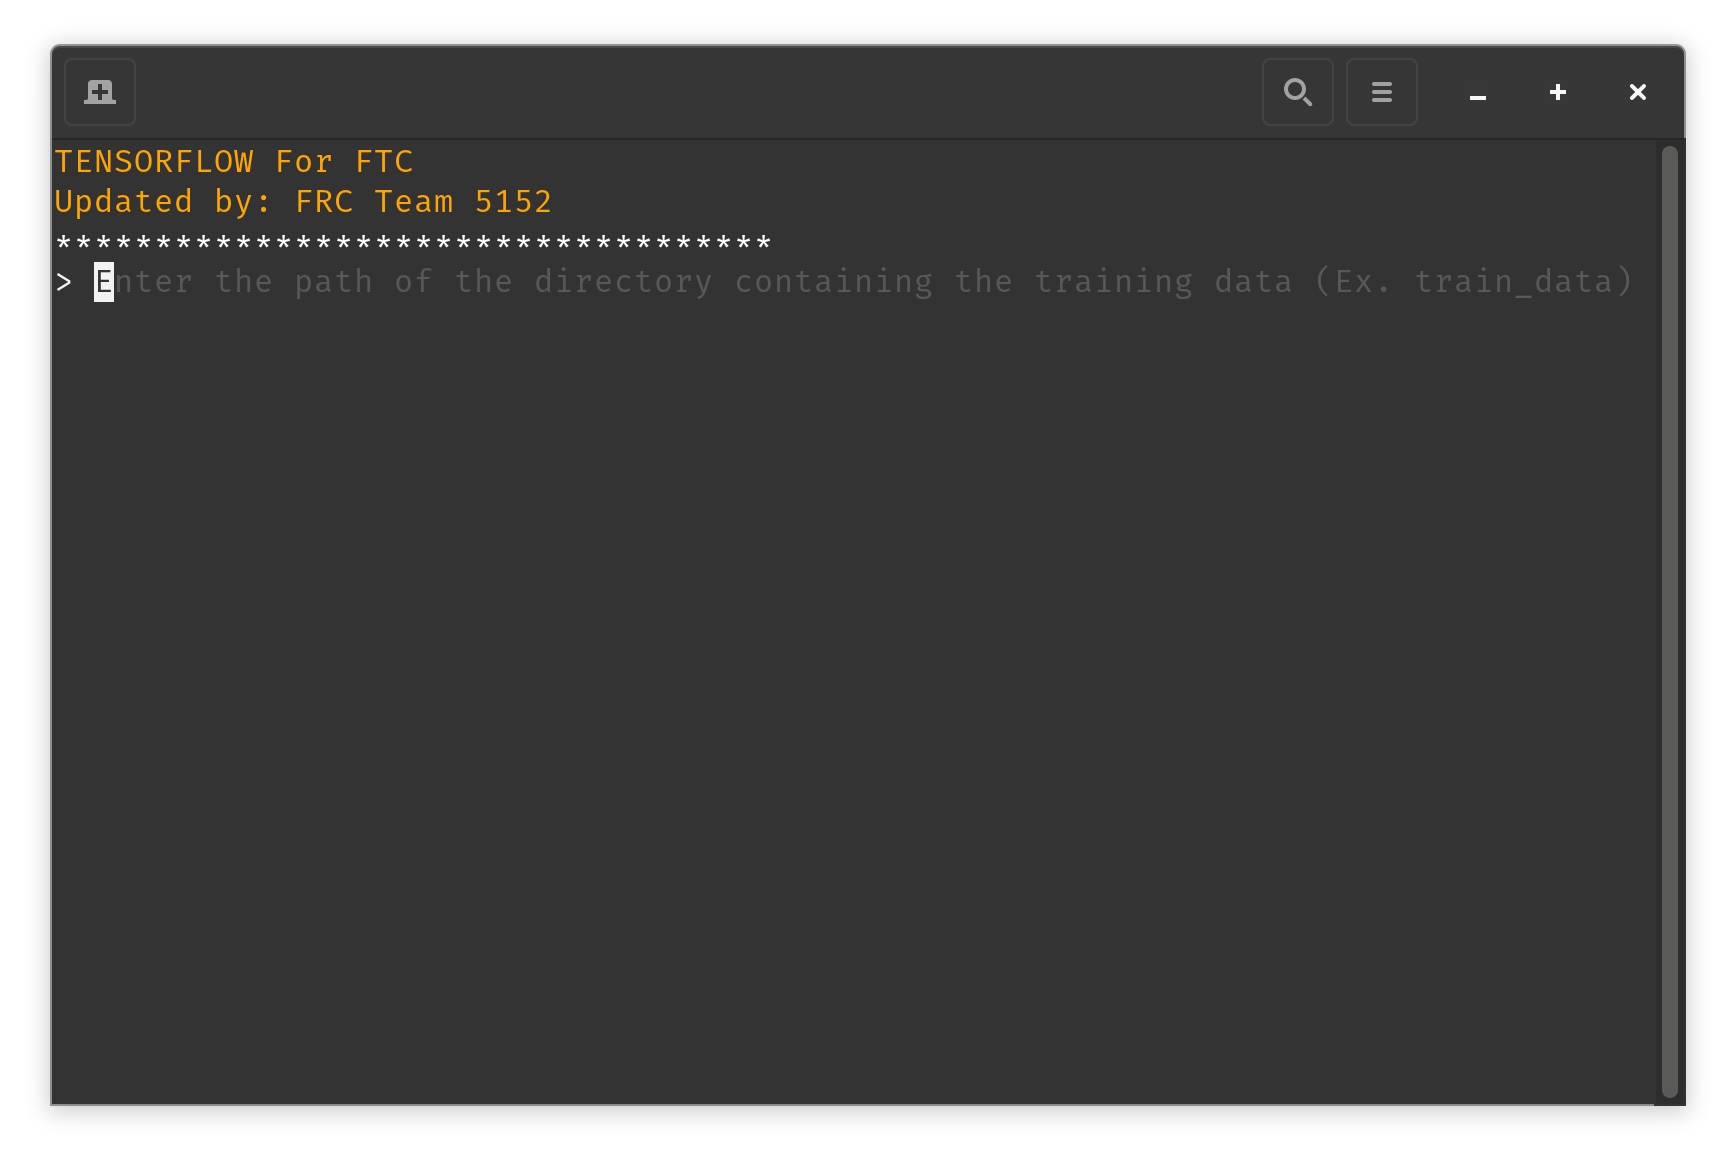
- Enter the number of files you want to split the training data into (Ex.
1) (This is useful if you have a lot of training data and want to train on multiple computers at once)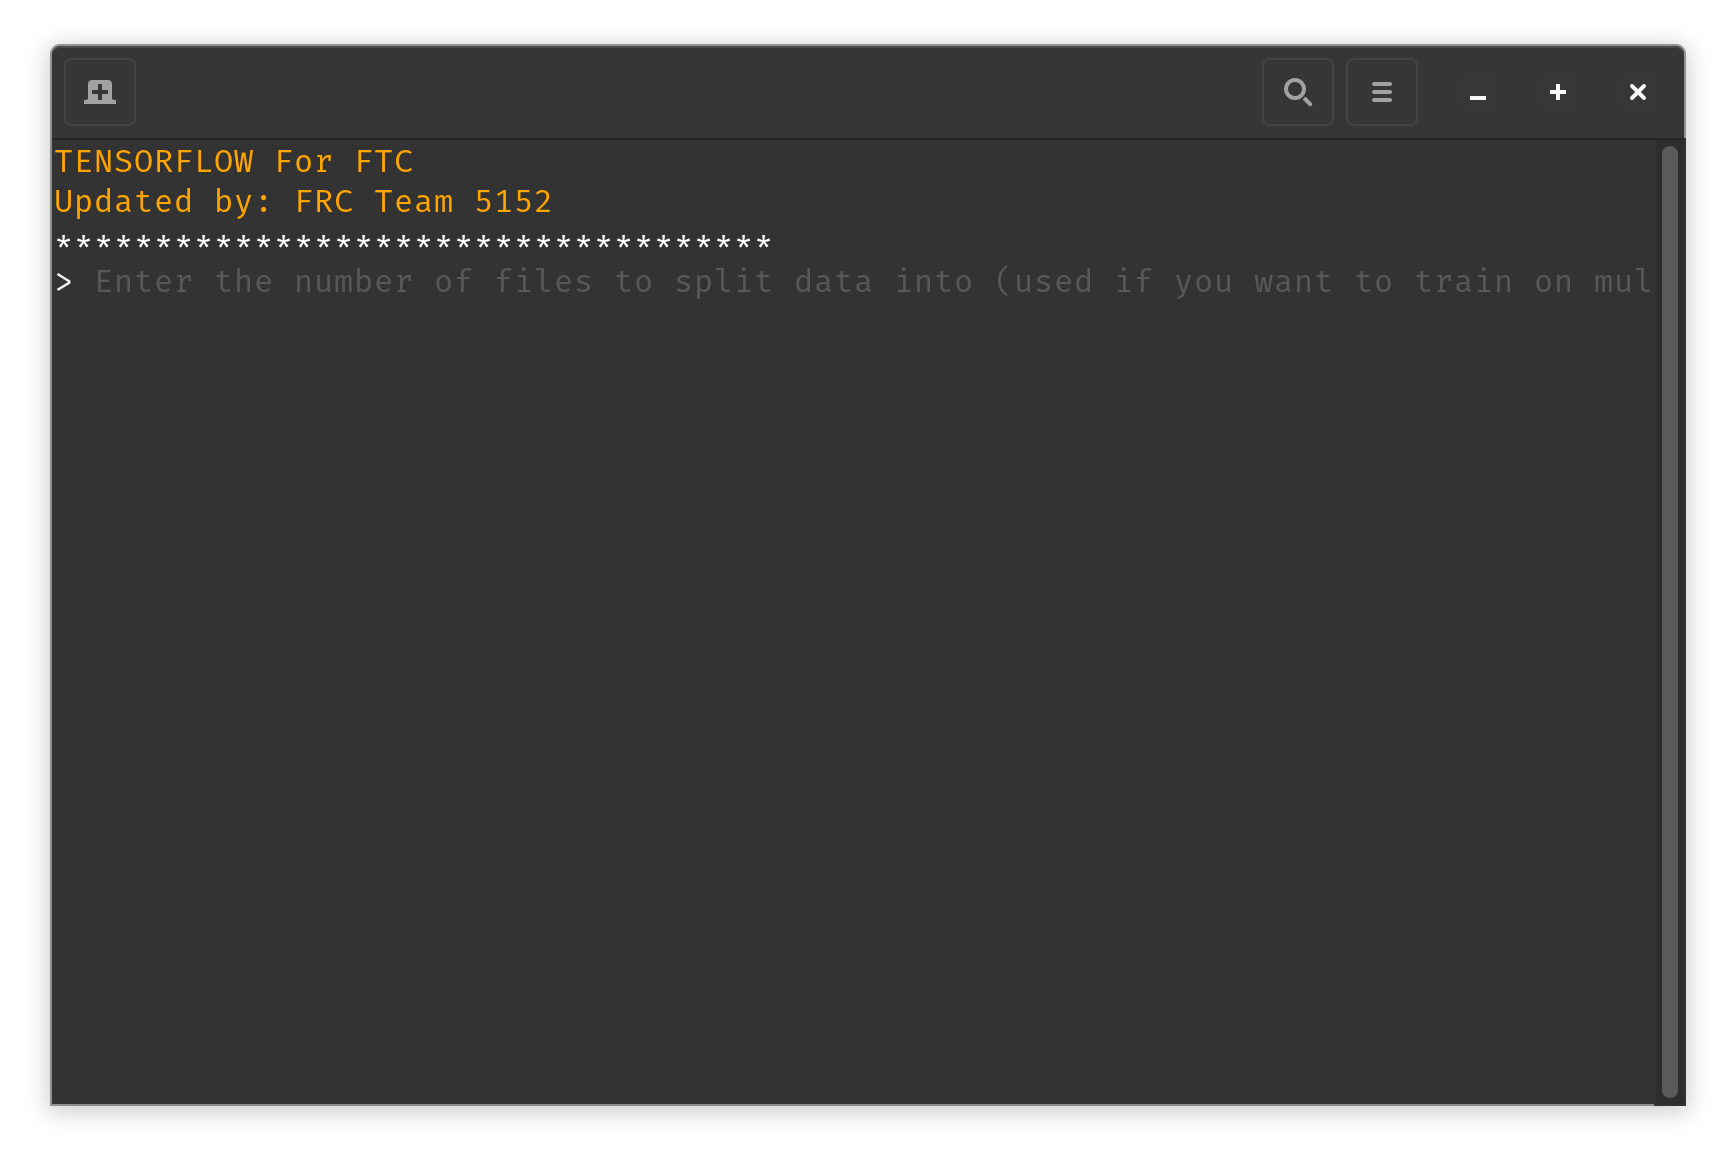
- Enter the percentage of the training data you want to use for validation (Ex.
0.3for30%) (This is so you can test your model on data it has never seen before)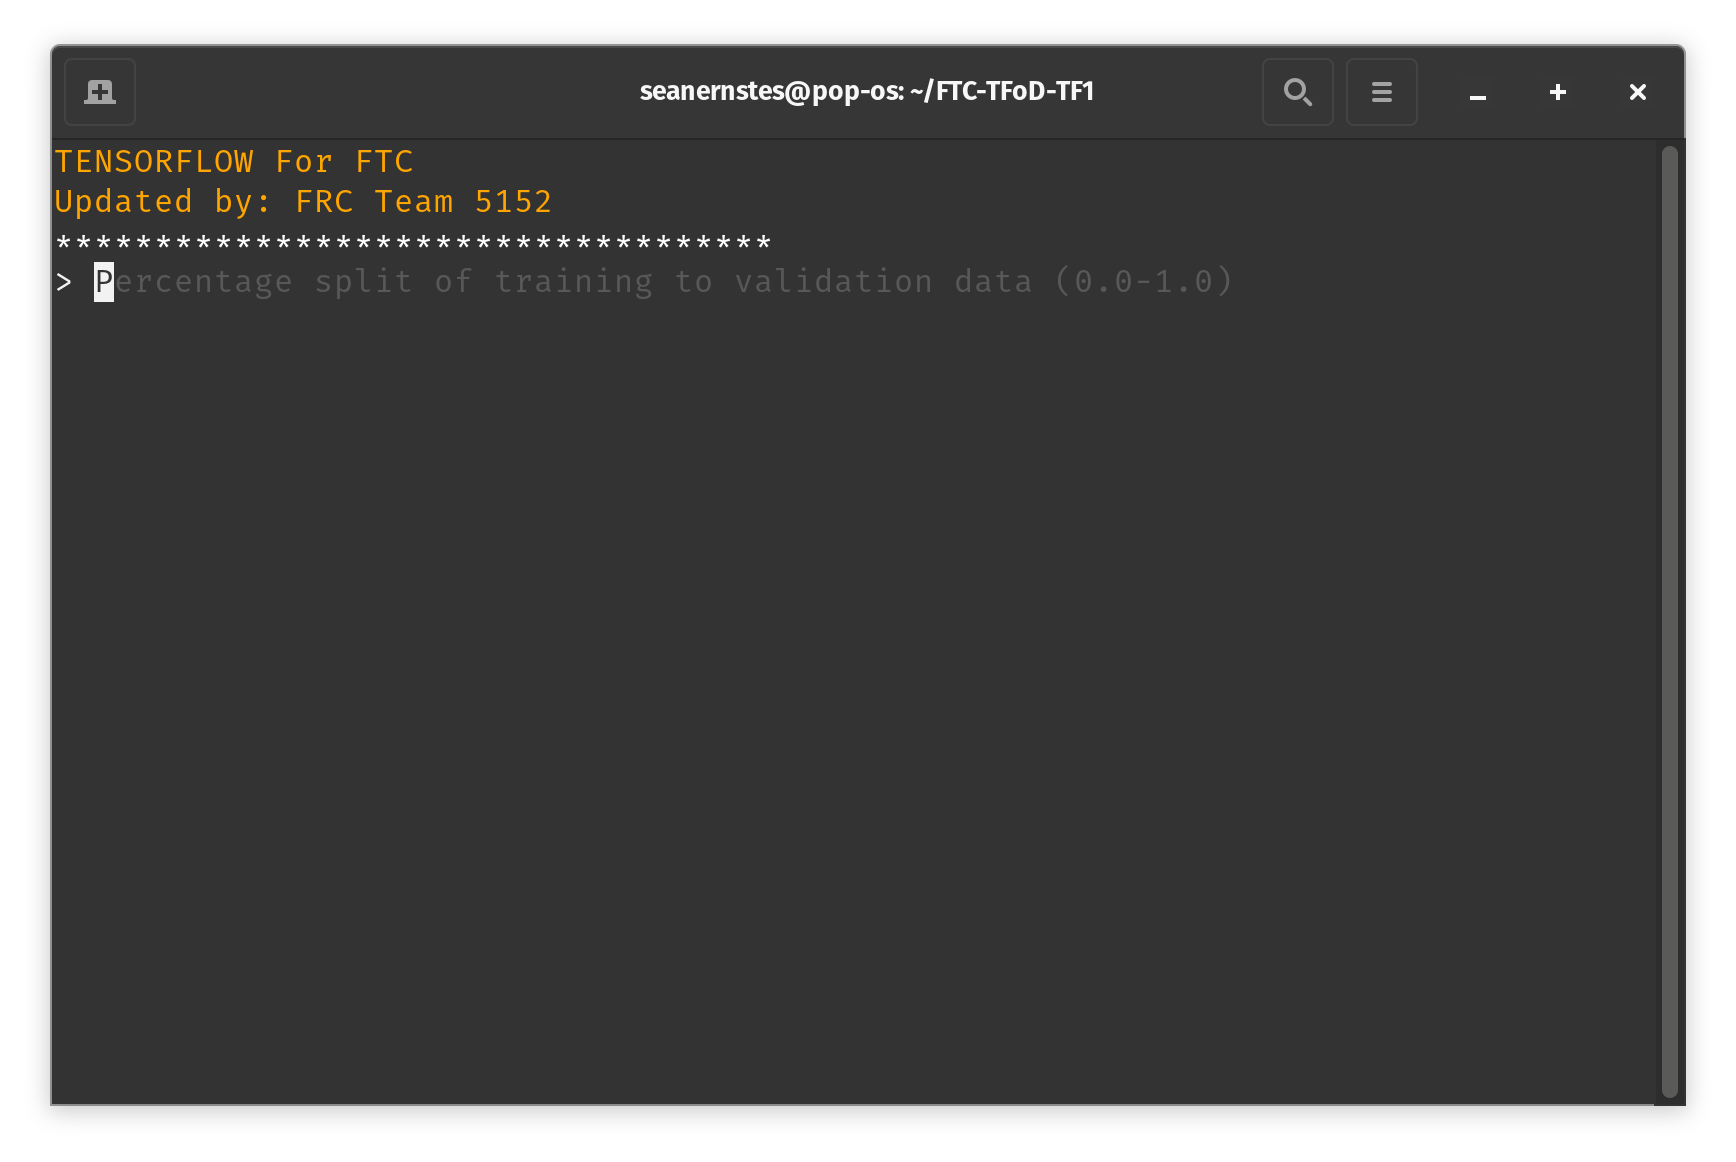
- Select
Train Modelfrom the menu and the training will automatically start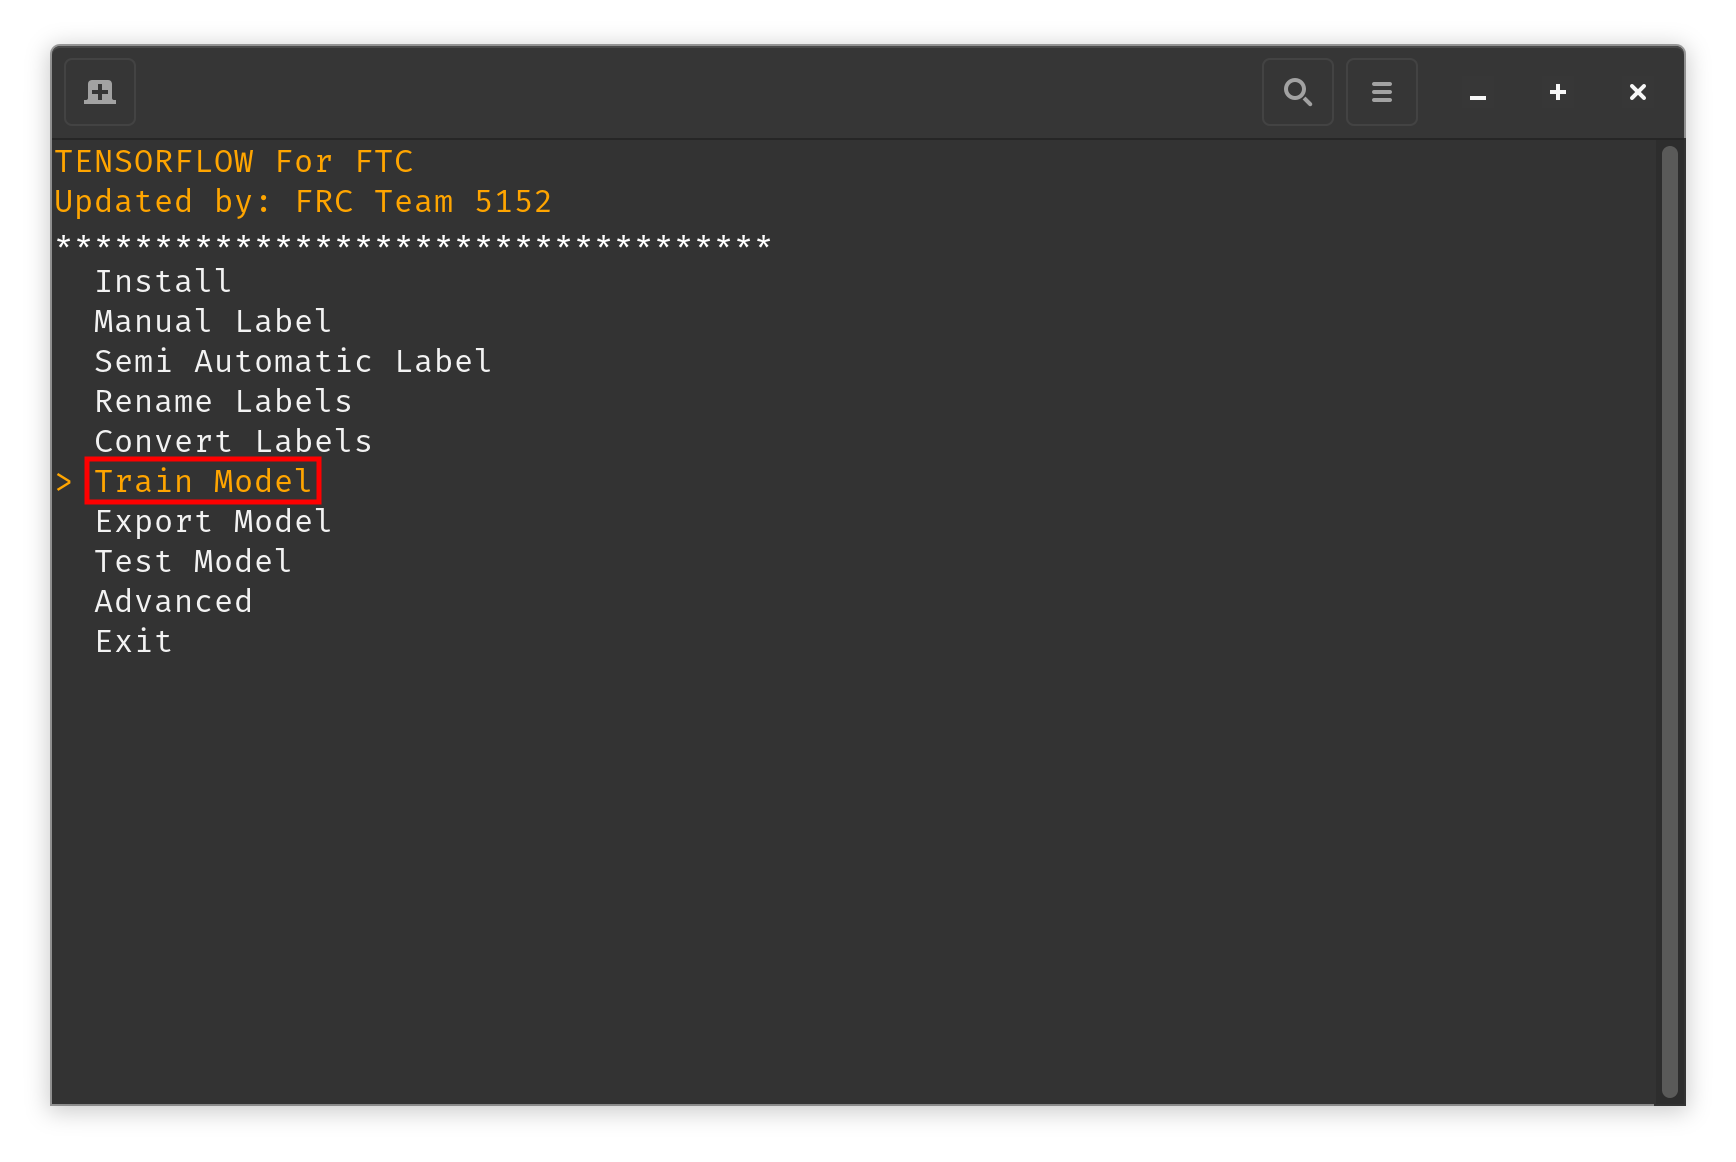
- Wait for the training to finish. This may take a while depending on the amount of training data you have and the power of your GPU
- To view the training progress, open up a web browser and go to
http://localhost:6006/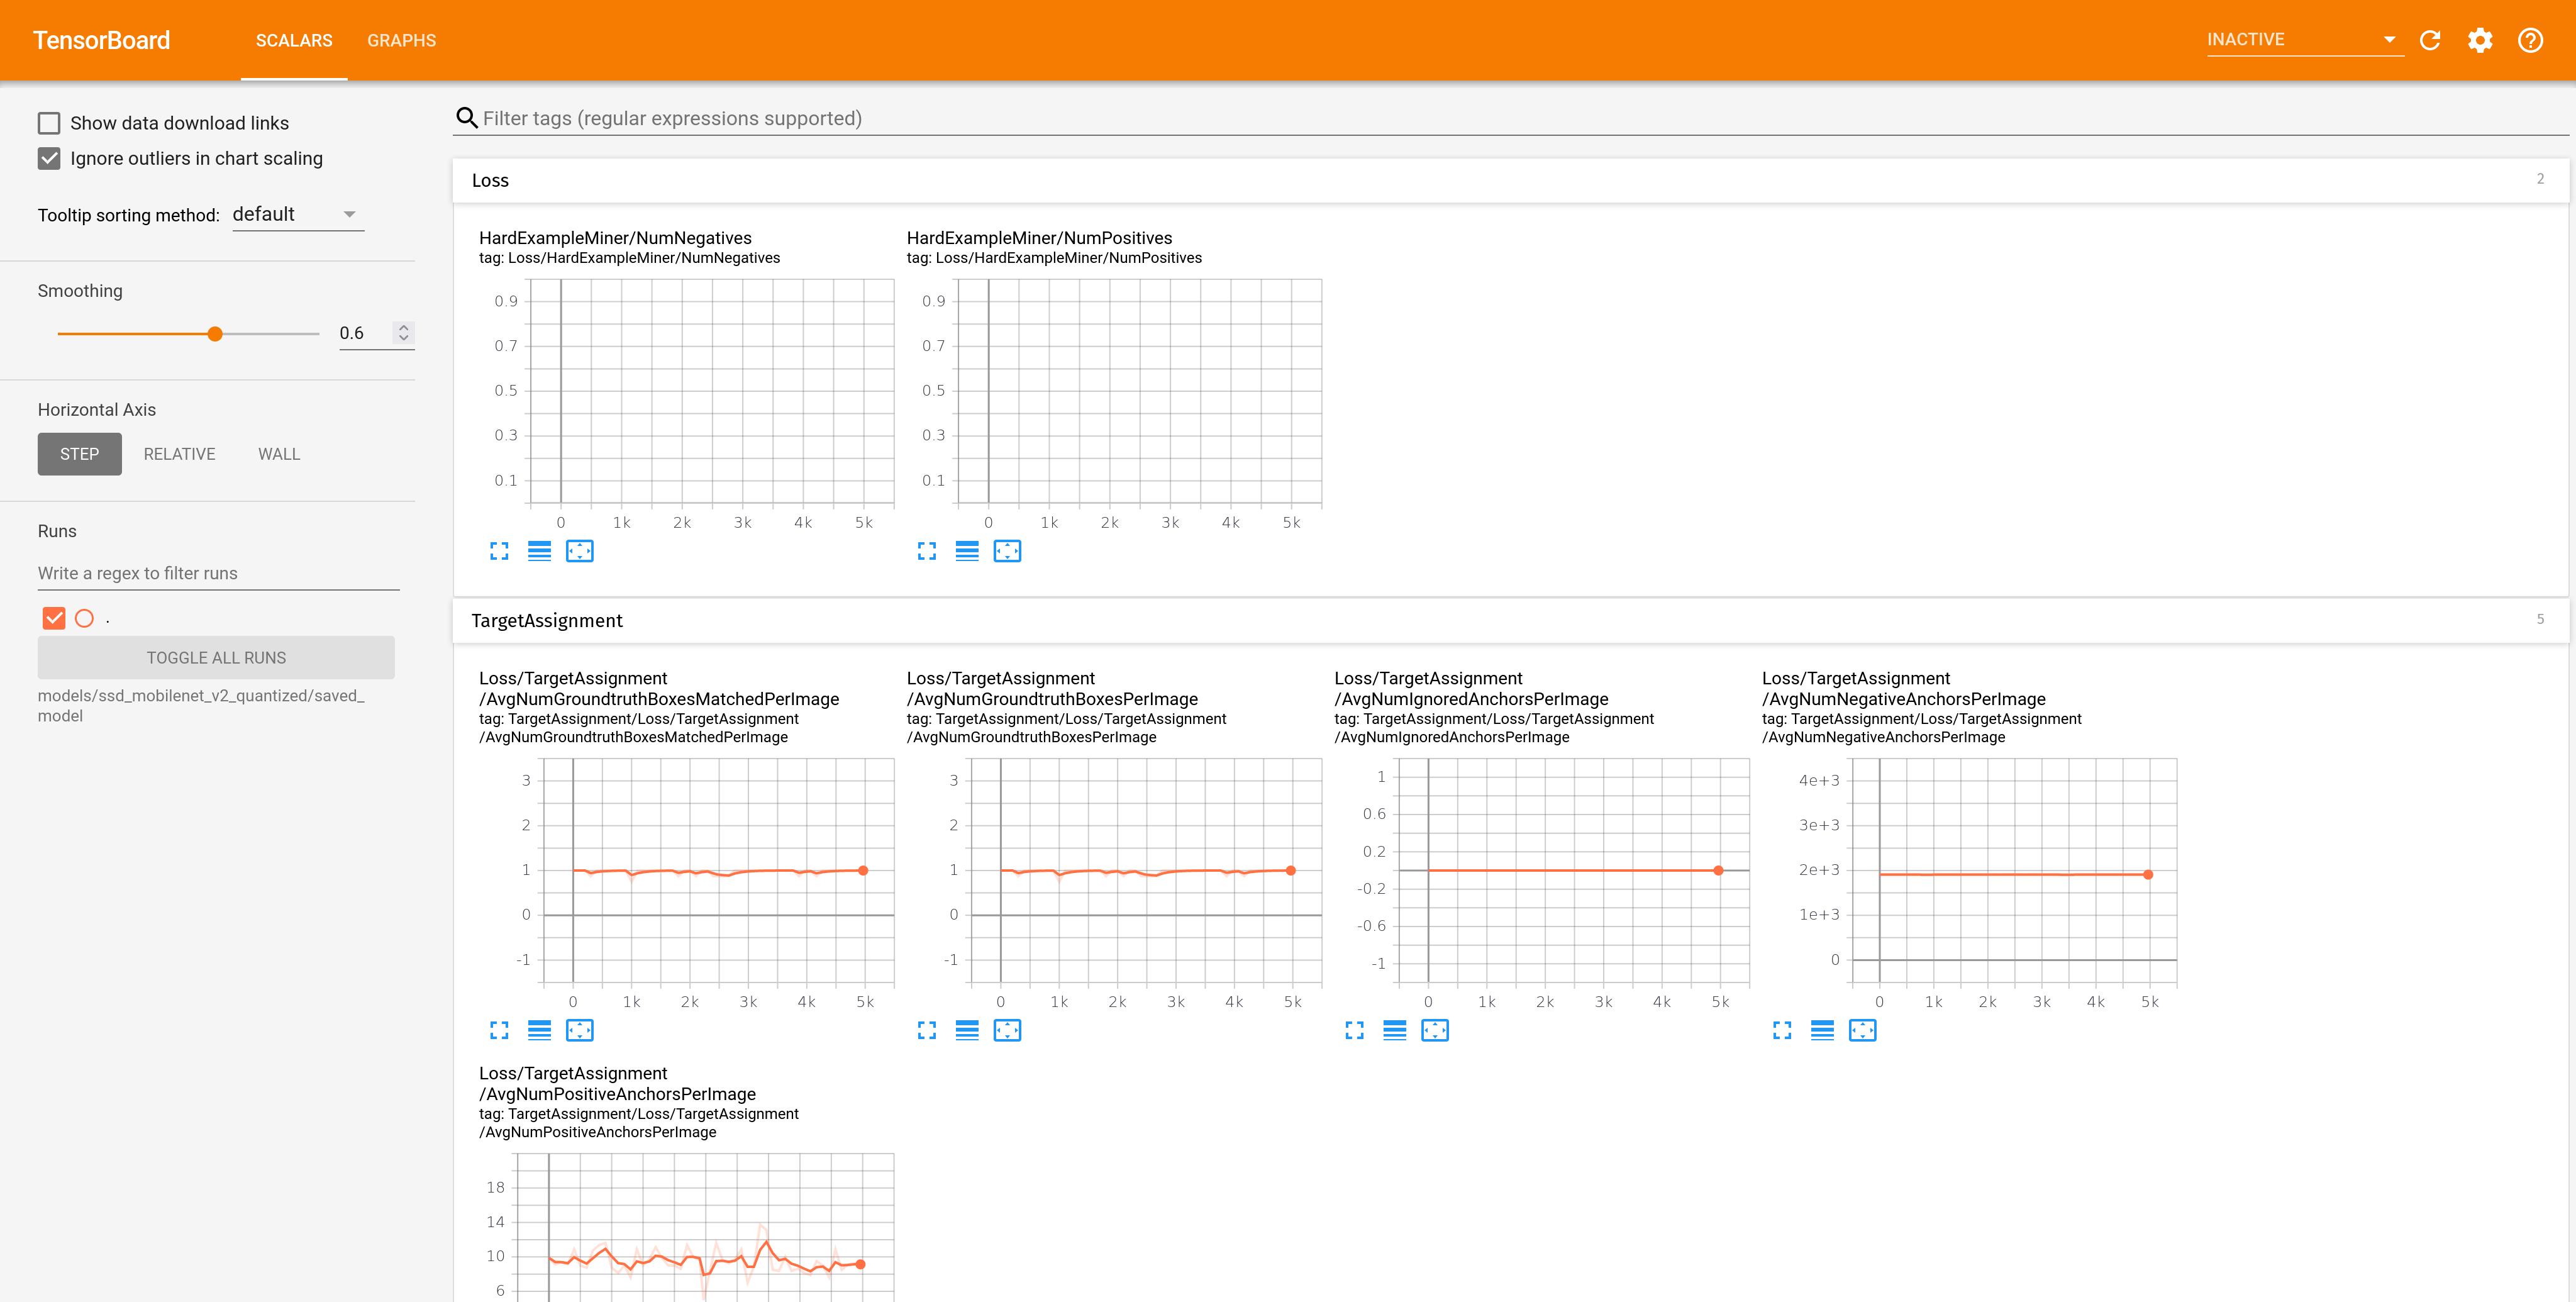
- Scroll down and expand the
losssection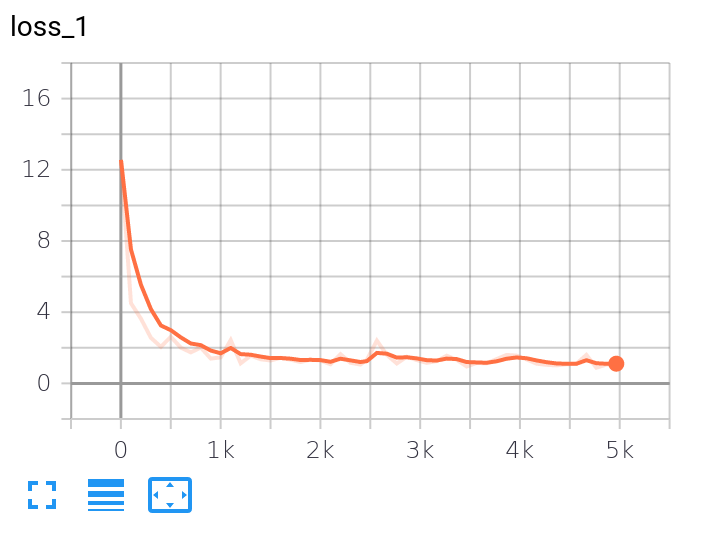
The lower the loss, the better the model is performing. If the loss is not decreasing, you may need to add more training data or train for longer