This Code is for the Arduino NodeMCU-Microcontroller (preferrably for the model NodeMCU 1). The following periphery is present:
- A WiFi-Chip on the NodeMCU-Board - to connect to a WiFi or create an own WiFi-Access-Point
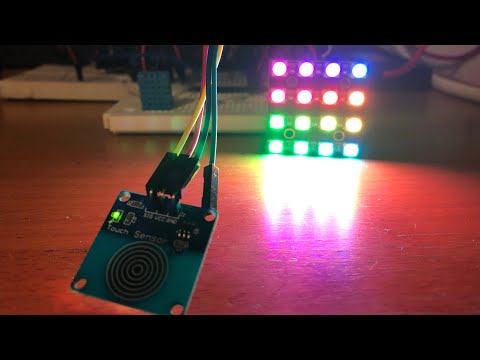
- A Touch-Sensor to controll the Board pysically (restart, reset)
- A temperature and humidity sensor (DHT11)
- A motion detector(to give you a report if somebody is actually in your room)
- A Relay to control lamps or other devices which have to be connected to high voltage(220V)
- A small Display to print important information
- A Neopixel RGB-Ring/Block/Strip to run effects or show a color
All these elements are controllable through a web-interface (Website with Websocket) to read the temperature/humidity, to control the Relay/the LED's or run an effect... You can also assign to the relay and to the Motion detector a name, which will be shown on the website accordingly. In order to ensure a smooth and user friendly experience, the website updates itself dynamically in the background, reading constantly the actual data from the sensors connected to the Board.
The BackEnd is written entirely in C++. The Webinterface/Website is written in HTML, styled with CSS, the dynamic updates of the Website are written in JavaScript
Here is a demonstration how the clients are syncronized with each other. If a parameter is changed at one client, the other client is updated directly!
Due to the limitations of the Board like limited porcessing power and limited storage we dont have the ability to use multithreading the functions or loops (which need to run continuosly in the background) are designed in a different way. For example, to start the effects we cant run in an own thread. We coded the functions of the effect (and also of the other periphery and objects which need an own loop) in such a way that it stores the previous color, changes the color when calling the function only one step and returns immediately. All these loop functions are called from the main loop.
- C++ (Server BackEnd, peripheral control)
- HTML, CSS (for the Website)
- JavaScript (to update the Website dynamically)
The pins are not finally. During development they may change!!
- Touch-Sensor: D0
- Pir-Sensor: D1
- Relay-0: D3
- DHT-Sensor: A0
- RGB-LED: D2
- Display:
- LED: 3.3V
- SCK: D5
- SDA: D7
- A0: D4
- RESET: 3.3V
- CS: D8
- (RTC:)
- File "Klassen Planung.io" is made on the Platform/Website Draw IO.
- Arduino-Core für ESP8266-WiFiChip (Nodemcu Library) -
tested version: 3.0.2- Follow installation instructions on the site
- Insert this Link
http://arduino.esp8266.com/stable/package_esp8266com_index.jsonin the Arduino-IDE File > Preferences > Additional Boards Manager URLs - Tools > Board > BoardManager > search for 'esp8266' > click install
- Insert this Link
- Follow installation instructions on the site
- Websocket -
tested version: 2.3.5- Under releases downlaod the newest 'SourceCode.zip'
- Arduino-IDE: (Sketch > Include Library > Add .zip Library)
- Adafruit Neopixel -
tested version: 1.10.4 - Display -
tested version: 1.9.2- Search in Library Manager(Sketch > Include Library > Manage Libraries) for ST7735, the Library from Adafruit.
- DHT-Sensor -
tested version: 1.4.3- Search in Library Manager for dht sensor library, the Library from Adafruit.
- SPIFFS-Uploader - This is only the SPIFFS-File uploader(data directory) for the Arduino-IDE. The Library for the ESP8255-Spiffs is already in included in the 'Arduino-Core für ESP8266-WiFi-Chip' library. -
tested version: 0.5.0- Follow installation instructions on the site
- On Linux you have to create in your Home-Folder in the Arduino-Directory(~/Arduino) a folder called tools. Inside this folder you have to extract the content of the downloaded archive.
- Please ensure that the config-file(
"./data/www/config.config") is saved with Unix/Linux(LF) eol(end of line)! - Tools > Board - select the NodeMCU 1.0 board
- Tools > C++ Exceptions - change it to enable
- Tools > Flash Size - select 4MB (FS:2MB OTA:~1019KB)
- Tools > Port - connect your NodeMCU to your PC and select the port of your Board
Then upload the sketch by pressing Ctrl+U or clicking the arrow which points to the right at the left upper corner.