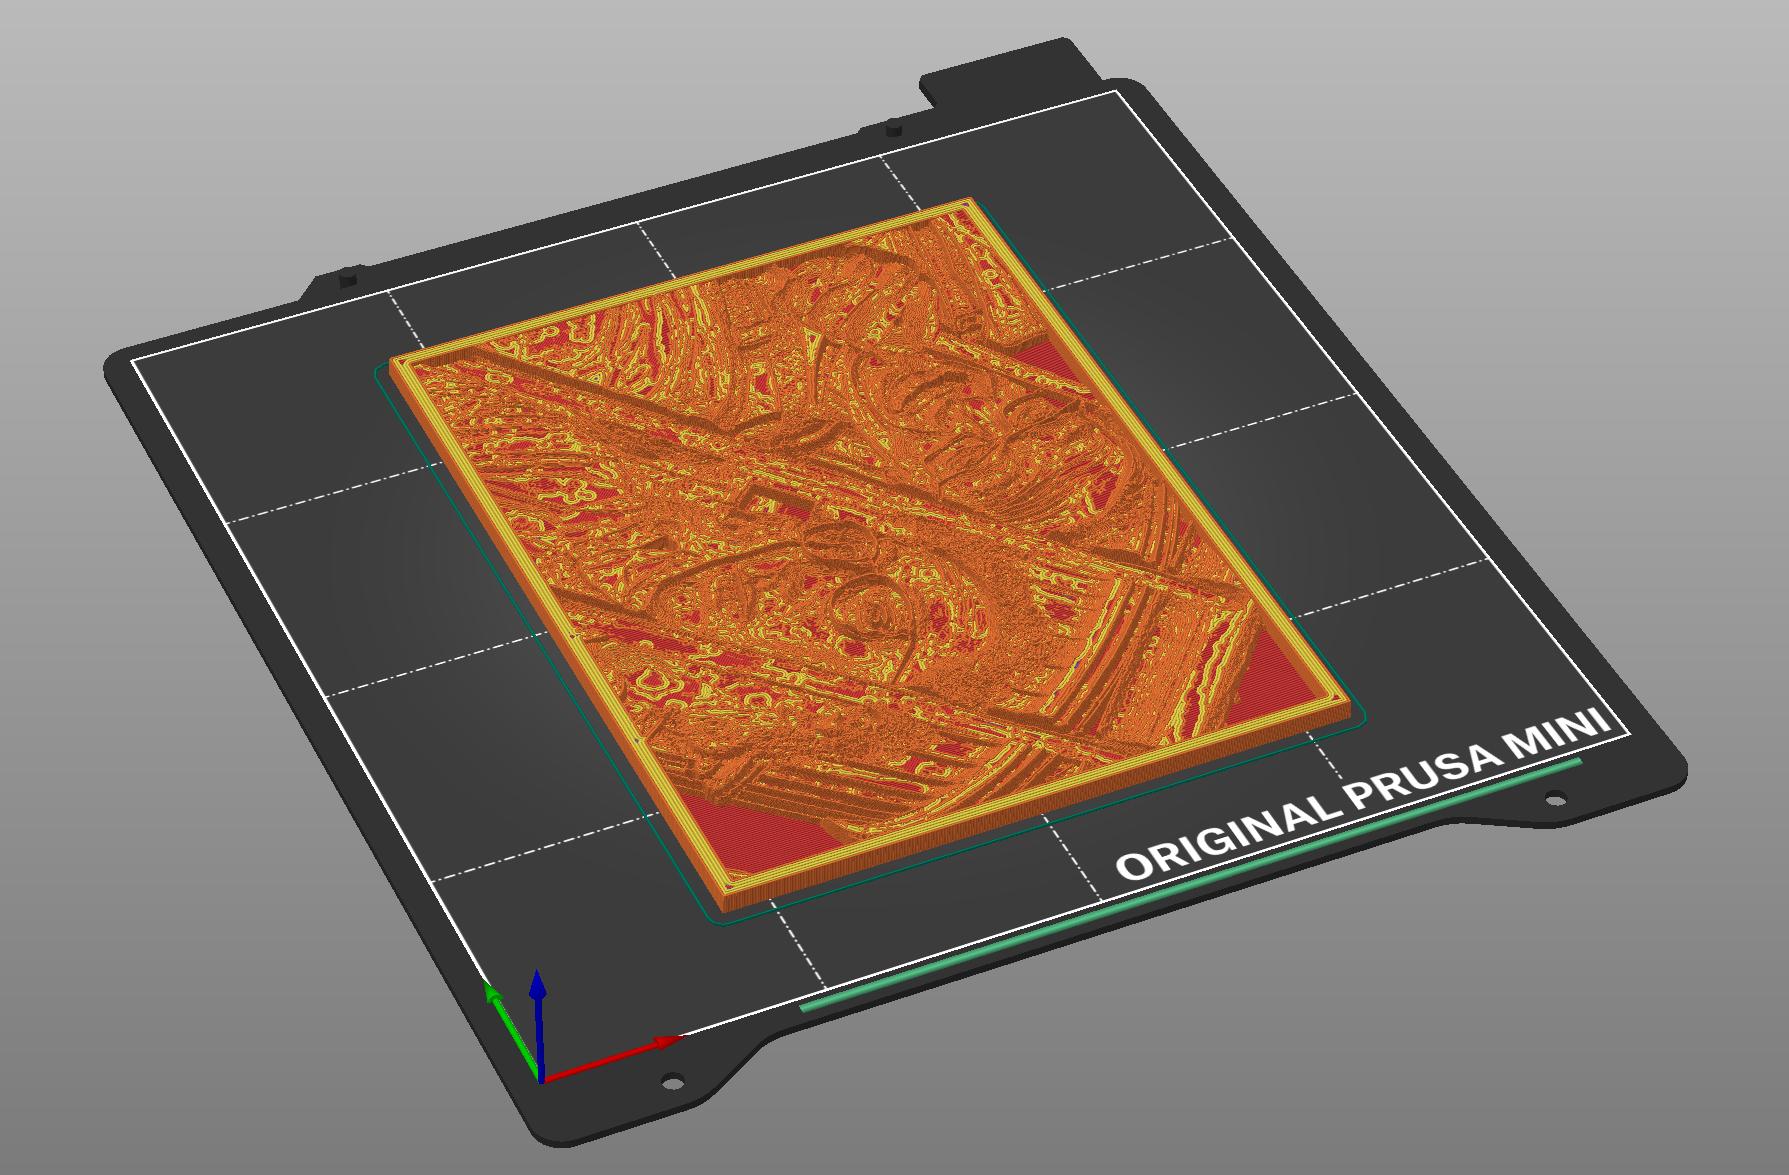
This module generates a 3D model of a lithophane from an given image. The output file is a STL file. It can then be printed on a 3D printer.
"A lithophane is a thin plaque of translucent material, [...] which has been moulded to varying thickness, such that when lit from behind the different thicknesses show as different shades, forming an image." - Wikipedia
The code is originally written by Dirk Colbry (original repository) and edited by Robert Hülsmann. Core of this module uses matlab-stl to write stl files written by Rick van Hattem.
pip install lithophaneimport lithophane as li
# 1. Generate xyz point cloud from image
x, y, z = li.jpg_to_stl("path/to/image.jpeg")
# 2. Generate stl model from point cloud
model = li.make_mesh(x, y, z)
# 3. Save model as stl file
model.save("path/to/model.stl")lithophane the_best_siblings.jpeg --width 100 --frame 3--widthor-wto set the width of the lithophane. Default is image width with a resolution of 10 pixels per millimeter. The height is calculated automatically.--depthor-dto set the depth of the lithophane. Default is 3mm. More depth means more contrast but also longer print time and less translucency.--offsetor-oto set the offset of the lithophane. Default is 0.5mm. It's like the back of the lithophane. More offset means more stability but also less translucency. The thickness of the lithophane is the sum ofdepthandoffset.--frameor-fto add a frame around the lithophane. Default is 0mm (no frame). The frame is added to the width and height of the lithophane.--showto show the lithophane in a 3D plot.
After the model is generated, open the STL file in your favorite slicer software to generate the GCODE. Use 100% infill! Then, print it with a (slightliy) translucent filament and delight yourself and your beloved ones with a personalized memento.
If you want to understand how the code works, please take a look into the original repository of Dirk Colbry. There are two jupyter notebooks you can try out.

