In this example, we show how to build fast AIT modules for CLIP, UNet, VAE models, and benchmark/run them.
First, clone, build, and install AITemplate per the README instructions.
This AIT stable diffusion example depends on diffusers, transformers, torch and click. You could install them using pip.
Verify the library versions. We have tested transformers==4.25, diffusers==0.11[torch] and torch==1.12.
>>> import transformers
>>> transformers.__version__
'4.25.0'
>>> import diffusers
>>> diffusers.__version__
'0.11.0'
>>> import torch
>>> torch.__version__
'1.12.0+cu113'
Optionally, you can use Hugging Face access token. You can register in Hugging Face Hub to obtain an access token for the Stable Diffusion weights. See user access tokens for more info. Your access tokens are listed in your Hugging Face account settings.
stable-diffusion model has two variants - base and regular. For example:
stabilityai/stable-diffusion-2-1-base- image resolution 512x512stabilityai/stable-diffusion-2-1- image resolution 768x768
python3 scripts/download_pipeline.py \
--model-name "stabilityai/stable-diffusion-2-1-base"

# Optionally, you can use access token
--token ACCESS_TOKEN
Build the AIT modules by running compile.py.
Set correct width and height depending on the model variant
python3 scripts/compile.py --width 512 --height 512
It generates three folders: ./tmp/CLIPTextModel, ./tmp/UNet2DConditionModel, ./tmp/AutoencoderKL. In each folder, there is a test.so file which is the generated AIT module for the model.
python3 scripts/compile_alt.py --width 64 1536 --height 64 1536 --batch-size 1 4 --clip-chunks 6
This compiles modules with dynamic shape. In the example, modules will work with width in range 64-1536px, batch sizes 1-4. Clip chunks refers to the number of tokens accepted by UNet in multiples of 77, 1 chunk = 77 tokens, 3 chunks = 231 tokens.
By default, compile_alt.py does not include model weights (constants) with the compiled module, to include the model weights in the compiled module use --include-consants True.
The original pipeline requires a diffusers model local dir, and relies directly on StableDiffusionPipeline. This pipeline builds similar functionality without directly using StableDiffusionPipeline, and is capable of loading model weights from either diffusers or CompVis models to compiled aitemplate modules.
- AITemplate modules are created
- Model weights are loaded, converted/mapped, then applied to AITemplate module
- Tokenizer is created from
openai/clip-vit-large-patch14. - Scheduler is created from
hf-hub-or-path. - Loading CLIPTextModel from
ckptrequires the appropriatehf-hub-or-pathto be specified i.e.runwayml/stable-diffusion-v1-5for SD1.x checkpoints,stabilityai/stable-diffusion-2-1for SD2.x checkpoints.
python3 scripts/demo_alt.py \
--hf-hub-or-path runwayml/stable-diffusion-v1-5 \
--ckpt v1-5-pruned-emaonly.ckpt

python3 scripts/demo_alt.py \
--hf-hub-or-path stabilityai/stable-diffusion-2-1 \
--ckpt v2-1_768-ema-pruned.ckpt
--ckpt takes preference over --hf-hub-or-path if both are specified
AIT needs to do profiling to select the best algorithms for CUTLASS and CK.
To enable multiple GPUs for profiling, use the environment variable CUDA_VISIBLE_DEVICES on NVIDIA platform and HIP_VISIBLE_DEVICES on AMD platform.
This step is optional. You can run benchmark.py to measure throughput for each of the subnets.
Benchmark script supports base model variant only for now - 512x512
python3 src/benchmark.py
This step is optional. You can verify numerical correctness for each of the subnets.
HUGGINGFACE_AUTH_TOKEN=ACCESS_TOKEN python3 -m unittest src/test_correctness.py
Run AIT models with an example image:
Set correct width and height depending on the model variant
python3 scripts/demo.py --width 512 --height 512
Img2img demo:
Set correct width and height depending on the model variant
python3 scripts/demo_img2img.py --width 512 --height 512
Check the resulted image: example_ait.png
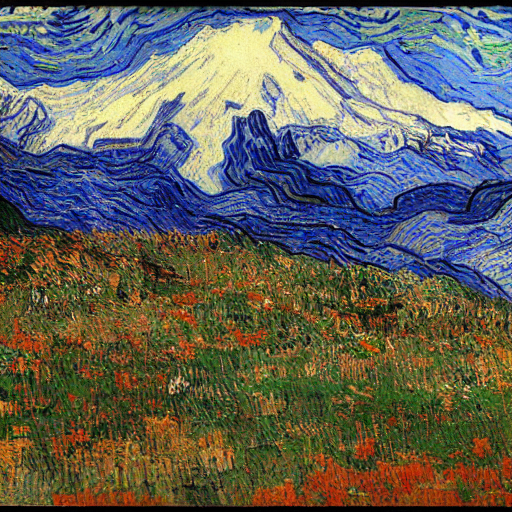
Command: python3 scripts/demo.py --prompt "Mountain Rainier in van Gogh's world"
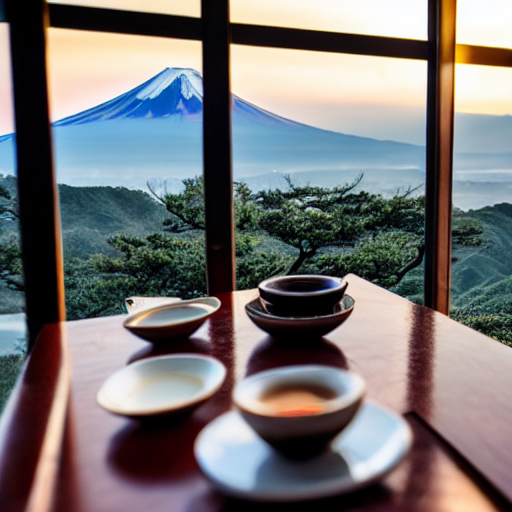
Command: python3 scripts/demo.py --prompt "Sitting in a tea house in Japan with Mount Fuji in the background, sunset professional portrait, Nikon 85mm f/1.4G"
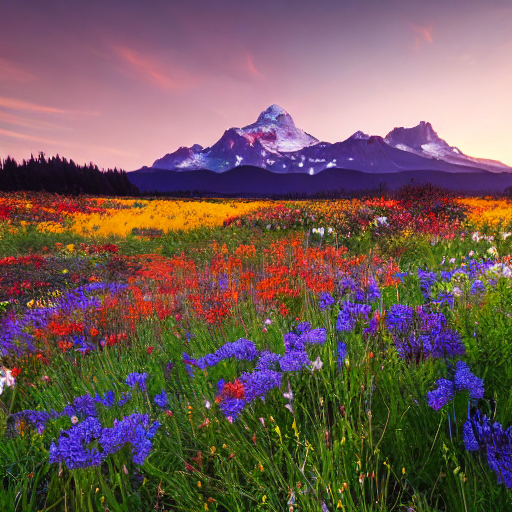
Command: scripts/demo.py --prompt "A lot of wild flowers with North Cascade Mountain in background, sunset professional photo, Unreal Engine"
PT = PyTorch 1.12 Eager
OOM = Out of Memory
| Module | PT Latency (ms) | AIT Latency (ms) |
|---|---|---|
| CLIP | 9.48 | 0.87 |
| UNet | 60.52 | 22.47 |
| VAE | 47.78 | 37.43 |
| Pipeline | 3058.27 | 1282.98 |
- PT: 17.50 it/s
- AIT: 42.45 it/s
| Module | PT Latency (ms) | AIT Latency (ms) |
|---|---|---|
| CLIP | OOM | 0.85 |
| UNet | OOM | 40.22 |
| VAE | OOM | 44.12 |
| Pipeline | OOM | 2163.43 |
- PT: OOM
- AIT: 24.51 it/s
| Module | PT Latency (ms) | AIT Latency (ms) |
|---|---|---|
| CLIP | 6.16 | 2.98 |
| UNet | 78.42 | 62.18 |
| VAE | 63.83 | 164.50 |
| Pipeline | 4300.16 | 3476.07 |
- PT: 12.43 it/s
- AIT: 15.60 it/s
- Stable Diffusion with AIT batch inference, 50 steps
| Batch size | PT Latency (ms) | AIT Latency (ms) |
|---|---|---|
| 1 | 3058.27 | 1282.98 |
| 3 | 7334.46 | 3121.88 |
| 8 | 17944.60 | 7492.81 |
| 16 | OOM | 14931.95 |
- AIT Faster rendering, 25 steps
| Batch size | AIT Latency (ms) | AVG im/s |
|---|---|---|
| 1 | 695 | 0.69 |
| 3 | 1651 | 0.55 |
| 8 | 3975 | 0.50 |
| 16 | 7906 | 0.49 |
| Module | PT Latency (ms) | AIT Latency (ms) |
|---|---|---|
| Pipeline | 4163.60 | 1785.46 |
- For all benchmarks we render the images of size 512x512
- For img2img model we only support fix input 512x768 by default, stay tuned for dynamic shape support
- For NVIDIA A100, our test cluster doesn't allow to lock frequency. We make warm up longer to collect more stable results, but it is expected to have small variance to the results with locked frequency.
- To benchmark MI-250 1 GCD, we lock the frequency with command
rocm-smi -d x --setperfdeterminism 1700, wherexis the GPU id. - Performance results are what we can reproduced & take reference. It should not be used for other purposes.