This article is intended to show how to setup a simulation environment on a Windows laptop or server. As an example we will leverage the existing cldemo-vagrant environment. This demo environment will deploy Cumulus VX and Ubuntu servers in the following topology:

- Microsoft Windows Server 2012 R2+ or Microsoft Windows 10+
- Hyper-V must be disabled*
- SSH client (Putty, SecureCRT, etc)
- Approximately 5GB disk space
- Approximately 4GB free RAM
- VirtualBox -Version 5.1.18 Installer- or (Alternate version downloads)
- Git -Version 2.12.2.2 Installer-
- Vagrant -Version 2.0.2 Installer- or (Alternate version downloads)
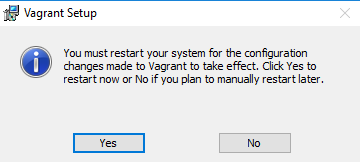
Install VirtualBox, Git, and Vagrant tools on the machine. This will require admin privileges on the server as well as a reboot.
- After downloading Virtualbox launch the installer.
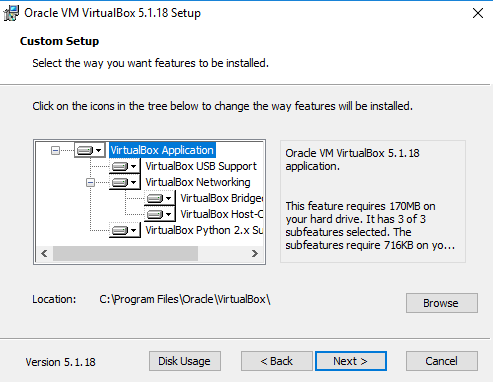
- This guide will use the default installation with USB support, Virtual Networking, and Python support.
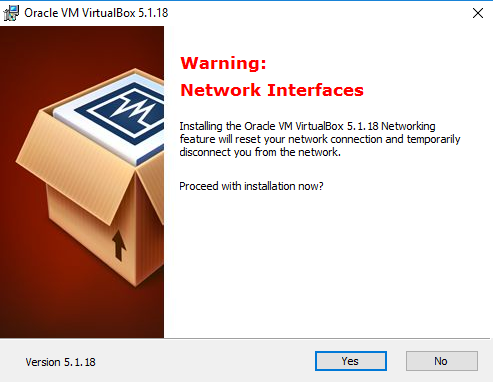
- Virtualbox will install Virtual networking drivers and a new virtual ethernet adapter.
- Click through the next few screens with the defaults to start and complete the installation.
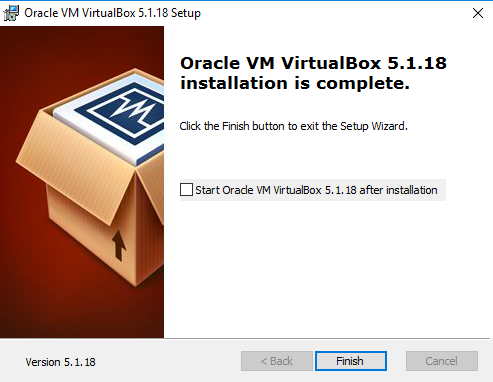
VirtualBox should now be installed on the server and you can create/delete VMs on the new hypervisor.
The git install includes the Git application but also installs a bash shell built on MINGW64 (Simiar to Cygwin) to provide Linux utilities on Windows. It's a pretty great bash environment for Windows if you haven't used it before give it a try. This guide however will concentrate on Windows deployments as such Powershell will be the primary method of interacting with Vagrant/Virtualbox.
- After downloading Git launch the installer.

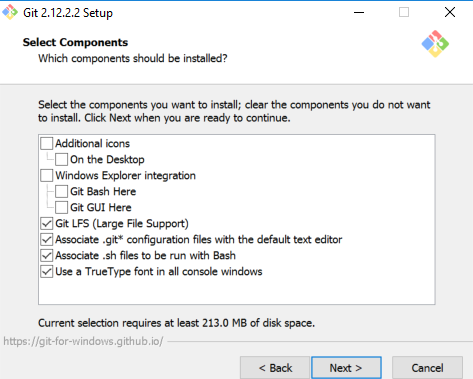
- Choose the install options in this guide we will enable large file support I also enable the associations for *.git and *.sh
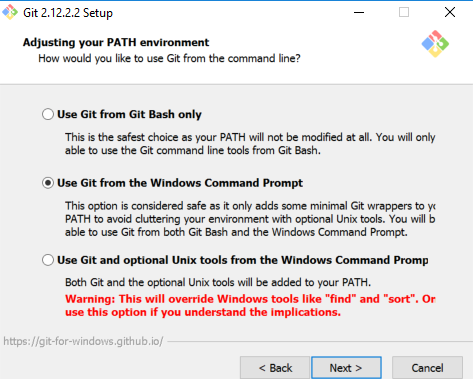
- Add Git to the windows PATH so that it's usable from both bash and Powershell.
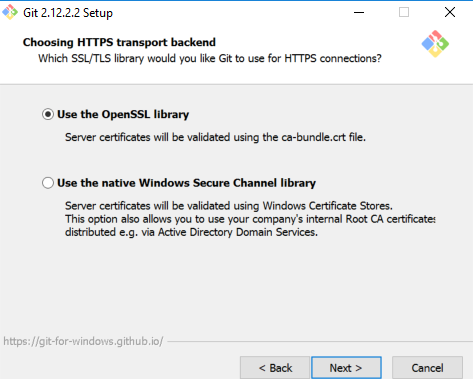
- Choose where to authenticate SSL certs when connecting to a Git repository. If your company has an internal Stash, GitLab, or GitHub instance you might want to use your company's MS CA setup. For this guide we are connected to public GitHub instances so the bundled certs and public authentication in OpenSSL work just fine. If you're not sure choose the OpenSSL method, you can always change it later.
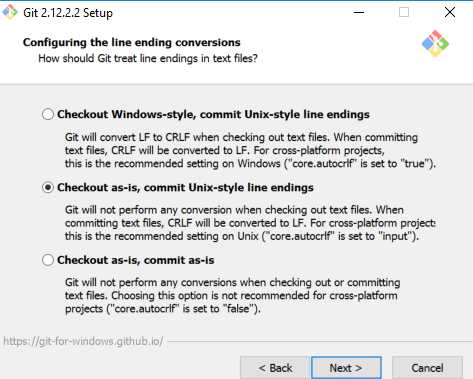
- Choose how to checkout files from a Git repository. Generally I like to make sure everything is committed in UNIX style line endings for maximum Windows/Linux compatibility. Make the world a better place and stop the MS line endings.
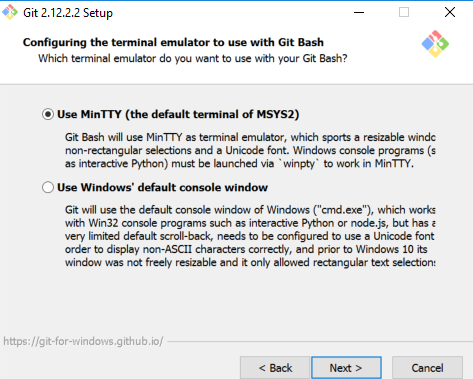
- Pick a terminal emulator for Git bash, optional really but I just default it to MinTTY
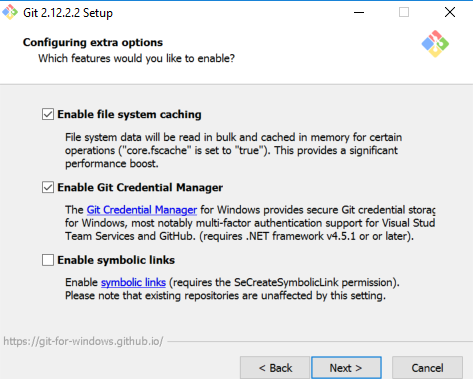
- Couple more options. Enable file system caching and Credential Manager. Credential Manger basically saves you from having to type the same password for git commit every single time. Have not messed with symbolic links on Windows.
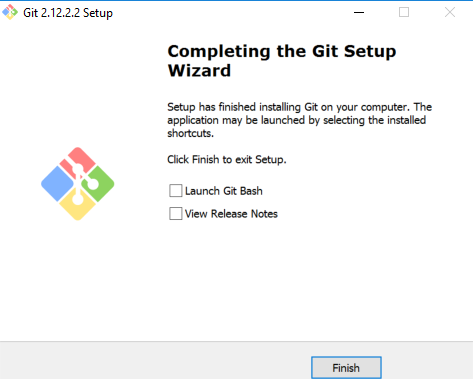
- Complete the installation across the next few screens.
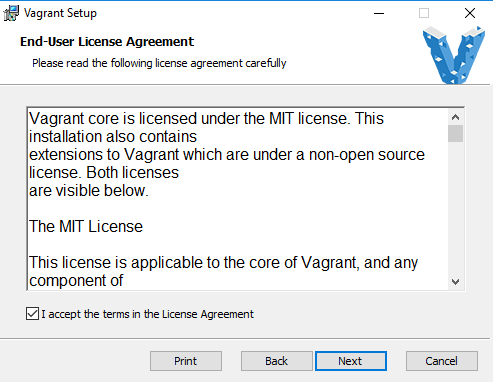
Vagrant is the final tool that will orchestrate all the VM creation and networking. This install will require a reboot for both Server and Desktop versions of Windows.
- Install Vagrant from the msi installer.
- Accept the terms and conditions as I'm sure you read all of them, correct?
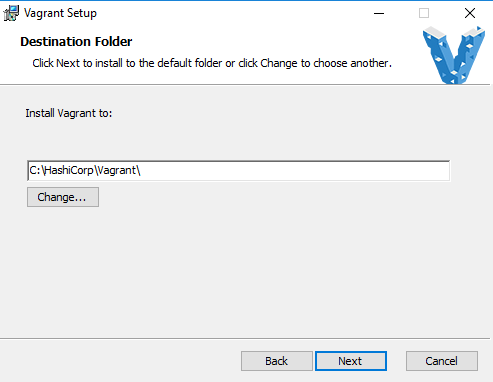
- The usual choose your install directory, choosing the default here.
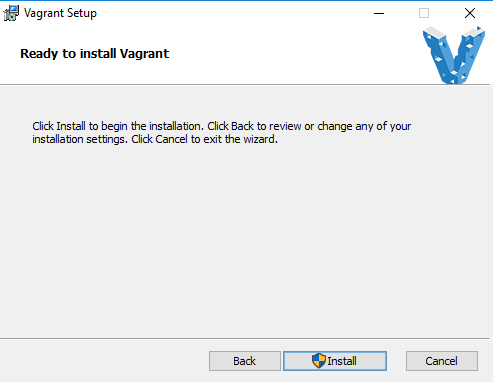
- Begin the installation it may prompt you for Admin privilege escalation during the install.
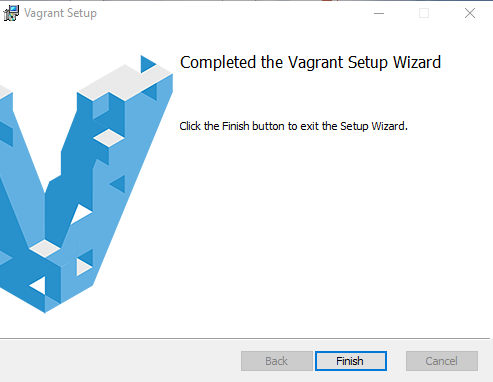
- Complete the install and reboot the machine.
Time to actually do some networking, well virtual networking, OK fine it's more server stuff right now.
- Launch PowerShell
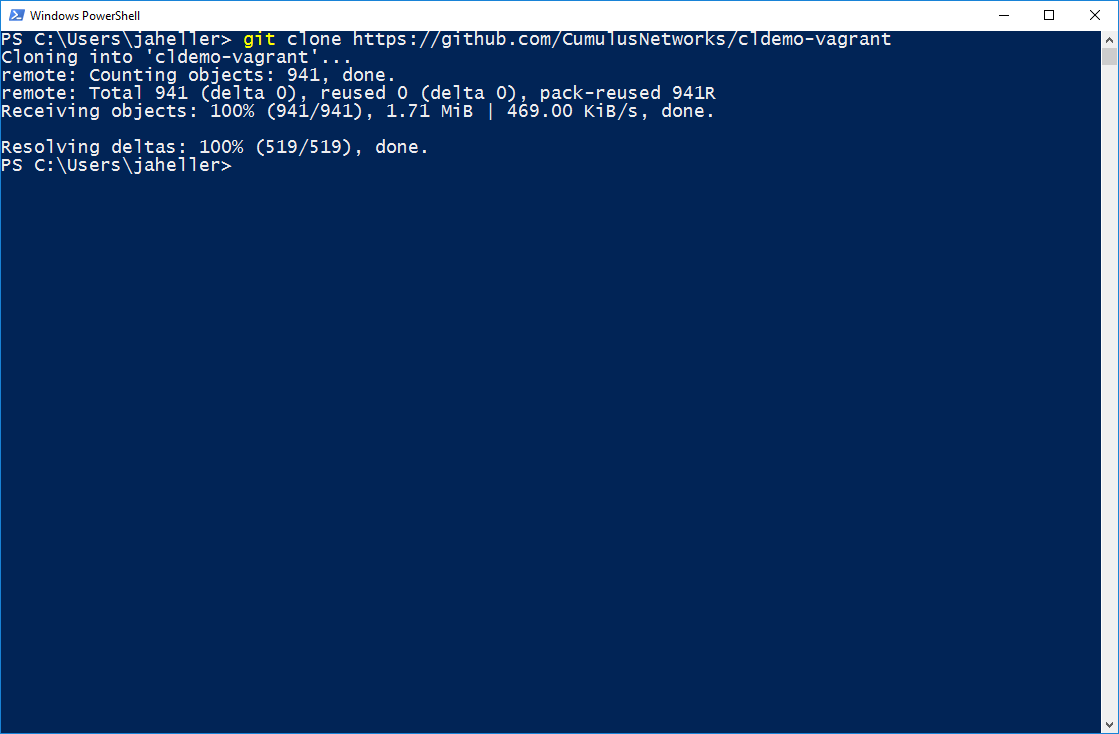
- Clone the cldemo code locally with:
git clone https://github.com/CumulusNetworks/cldemo-vagrant.git
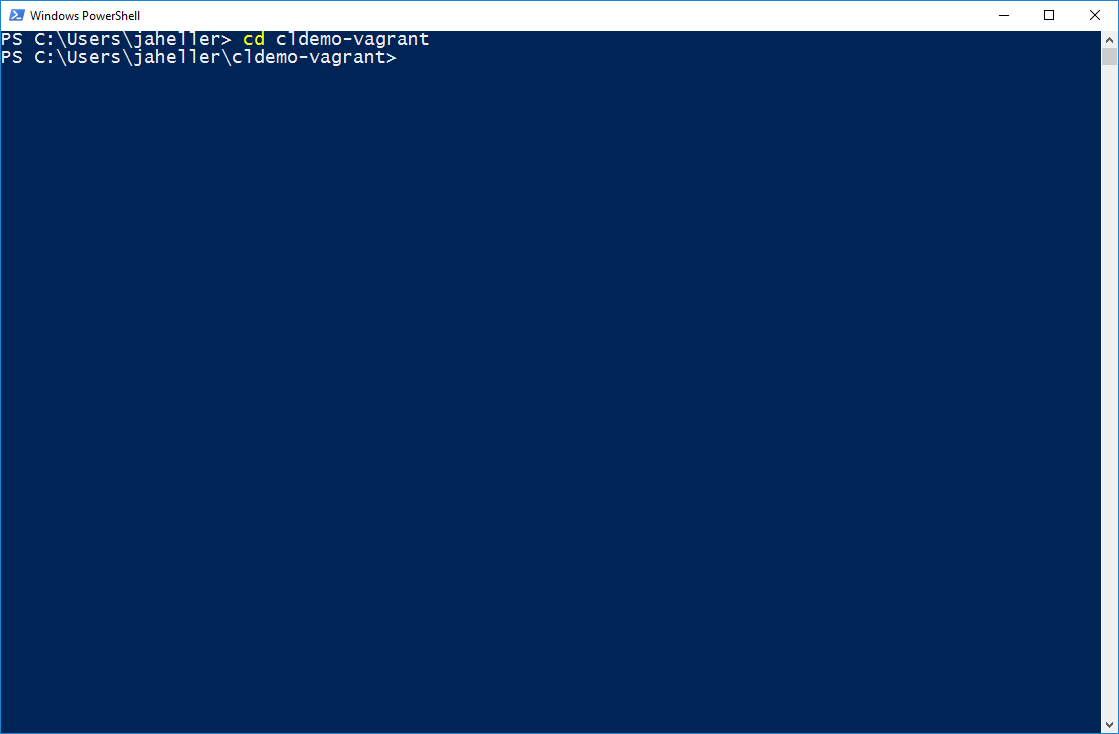
- Change into the newly created cldemo-vagrant directory
cd cldemo-vagrant
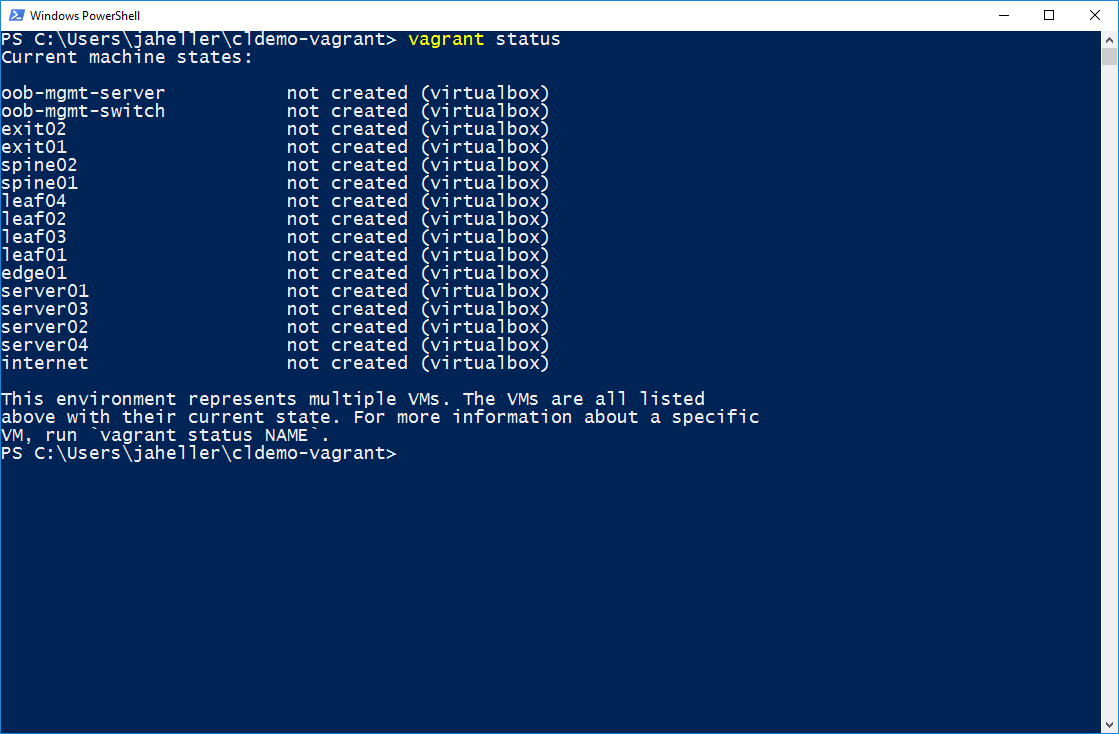
- Check the Vagrant status for the virtual machines with
vagrant status
5a. Install the Out-of-Band Server (jumpserver) virtual machine image with vagrant box add CumulusCommunity/vx_oob_server --insecure --box-version=1.0.3 --provider virtualbox
What happens here is that Vagrant will automatically detect that you do not locally have the VM you are trying to create so it will connect to the Vagrant Cloud image store and download. This feature is one of the really powerful features of Vagrant as there are hundreds if not thousands of pre-built VMs, including Cumulus VX, available. The oob-mgmt-server is built on a customized version of Cumulus VX.
5b. Bring up your first VM the oob-mgmt-server with vagrant up oob-mgmt-server
Since this is the first time you bring up the VM the download may take a few mins to complete and then the demo sets up some tools on the server as part of the Vagrant setup.
- Once the Vagrant up completes, may take 5-10 mins, check the status of the VM with
vagrant status

7a. Install the Cumulus Vx image with vagrant box add CumulusCommunity/cumulus-vx --insecure --box-version=3.3.2 --provider virtualbox
7b. Now bring up the oob-mgmt-switch with vagrant up oob-mgmt-switch
This step is very similar to step 5a in that Vagrant detects that the Cumulus VX image is not installed locally so it fetches the VM and installs it.
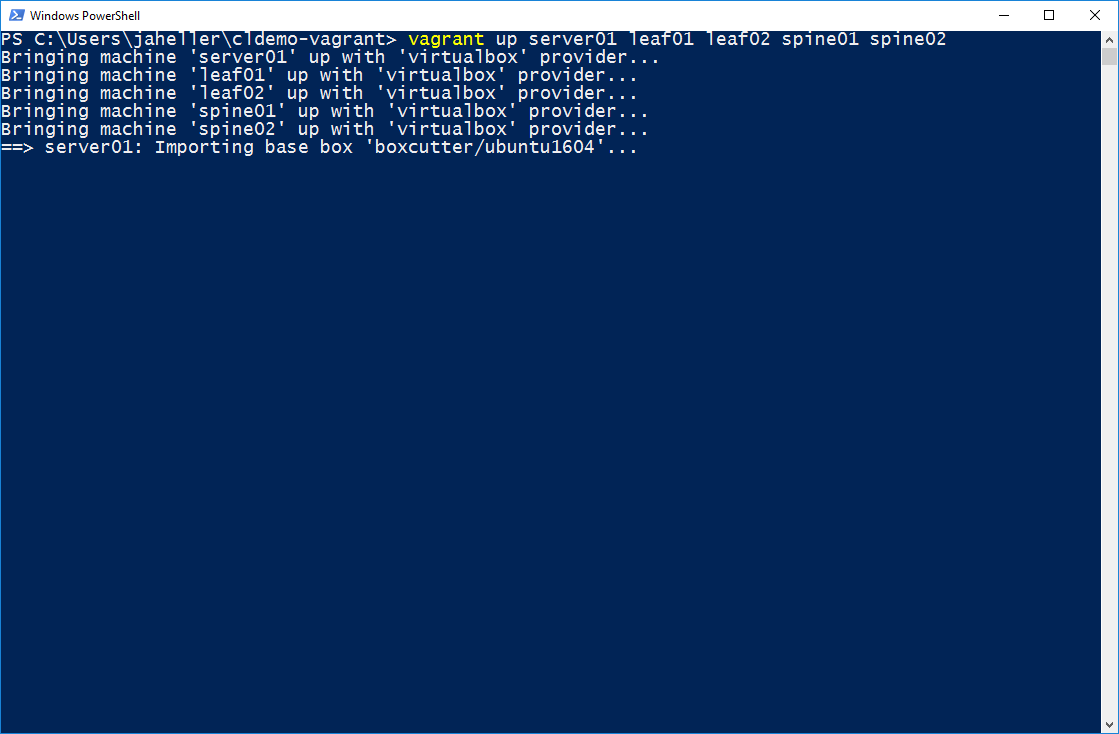
- Finally once the oob-mgmt-switch has completed let's bring up some more nodes in the network:
vagrant up server01 leaf01 leaf02 spine01 spine02
Now that we've deployed the VMs we can get to the actual networking fun. For this we have a couple options using the VirtualBox GUI or ssh directly into the environment.
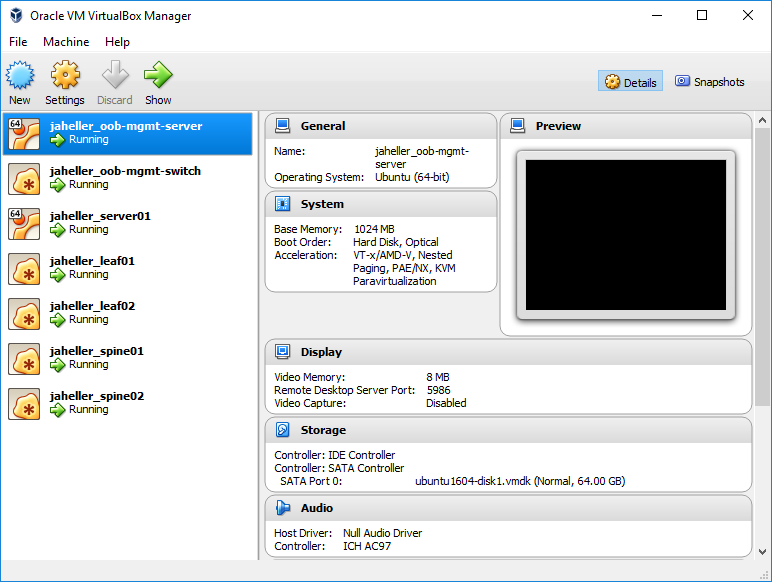
- First thing let's start with the VirtualBox GUI which basically gives a console into each VM. Launch the Oracle VM VirtualBox application and you should see all the VMs you created with Vagrant.
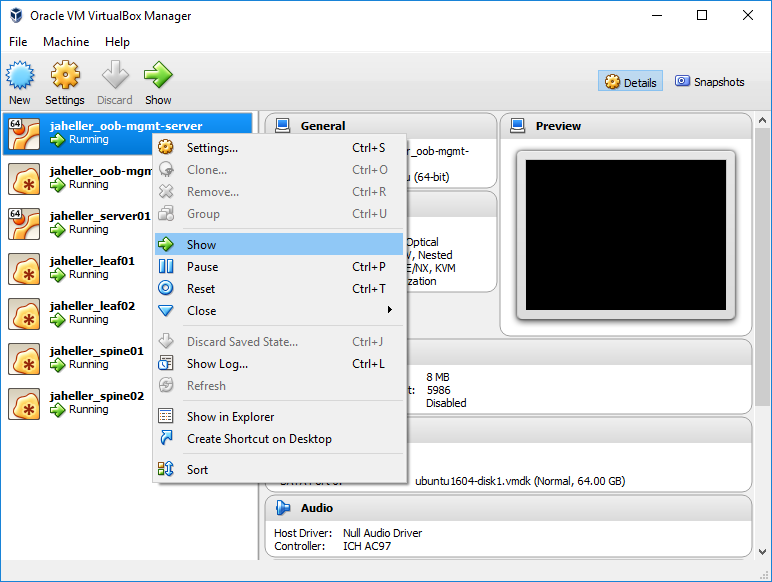
- Then right click on the oob-mgmt-server and select "Show"
- You'll be connected to the console and it will ask about mouse capture. The release key sequence is right control. You will then be dropped onto the console of the oob-mgmt-server
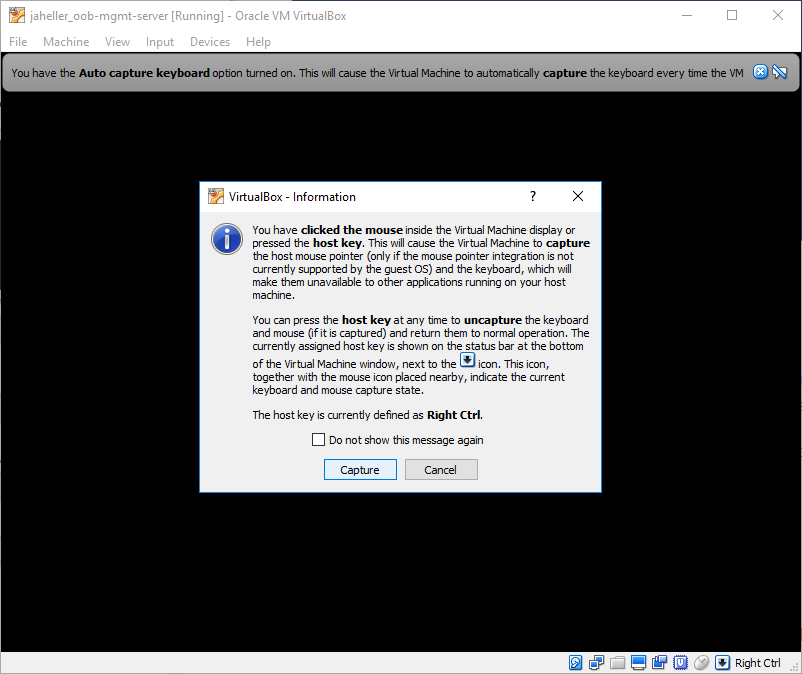
- The default login for the oob-mgmt-server is username: cumulus password: CumulusLinux!
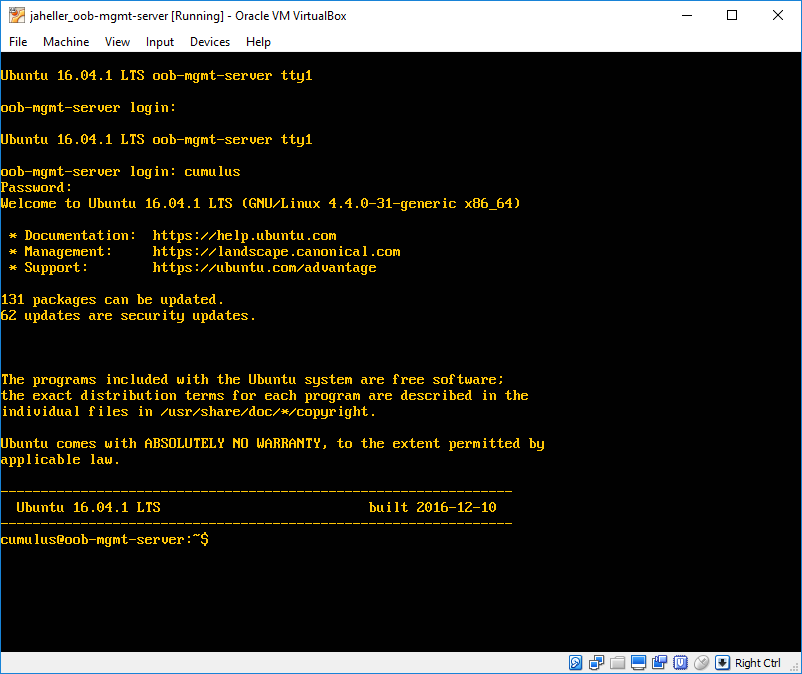
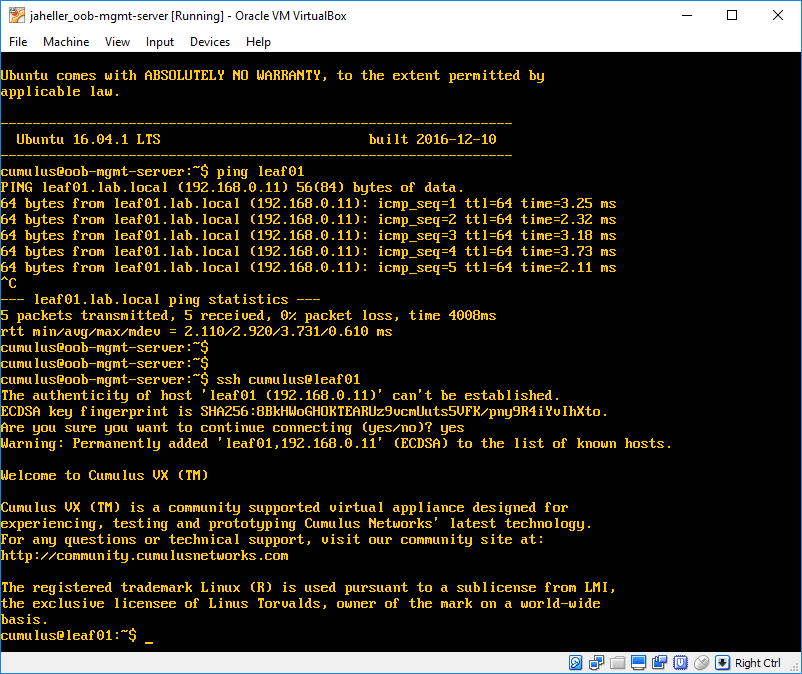
- From the oob-mgmt-server you should then be able to ssh into all of the devices you brought up. (The cldemo pre-installs ssh keys for you) For example
ssh leaf01
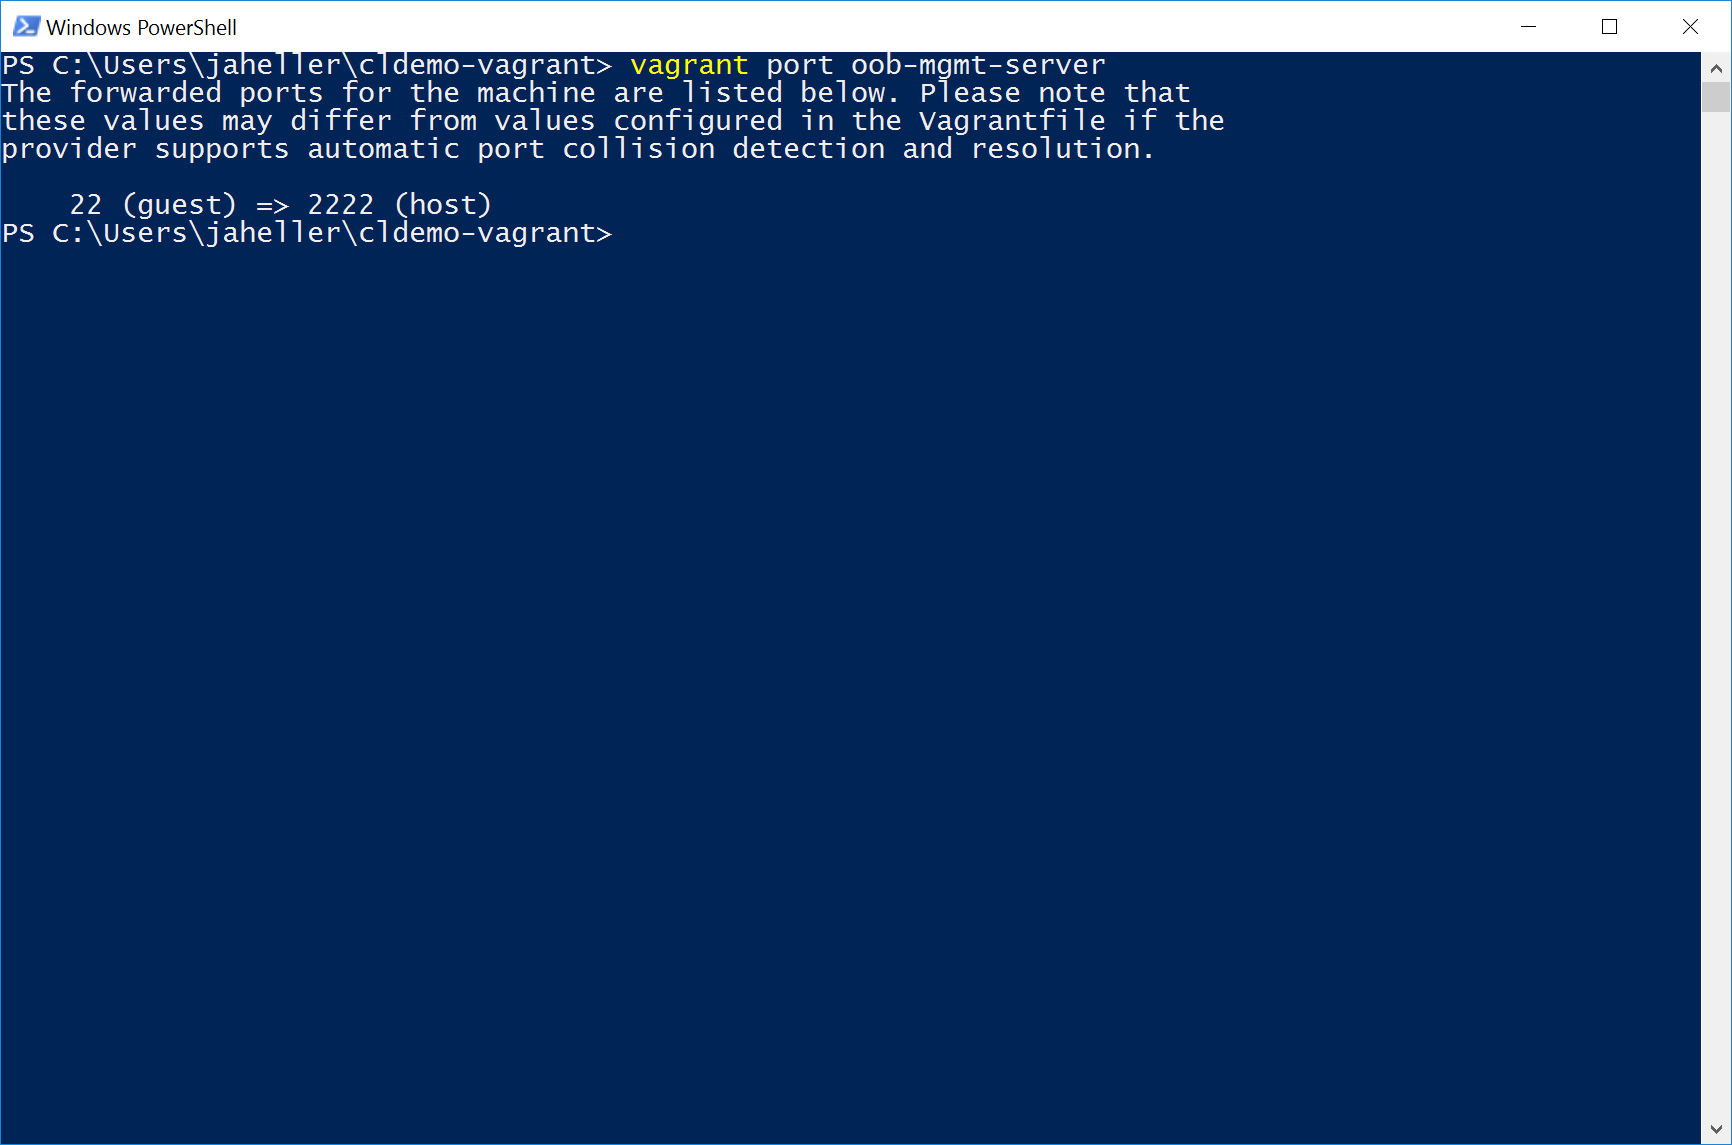
- Vagrant spins up each VM with a port forward for SSH for each VM you bring up. To find the port number that has been created use
vagrant port oob-mgmt-server
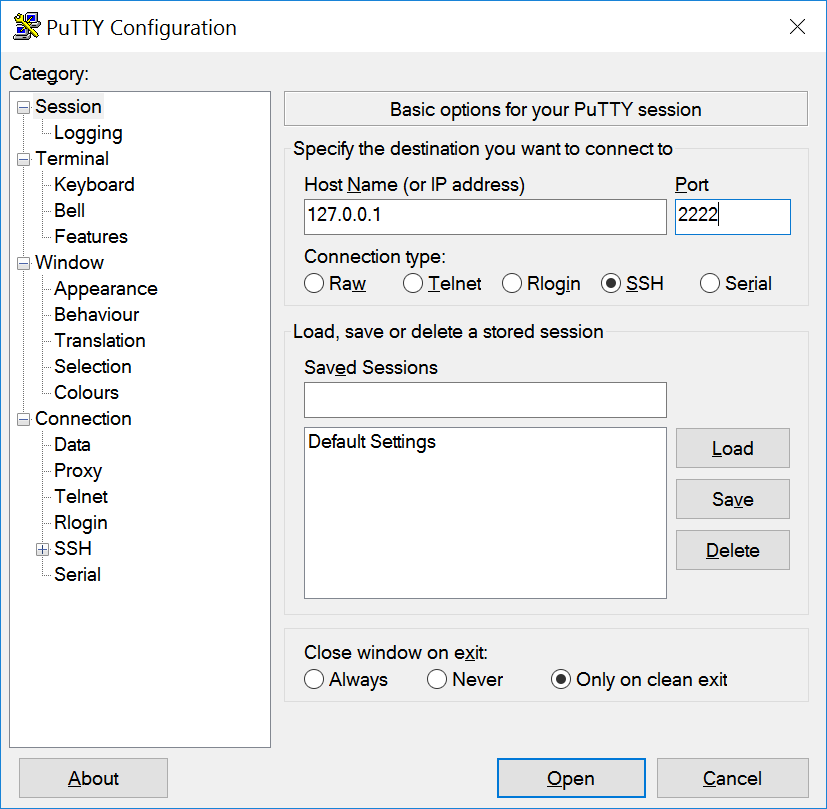
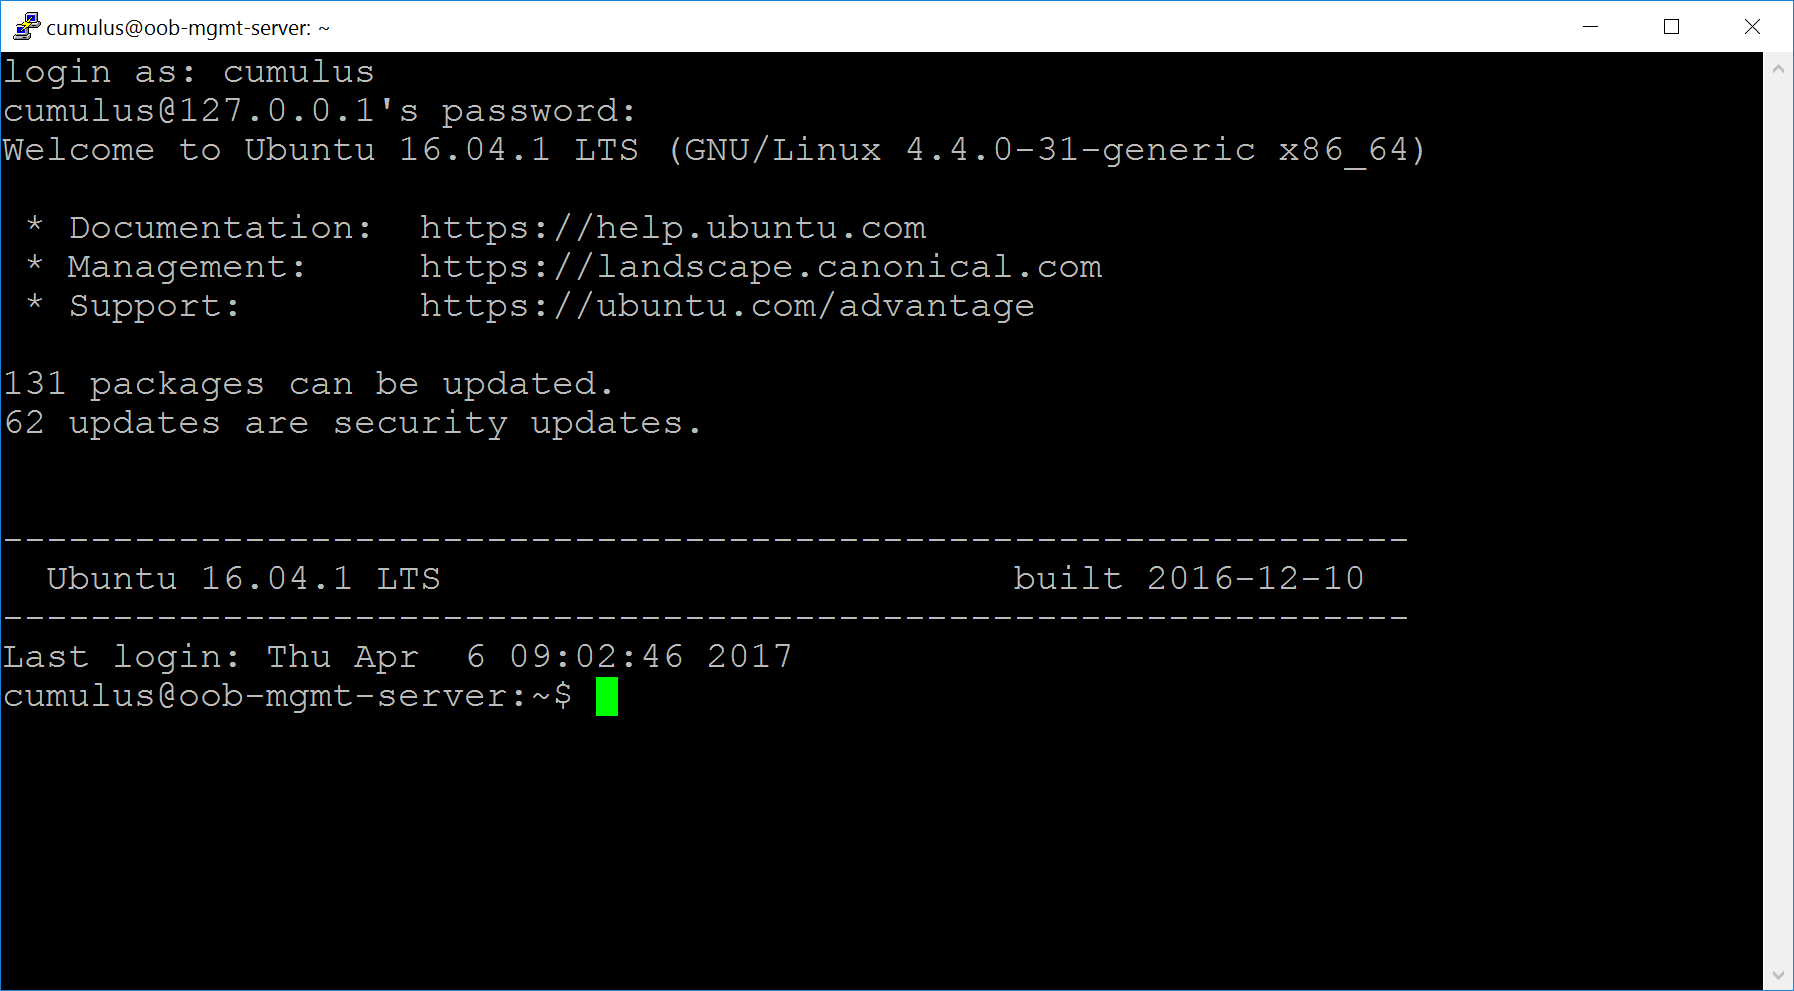
- Launch putty and connect to the oob-mgmt-server 127.0.0.1:2222
https://app.vagrantup.com/boxes/search
*Hyper-V locks VT-x/AMD-V on boot and therefore will not allow other hypervisors to leverage the hardware virtualization. I will say it is possible to run both vBox and Hyper-V at the same time however if vBox tries to run a VM with VT-x support it will BSOD your server/workstation. I'll write a followup article on using Hyper-V for your simulation environment once I get all the nested virtualization sorted.